 生活在技术突破和成就的时代,看着“面具”和“贝索斯”火箭如何冲向天空,我们,受过较高技术教育的普通人,常常没有注意到可能不在太空中而是在我们身边的突破不从桌子上
的沙发上站起来。自己判断什么发现可以导致阅读有关现代智能手机的常规文章。我不会透露出处,以免分享未来的收入。计算摄影的最高水平可能被认为是夜间拍摄。一个示例是Google Pixel智能手机上的夜间模式。在其中,IT巨头不得不使用RAW拍摄,HDR堆叠,“模糊”补偿,神经网络场景识别。去年Pixel 4中第二台相机的出现使“ Night Sight”也适合流星。总而言之,这会产生一种魔幻感:眼睛看到漆黑的黑暗,而照片则显示出微弱的暮色。在论坛上开玩笑时,很快就可以在黑暗的房间中通过智能手机删除黑猫,这很清楚。
另一件事是,即使在夜间模式下,夜间行走并在手机屏幕上擦洗也不舒服。然后我的眼睛意外地落在架子上的智能手机的VR耳机上。突破实现了!它仅保留下来,使用它以及关于Android Camera2 API的四篇文章中积累的知识,将图像从“ Night Sight”直接引向眼睛。同时,双手可以自由地在黑暗的房间里捉住一只黑猫。当然,如果没有光,至少有一点光子将无法工作,但这是必需的。但是至少我们必须在黑暗中达到(甚至超过)Kotan的窥视者的水平。因此,要了解如何在黑暗中观看,我们需要:1:适用于智能手机的虚拟现实耳机((可能是最便宜的)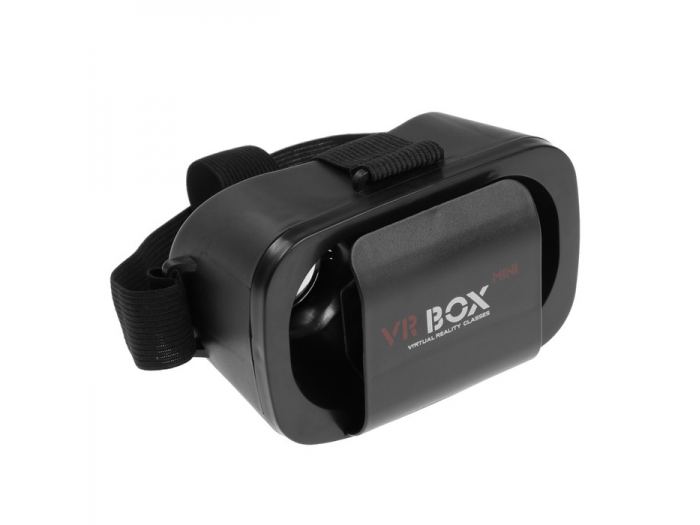 2:支持现代guglofich相机的智能手机(当然,它绝对不是最便宜的)
 3:了解Android Camera2 API的基本知识(我们已经拥有了)第一部分第二部分第三部分第四部分在Android Studio中打开一个新项目,然后开始编写代码。首先要做的是组装将在耳机中发光的实际VR表面。
布局<?xml version="1.0" encoding="utf-8"?>
<androidx.constraintlayout.widget.ConstraintLayout xmlns:android="http://schemas.android.com/apk/res/android"
xmlns:app="http://schemas.android.com/apk/res-auto"
xmlns:tools="http://schemas.android.com/tools"
android:layout_width="match_parent"
android:layout_height="match_parent"
android:background="#03061B"
tools:context=".MainActivity">
<TextureView
android:id="@+id/textureView"
android:layout_width="240dp"
android:layout_height="320dp"
android:layout_marginTop="28dp"
app:layout_constraintEnd_toEndOf="parent"
app:layout_constraintHorizontal_bias="0.497"
app:layout_constraintStart_toStartOf="parent"
app:layout_constraintTop_toTopOf="parent" />
<TextureView
android:id="@+id/textureView3"
android:layout_width="240dp"
android:layout_height="320dp"
android:layout_marginTop="16dp"
app:layout_constraintEnd_toEndOf="parent"
app:layout_constraintStart_toStartOf="parent"
app:layout_constraintTop_toBottomOf="@+id/textureView" />
<LinearLayout
android:layout_width="165dp"
android:layout_height="40dp"
app:layout_constraintBottom_toBottomOf="parent"
app:layout_constraintEnd_toEndOf="parent"
app:layout_constraintStart_toStartOf="parent"
app:layout_constraintTop_toBottomOf="@+id/textureView3"
app:layout_constraintVertical_bias="0.838">
<Button
android:id="@+id/button1"
android:layout_width="wrap_content"
android:layout_height="36dp"
android:backgroundTint="#3F51B5"
android:text=""
android:textColor="#1A87DD" />
<Button
android:id="@+id/button3"
android:layout_width="wrap_content"
android:layout_height="37dp"
android:backgroundTint="#3F51B5"
android:text=""
android:textColor="#2196F3" />
</LinearLayout>
</androidx.constraintlayout.widget.ConstraintLayout>
输出应该是这样的: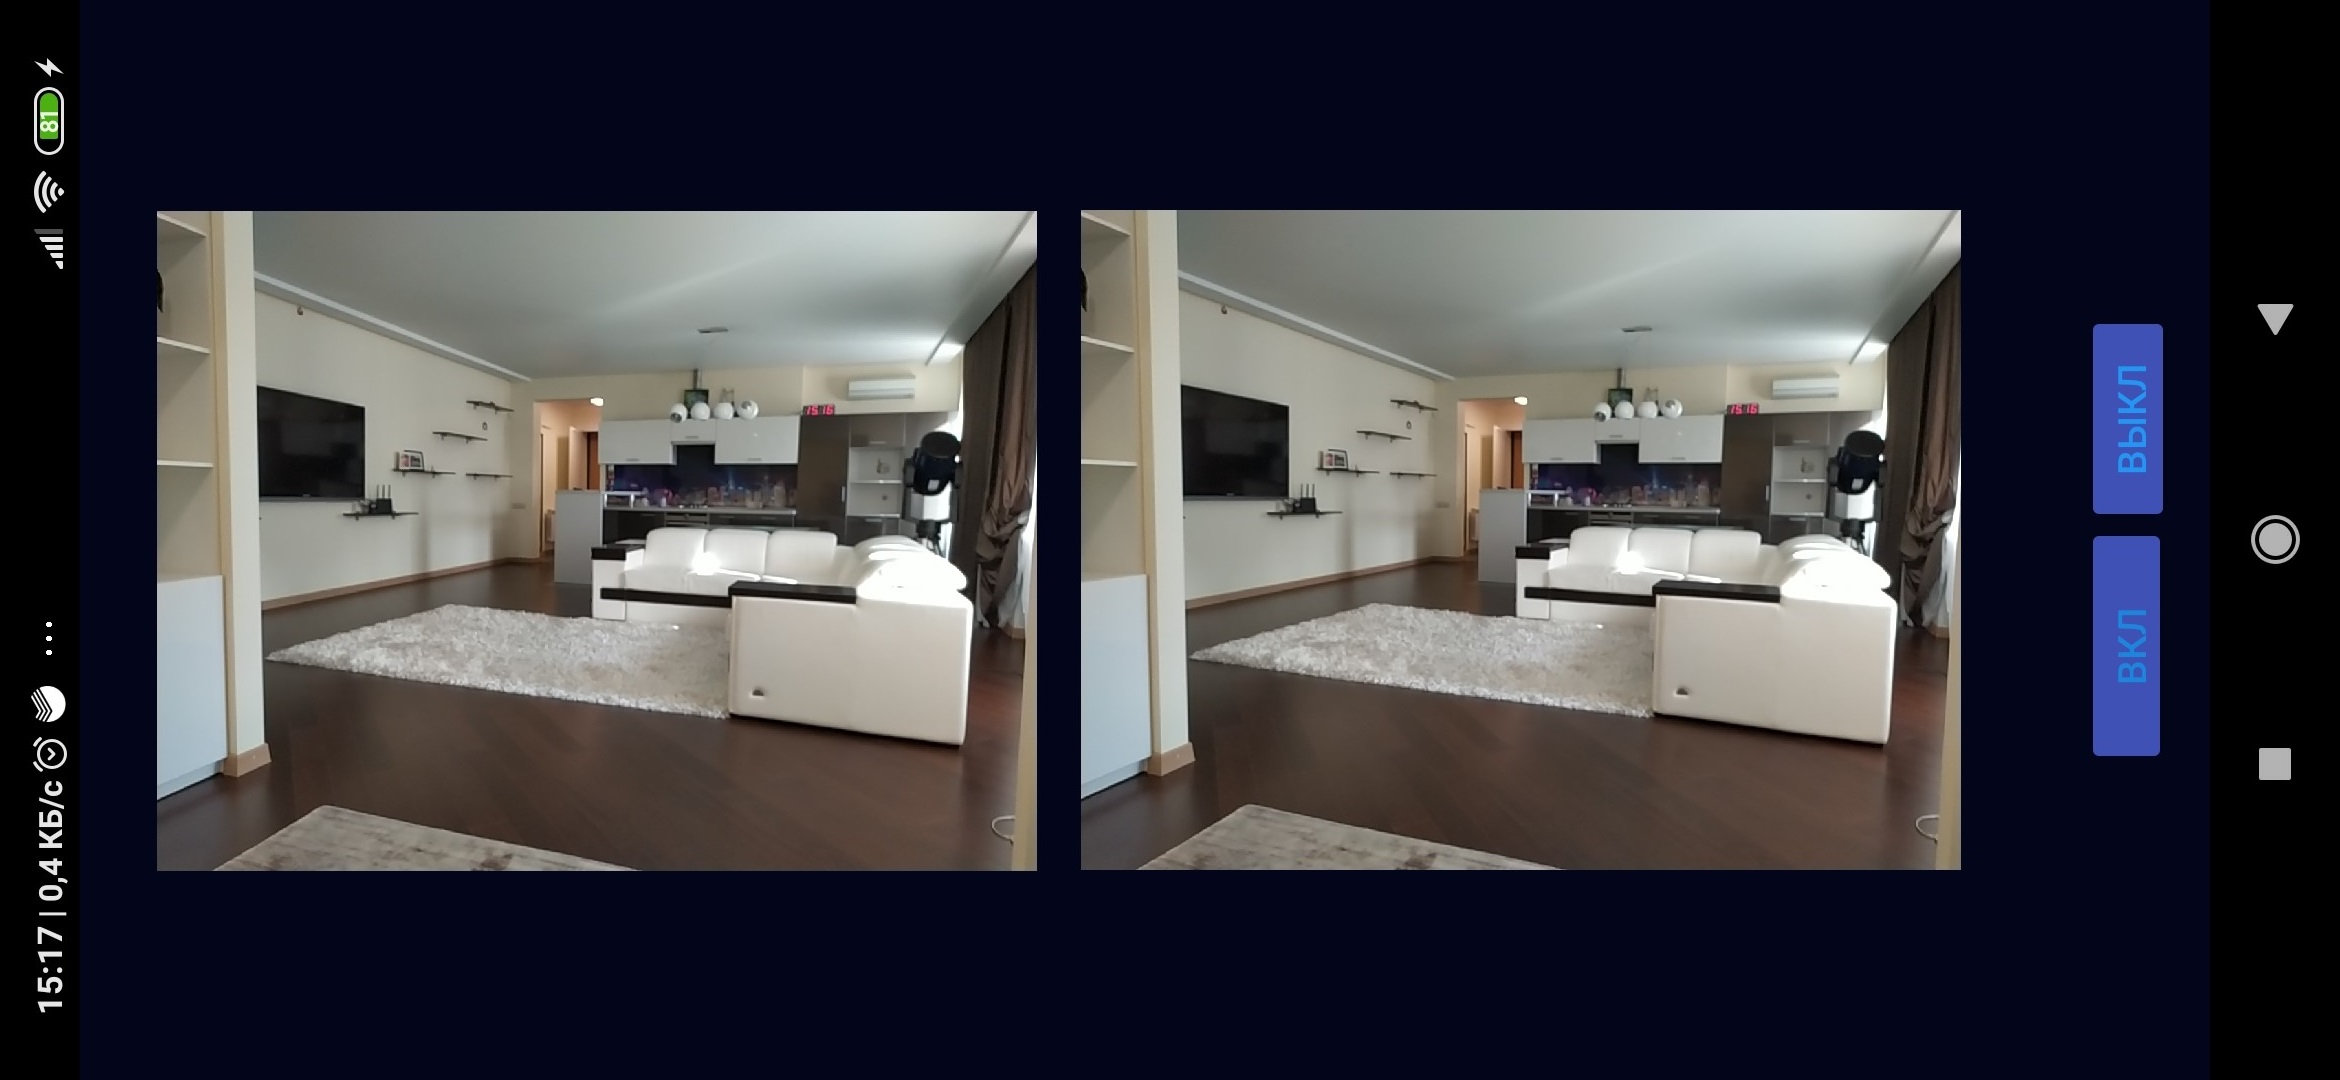 如您所见,纹理被证明是矩形的,而在用于智能手机的任何VR玩具中,开发人员都设法将它们弄圆了。但是,我们不会对此进行详细说明。进一步的经验仍然表明它将成功。为此,事实上,我们编写了一个适度的Activity,其中先前文章中的所有内容对于我们来说都是熟悉的。
package com.example.twovideosurfaces;
import androidx.annotation.RequiresApi;
import androidx.appcompat.app.AppCompatActivity;
import androidx.core.content.ContextCompat;
import android.Manifest;
import android.content.Context;
import android.content.pm.ActivityInfo;
import android.content.pm.PackageManager;
import android.graphics.SurfaceTexture;
import android.hardware.camera2.CameraAccessException;
import android.hardware.camera2.CameraCaptureSession;
import android.hardware.camera2.CameraDevice;
import android.hardware.camera2.CameraManager;
import android.hardware.camera2.CaptureRequest;
import android.os.Build;
import android.os.Bundle;
import android.os.Handler;
import android.os.HandlerThread;
import android.os.StrictMode;
import android.util.Log;
import android.view.Surface;
import android.view.TextureView;
import android.view.View;
import android.widget.Button;
import java.util.Arrays;
public class MainActivity extends AppCompatActivity {
public static final String LOG_TAG = "myLogs";
public static Surface surface1 = null;
public static Surface surface2 = null;
CameraService[] myCameras = null;
private CameraManager mCameraManager = null;
private final int CAMERA1 = 0;
private Button mOn = null;
private Button mOff = null;
public static TextureView mImageViewUp = null;
public static TextureView mImageViewDown = null;
private HandlerThread mBackgroundThread;
private Handler mBackgroundHandler = null;
private void startBackgroundThread() {
mBackgroundThread = new HandlerThread("CameraBackground");
mBackgroundThread.start();
mBackgroundHandler = new Handler(mBackgroundThread.getLooper());
}
private void stopBackgroundThread() {
mBackgroundThread.quitSafely();
try {
mBackgroundThread.join();
mBackgroundThread = null;
mBackgroundHandler = null;
} catch (InterruptedException e) {
e.printStackTrace();
}
}
@RequiresApi(api = Build.VERSION_CODES.M)
@Override
protected void onCreate(Bundle savedInstanceState) {
super.onCreate(savedInstanceState);
StrictMode.ThreadPolicy policy = new StrictMode.ThreadPolicy.Builder().permitAll().build();
StrictMode.setThreadPolicy(policy);
setRequestedOrientation(ActivityInfo.SCREEN_ORIENTATION_PORTRAIT);
setContentView(R.layout.activity_main);
Log.d(LOG_TAG, " ");
if (checkSelfPermission(Manifest.permission.CAMERA) != PackageManager.PERMISSION_GRANTED
||
(ContextCompat.checkSelfPermission(MainActivity.this, Manifest.permission.WRITE_EXTERNAL_STORAGE) != PackageManager.PERMISSION_GRANTED)
) {
requestPermissions(new String[]{Manifest.permission.CAMERA, Manifest.permission.WRITE_EXTERNAL_STORAGE}, 1);
}
mOn = findViewById(R.id.button1);
mOff = findViewById(R.id.button3);
mImageViewUp = findViewById(R.id.textureView);
mImageViewDown = findViewById(R.id.textureView3);
mOn.setOnClickListener(new View.OnClickListener() {
@Override
public void onClick(View v) {
if (myCameras[CAMERA1] != null) {
if (!myCameras[CAMERA1].isOpen()) myCameras[CAMERA1].openCamera();
}
}
});
mOff.setOnClickListener(new View.OnClickListener() {
@Override
public void onClick(View v) {
}
});
mCameraManager = (CameraManager) getSystemService(Context.CAMERA_SERVICE);
try {
myCameras = new CameraService[mCameraManager.getCameraIdList().length];
for (String cameraID : mCameraManager.getCameraIdList()) {
Log.i(LOG_TAG, "cameraID: " + cameraID);
int id = Integer.parseInt(cameraID);
myCameras[id] = new CameraService(mCameraManager, cameraID);
}
} catch (CameraAccessException e) {
Log.e(LOG_TAG, e.getMessage());
e.printStackTrace();
}
}
public class CameraService {
private String mCameraID;
private CameraDevice mCameraDevice = null;
private CameraCaptureSession mSession;
private CaptureRequest.Builder mPreviewBuilder;
public CameraService(CameraManager cameraManager, String cameraID) {
mCameraManager = cameraManager;
mCameraID = cameraID;
}
private CameraDevice.StateCallback mCameraCallback = new CameraDevice.StateCallback() {
@Override
public void onOpened(CameraDevice camera) {
mCameraDevice = camera;
Log.i(LOG_TAG, "Open camera with id:" + mCameraDevice.getId());
startCameraPreviewSession();
}
@Override
public void onDisconnected(CameraDevice camera) {
mCameraDevice.close();
Log.i(LOG_TAG, "disconnect camera with id:" + mCameraDevice.getId());
mCameraDevice = null;
}
@Override
public void onError(CameraDevice camera, int error) {
Log.i(LOG_TAG, "error! camera id:" + camera.getId() + " error:" + error);
}
};
private void startCameraPreviewSession() {
SurfaceTexture texture = mImageViewUp.getSurfaceTexture();
texture.setDefaultBufferSize(1280, 1024);
surface1 = new Surface(texture);
SurfaceTexture texture2 = mImageViewDown.getSurfaceTexture();
surface2 = new Surface(texture2);
texture2.setDefaultBufferSize(1280, 1024);
try {
mPreviewBuilder = mCameraDevice.createCaptureRequest(CameraDevice.TEMPLATE_RECORD);
mPreviewBuilder.addTarget(surface1);
mPreviewBuilder.addTarget(surface2);
mCameraDevice.createCaptureSession(Arrays.asList(surface1,surface2),
new CameraCaptureSession.StateCallback() {
@Override
public void onConfigured(CameraCaptureSession session) {
mSession = session;
try {
mSession.setRepeatingRequest(mPreviewBuilder.build(), null, mBackgroundHandler);
} catch (CameraAccessException e) {
e.printStackTrace();
}
}
@Override
public void onConfigureFailed(CameraCaptureSession session) {
}
}, mBackgroundHandler);
} catch (CameraAccessException e) {
e.printStackTrace();
}
}
public boolean isOpen() {
if (mCameraDevice == null) {
return false;
} else {
return true;
}
}
public void openCamera() {
try {
if (checkSelfPermission(Manifest.permission.CAMERA) == PackageManager.PERMISSION_GRANTED) {
mCameraManager.openCamera(mCameraID, mCameraCallback, mBackgroundHandler);
}
} catch (CameraAccessException e) {
Log.i(LOG_TAG, e.getMessage());
}
}
public void closeCamera() {
if (mCameraDevice != null) {
mCameraDevice.close();
mCameraDevice = null;
}
}
}
@Override
public void onPause() {
if (myCameras[CAMERA1].isOpen()) {
myCameras[CAMERA1].closeCamera();
}
stopBackgroundThread();
super.onPause();
}
@Override
public void onResume() {
super.onResume();
startBackgroundThread();
}
}
是的,不要忘记宣言<?xml version="1.0" encoding="utf-8"?>
<manifest xmlns:android="http://schemas.android.com/apk/res/android"
package="com.example.twovideosurfaces">
<uses-permission android:name="android.permission.CAMERA" />
<uses-permission android:name="android.permission.WRITE_EXTERNAL_STORAGE" />
<uses-permission android:name="android.permission.INTERNET"/>
<application
android:allowBackup="true"
android:icon="@mipmap/ic_launcher"
android:label="@string/app_name"
android:roundIcon="@mipmap/ic_launcher_round"
android:supportsRtl="true"
android:theme="@style/Theme.AppCompat.NoActionBar"
>
<activity android:name=".MainActivity">
<intent-filter>
<action android:name="android.intent.action.MAIN" />
<category android:name="android.intent.category.LAUNCHER" />
</intent-filter>
</activity>
</application>
</manifest>
现在,我们将智能手机推入VR耳机并在房子里走来走去,以每只眼睛1280 x 1024的分辨率欣赏机器人的视觉。感觉当然很奇怪,虽然失去了视觉深度,但仍然很酷。唯一的是,它看起来有点暗,但这是因为前半透明耳机面板会干扰。因此,有必要在智能手机相机的前面打一个孔。但话又说回来,在预算最充裕的VR模型上,这样的面板甚至可能根本不存在,而且您可能不必have费体力。现在剩下的就是说服Google相机API我们已经完全黑暗了,最好使用夜视模式,以及所有这些RAW,HDR堆栈和神经网络的场景识别。为此,只需在会话中编写:mPreviewBuilder.set(CaptureRequest.CONTROL_SCENE_MODE,
CaptureRequest.CONTROL_SCENE_MODE_NIGHT);
并最大程度地拧松曝光和光敏性 mPreviewBuilder.set(CaptureRequest.CONTROL_AE_MODE,
CaptureRequest.CONTROL_AE_MODE_OFF);
mPreviewBuilder.set(CaptureRequest.SENSOR_EXPOSURE_TIME,Long.valueOf("100000000"));
mPreviewBuilder.set(CaptureRequest.SENSOR_SENSITIVITY, 30000);
哦,我瞎了!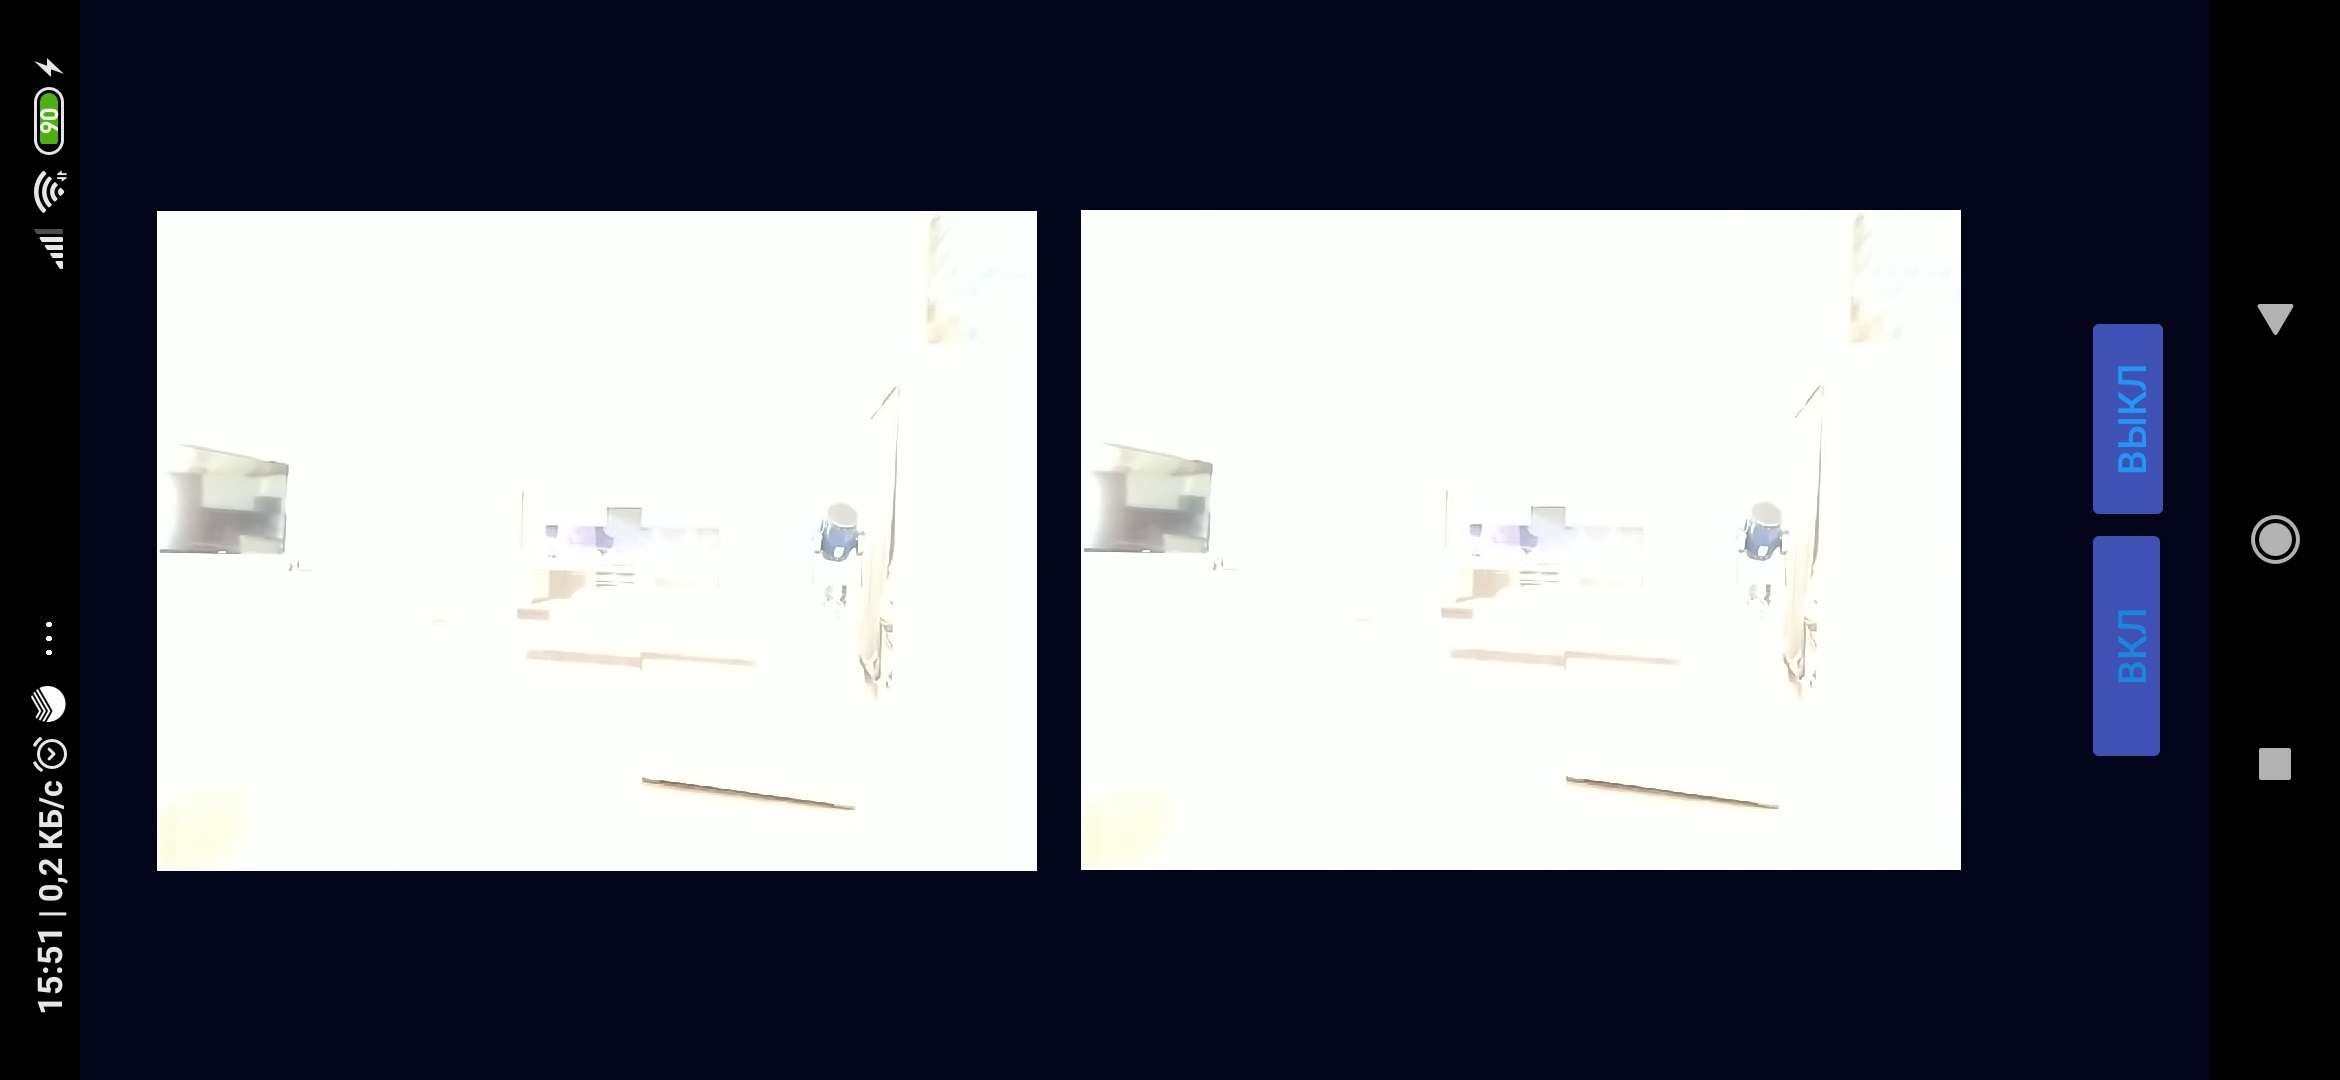 这是当猫被赶出卧室时阻止猫在客厅中发生性行为的结果。但是,当然,这是枚举和参数(API中有很多参数,这里只是几个),您需要稍后根据经验对其进行调整。现在我们只能等待夜晚。当然,并非没有月球,在针叶林中的某个地方会被浓密的云层覆盖,而是一个平常的夜晚,它具有随机飞行的光子。这就是将要发生的事情……尽管正常拍摄看来,几乎看不到任何东西。但是现代相机却能创造奇迹,并且仍然发现了黑猫...现在您可以在夜间行走,因为白天无法隔离。从理论上讲,在晚上也不可能,但是谁会看到你,戴着耳机在头上戴着VR耳机,在夜晚的黑暗中徘徊...