让我们使用VS Code调试器从内部了解Angular Schematic的工作方式。
调试和逐步执行代码是我们开发人员工作的重要组成部分。我们很快发现我们的代码是否有效,因此更容易消除错误。在检查我们的代码时,运行调试器并针对其中的每种特定情况运行测试应是工作的主要部分。
调试还提供了一个机会来查看代码的工作方式,尤其是其他人的代码。在使用时非常有用schematics。作为Angular开发人员,我们将其schematics用作Angular CLI的一部分,以创建我们的项目,服务,组件等。不要考虑这一切如何运作。
但是,了解工作的实质schematics不仅有助于对创建所有这些内容的人有一种欣赏的感觉,而且还可以创建自己的计划。在本文中,我们将学习如何schematics调试,即 配置Visual Studio Code来调试node.js应用程序并加入调试过程
运行Angular Schematic正在node.js上运行一个名为的程序schematics。好吧,开始之前,我们需要创建一个项目。
工具与培训
首先,使用help创建一个原理图项目schematic-cli,您需要确保我们的环境中存在这样的软件包。我们把它放到全球
npm install -g @angular-devkit/schematics
npm install -g @angular-devkit/schematics-cli
该工具使您可以创建新的原理图项目。要结识,请在终端中运行命令schematics。
schematics
schematics [CollectionName:]SchematicName [options, ...]

By default, if the collection name is not specified, use the internal collection provided
by the Schematics CLI.

Options:
    --debug             Debug mode. This is true by default if the collection is a relative
                        path (in that case, turn off with --debug=false).

    --allowPrivate      Allow private schematics to be run from the command line. Default to
                        false.

    --dry-run           Do not output anything, but instead just show what actions would be
                        performed. Default to true if debug is also true.

    --force             Force overwriting files that would otherwise be an error.

    --list-schematics   List all schematics from the collection, by name. A collection name
                        should be suffixed by a colon. Example: '@schematics/schematics:'.

    --verbose           Show more information.

    --help              Show this message.
如果您应用该选项,--list-schematics我们会在内部集合中看到一个方案列表,默认情况下会提供它。
schematics --list-schematics
blank
schematic
如果您选择schematic-它会创建带有三个方案的样本集合-建议查看它们以弄清楚。
(要创建项目,请删除--dry-run)
schematics schematic --name=schematics-debugged --dry-run
schematics . , , schematics ( ). , .
schematics
npm run build
npm run test
, schematics node.js . , schematic , name .
<program> [arguments...]
VS Code launch.json . . — node.js - Launch Program. node.js , .. schematics.js @angular-devkit/schematics-cli, bin.
@angular-devkit/schematics-cli , . program js . ${workspaceFolder}, , .
npm install -D @angular-devkit/schematics-cli
:
type: node.
request: launch.
name: ,
program: , .. ${workspaceFolder}/node_modules/@angular-devkit/schematics-cli/bin/schematics.js
args: args. , (package.json collection.json), , path, workspace.
outFiles: .
原来:
{
    "version": "0.2.0",
    "configurations": [
        {
            "type": "node",
            "request": "launch",
            "name": "Launch Program",
            "program": "${workspaceFolder}/node_modules/@angular-devkit/schematics-cli/bin/schematics.js",
            "args": [
                ".:my-full-schematic",
                "--name=hello"
            ],
            "outFiles": []
        }
    ]
}
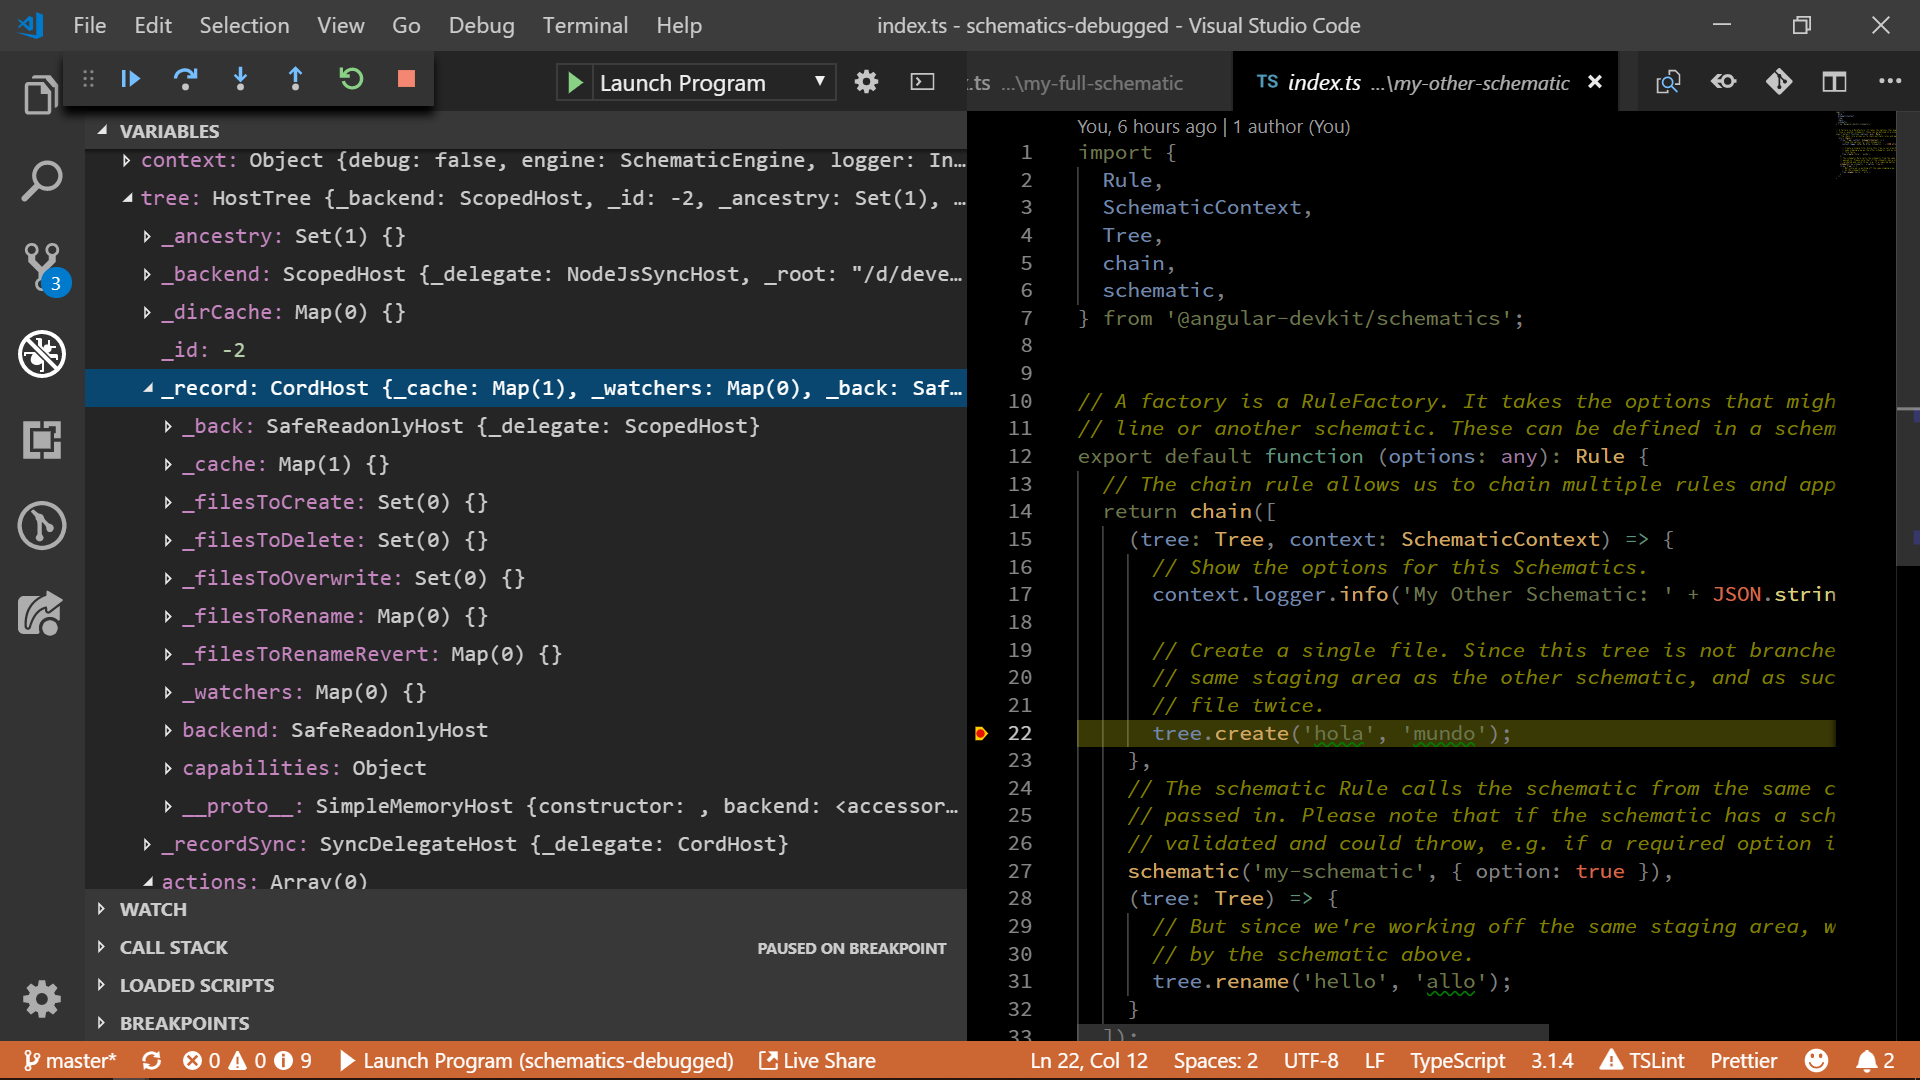
打开方法factory。通常他在index.ts。添加一个断点。
按F5键,调试应在已安装的断点处开始和停止。
现在,您可以查看所有秘密,Schematics或查看树的内部,并在整个内部厨房中冥想。
如果您喜欢这篇文章,还可以找到Angularlicious Podcast播客。
相关资料:
Node.js调试
Visual Studio代码调试