序文
Azure B2Cでの作業のサイクルの継続。この記事では、React JSで認証を有効にする方法について説明します。関連する投稿へのリンクステップ1
react-aad-msal (npm i react-aad-msal)を
インストールする必要があります。空のauth.htmlファイルをパブリックディレクトリに追加するステップ2
./srcフォルダーにauth-provider.ts
ファイルを作成しますまた、Azure B2Cでは、APIアクセス許可タブでopenidとプロファイルの管理者権限が付与されていることを確認する必要があります。
import { MsalAuthProvider, LoginType } from 'react-aad-msal';
import { Configuration } from 'msal/lib-commonjs/Configuration';
export const config = (azurePolicy: string): Configuration => ({
auth: {
authority: `https://yourcompany.b2clogin.com/yourcompany.onmicrosoft.com/${azurePolicy}`,
validateAuthority: false,
clientId: '777aaa77a-7a77-7777-bb77-8888888aabc',
},
cache: {
cacheLocation: 'localStorage',
storeAuthStateInCookie: false,
},
});
const authenticationParameters = {
scopes: [
'https://myapp.onmicrosoft.com/777aaa77a-7a77-7777-bb77-8888888aabc/openid',
'https://myapp.onmicrosoft.com/777aaa77a-7a77-7777-bb77-8888888aabc/profile',
],
};
export const options = {
loginType: LoginType.Redirect,
tokenRefreshUri: `${window.location.origin}/auth.html`,
};
export const authProvider = (customConfig: Configuration): MsalAuthProvider => new MsalAuthProvider(customConfig, authenticationParameters, options);
スクリーンショットで確認できるポリシーの名前の入手先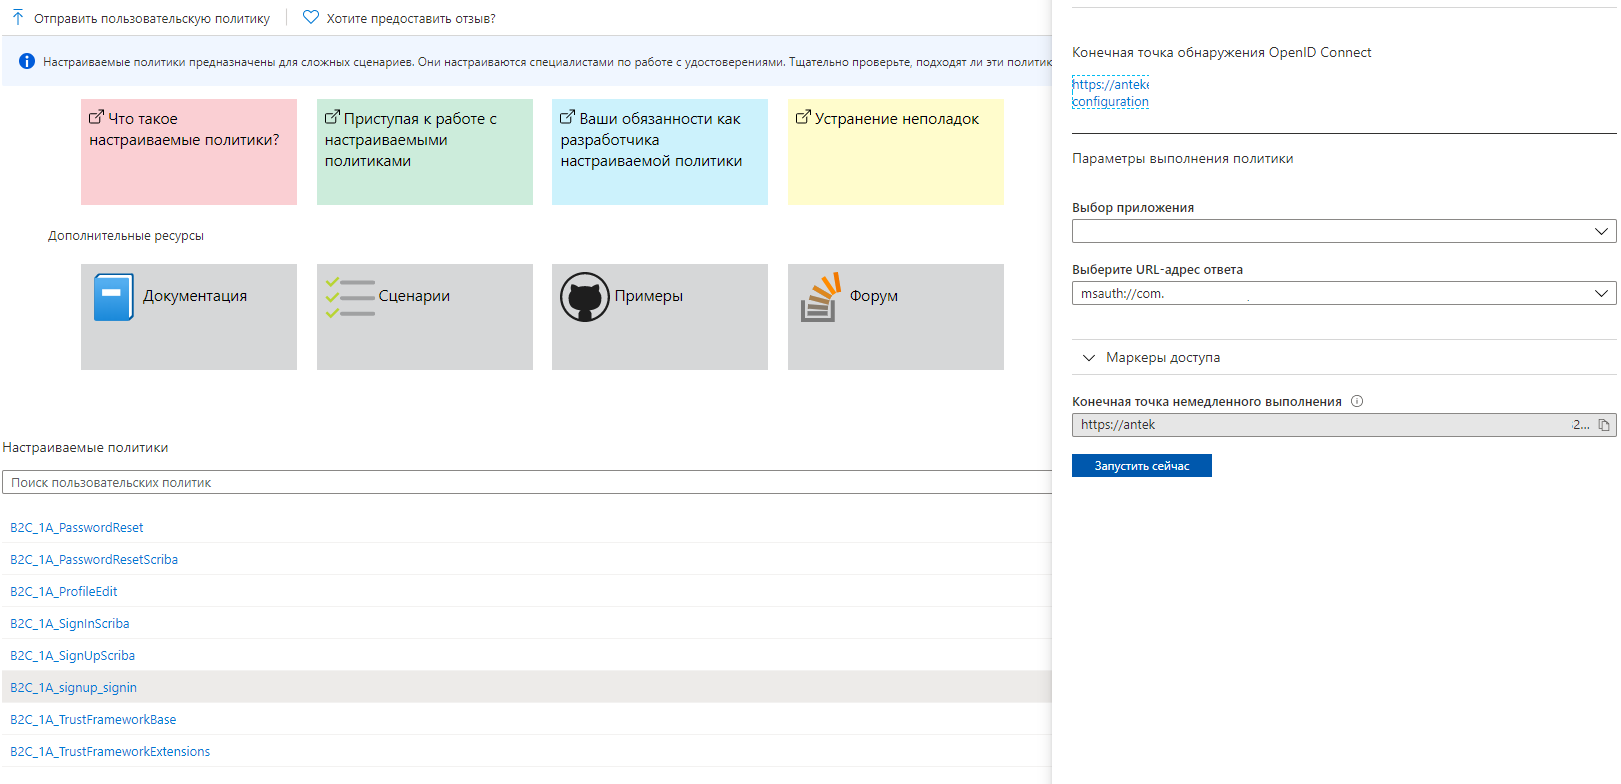
ステップ3
index.tsxファイルでは、ユーザーがアプリケーションに入力する方法に応じてスクリプトを処理する必要があります。 import * as React from 'react';
import * as ReactDOM from 'react-dom';
import { Provider } from 'react-redux';
import { AzureAD, AuthenticationState, IAzureADFunctionProps } from 'react-aad-msal';
import { authProvider, config } from './auth-provider';
import App from './App';
const store = configureStore();
const unauthenticatedFunction = () => (
<AzureAD provider={authProvider(config('B2C_1A_PasswordReset'))}>
{
({
login, logout, authenticationState, error, accountInfo,
}: IAzureADFunctionProps): React.ReactElement | void => {
switch (authenticationState) {
default:
login();
return <h1>Loading...</h1>;
}
}
}
</AzureAD>
);
ReactDOM.render(
<Provider store={store}>
//
<AzureAD provider={authProvider(config('B2C_1A_signup_signin'))} reduxStore={store}>
{
({
login, logout, authenticationState, error, accountInfo,
}: IAzureADFunctionProps): React.ReactElement | void => {
switch (authenticationState) {
case AuthenticationState.Authenticated:
console.log(accountInfo); // + JWT Token
return <App />;
case AuthenticationState.Unauthenticated:
if (!accountInfo && !error) {
login();
}
if (!accountInfo && error) {
//
// AADB2C90118
if (error.errorMessage.includes('AADB2C90118')) {
return unauthenticatedFunction();
}
// ,
// ( " " "")
if (error.errorMessage.includes('AADB2C90091')) {
login();
}
}
console.log('ERROR', error);
return <h1>Not authorized</h1>;
case AuthenticationState.InProgress:
return <h1>In progress</h1>;
default:
return <h1>Default</h1>;
}
}
}
</AzureAD>
</Provider>,
document.getElementById('root'),
);
registerServiceWorker();
ステップ4
[アプリケーションの登録]タブでAzure AD B2Cに
移動し、使用するアプリケーション(IdentityExperienceFrameworkおよびProxyIdentityExperienceFrameworkを除く)を選択します。アプリケーションを作成していない場合は、「基本的なユーザーストリーム」の手順に進みます。
次に、認証に進み、次のURIを追加します。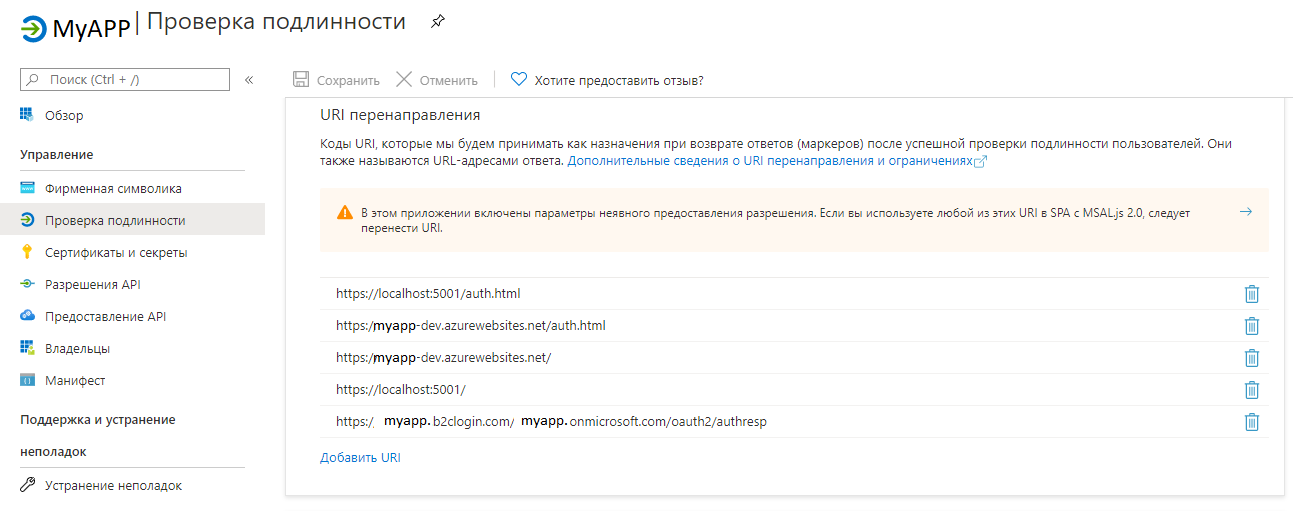
結論
行われた作業の結果、アプリケーションをダウンロードすると、ユーザーは認証ページに転送されます。ご清聴ありがとうございました!