Mari kita bicara tentang cara menghentikan copy-paste antara proyek dan mentransfer kode ke bundel plug-in yang dapat digunakan kembali Symfony 5. Serangkaian artikel yang merangkum pengalaman saya dengan bundel akan dilakukan dalam praktik dari membuat bundel minimal dan refactoring aplikasi demo untuk pengujian dan siklus rilis bundel.
Di bagian pertama:
- Mengapa bundel dibutuhkan?
- Contoh Proyek: Kalender
- Sesuaikan lingkungan: 2 cara untuk berkembang
- Buat bundel minimal
- Menghubungkan bundel ke proyek
Apa itu bungkusan dan mengapa itu dibutuhkan?
Anda akan memerlukan Bundel Symfony (dan hanya itu) ketika Anda bosan dengan kode copy-paste dari proyek ke proyek dan berpikir tentang penggunaan kembali. Cepat atau lambat, muncul pemahaman bahwa lebih mudah untuk mengisolasi kode menjadi plug-in yang dapat digunakan kembali. Bundel Symfony - ini adalah modul di ekosistem Symfony.
Bundel adalah paket kode PHP yang dapat digunakan kembali pada steroid Symfony Framework.
Bundel berbeda dari paket PHP biasa dengan menggunakan komponen dan konvensi yang diterima secara umum yang menyederhanakan integrasi dengan aplikasi Symfony. Dengan mengikuti konvensi penamaan khusus ekosistem dan struktur kode, bundel dapat secara otomatis menyambungkan, mengonfigurasi, dan memperluas dalam aplikasi host Symfony. Bundel terhubung ke proyek melalui manajer dependensi composer.
, — . , DDD- .
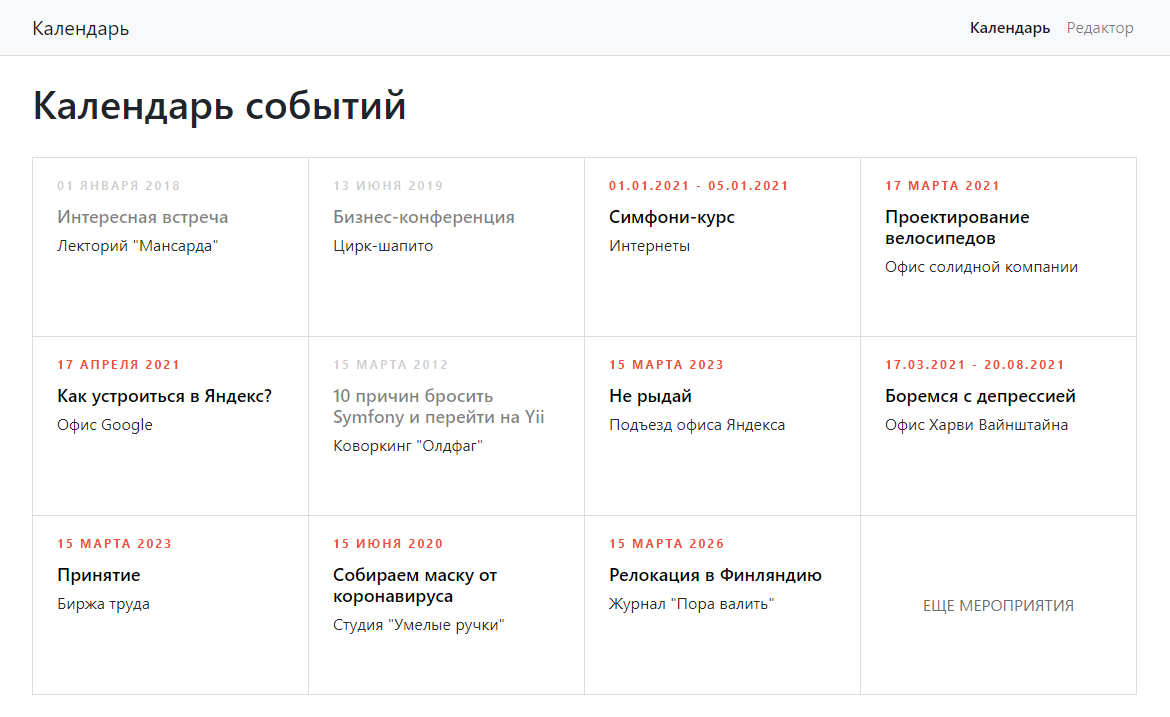
Example Project: Calendar
.
.
, . . , . - , .
, 10 .
: .
, , 12 .
, .
, , , . , , , composer update.
.
README.md .
:
.
, ?
— , File -> New... -> Symfony Project. -, .
2 :
, Symfony . , .
, . , ./bundles.
, .
./bundles CalendarBundle,
:
src/CalendarBundle.php
composer.json
2 !
composer.json
composer.json :
{
    "name": "bravik/calendar-bundle",
    "version": "0.1.0",
    "type": "symfony-bundle",
    "description": "Symfony bundles tutorial example project",
    "license": "proprietary",
    "require": {
        "php": "^7.3"
    },
    "require-dev": {
    },
    "config": {
        "sort-packages": true
    },
    "autoload": {
        "psr-4": {
            "bravik\\CalendarBundle\\": "src/"
        }
    },
    "autoload-dev": {
        "psr-4": {
            "bravik\\CalendarBundle\\Tests\\": "tests/"
        }
    },
    "scripts": {
        "test" : "./vendor/bin/simple-phpunit"
    },
    "extra": {
        "symfony": {
            "allow-contrib": false,
            "require": "5.0.*"
        }
    }
}
:
"name": "bravik/calendar-bundle",
"description": "Health check bundle",
. . composer, vendor/bravik/calendar-bundle
"type": "symfony-bundle"
Symfony, . composer, — Symfony Flex, — -, ( bundles.php), "".
— Symfony Flex, , .
"version": "0.1.0",
. composer . .
"autoload": {
    "psr-4": {
        "bravik\\CalendarBundle\\": "src"
    }
},
"autoload-dev": {
    "psr-4": {
        "bravik\\CalendarBundle\\Tests\\": "tests"
    }
},
composer. <VendorName>/<CategoryName>/<BundleName>Bundle.
composer, bravik\\CalendarBundle ./src composer.json . -, , use <BundleNamespace>/<BundleClass>.
dev-. .
"require": {
    "php": "^7.3"
},
"require-dev": {},
require require-dev prod dev . - . composer . php .
.
./src CalendarBundle.php :
<?php
namespace bravik\CalendarBundle;

use Symfony\Component\HttpKernel\Bundle\Bundle;

class CalendarBundle extends Bundle
{
}
. .
: <BundleName>Bundle.php, — Bundle. , Symfony , ( ).
,
.
bravik\CalendarBundle, composer.json. .
-
composer :
composer require bravik/calendar-bundle
, composer : .
, repositories composer.json .
, bundles/CalendarBundle:
"repositories": [
    {
        "type" : "path",
        "url" : "./bundles/CalendarBundle"
    }
],
vendor , bravik/calendar-bundle, . vendors, .
, git- :
"repositories": [
    {
        "type" : "vcs",
        "url" : "git@bitbucket.org:bravik/calendarbundle.git"
    }
],
composer git- vendors/bravik/calendar-bundle.
composer.
composer require bravik/calendar-bundle composer.json , . , config/bundles.php:
<?php
return [
bravik\CalendarBundle\CalendarBundle::class => ['all' => true],
];
, !
-, ./bundles .gitignore , bundles/CalendarBundle : composer init. , .
, " " - - , .
, .
- Symfony 2 :
composer.json MyBundle. - - IDE GIT-, composer.
- , .
- , .
Example Project 1-bundle-mockup.
, , , DI-.
:
Bagian 1. Bundel minimum
Bagian 2. Kami mengeluarkan kode dan templat dalam bundel
Bagian 3. Integrasi bundel dengan host: templat, gaya, JS
Bagian 4. Antarmuka untuk memperluas bundel
Bagian 5. Parameter dan konfigurasi
Bagian 6. Pengujian, aplikasi mikro di dalam bundel
Bagian 7 Lepaskan siklus, instalasi, dan perbarui