Kami memulai minggu baru dengan interpretasi lain dari dokumentasi Flutter resmi dalam format tanya-jawab. Bagian 4 mencakup gaya komparatif Flutter untuk pengembang web. Ini sepenuhnya dikhususkan untuk tata letak dan belum keluar sebanyak yang sebelumnya. Secara tradisional, saya merekomendasikan semua pengembang web yang tertarik pada Flutter untuk mencari di bawah kucing untuk melihat apakah layak untuk mencoba kerangka ini dan berapa banyak upaya yang akan dilakukan.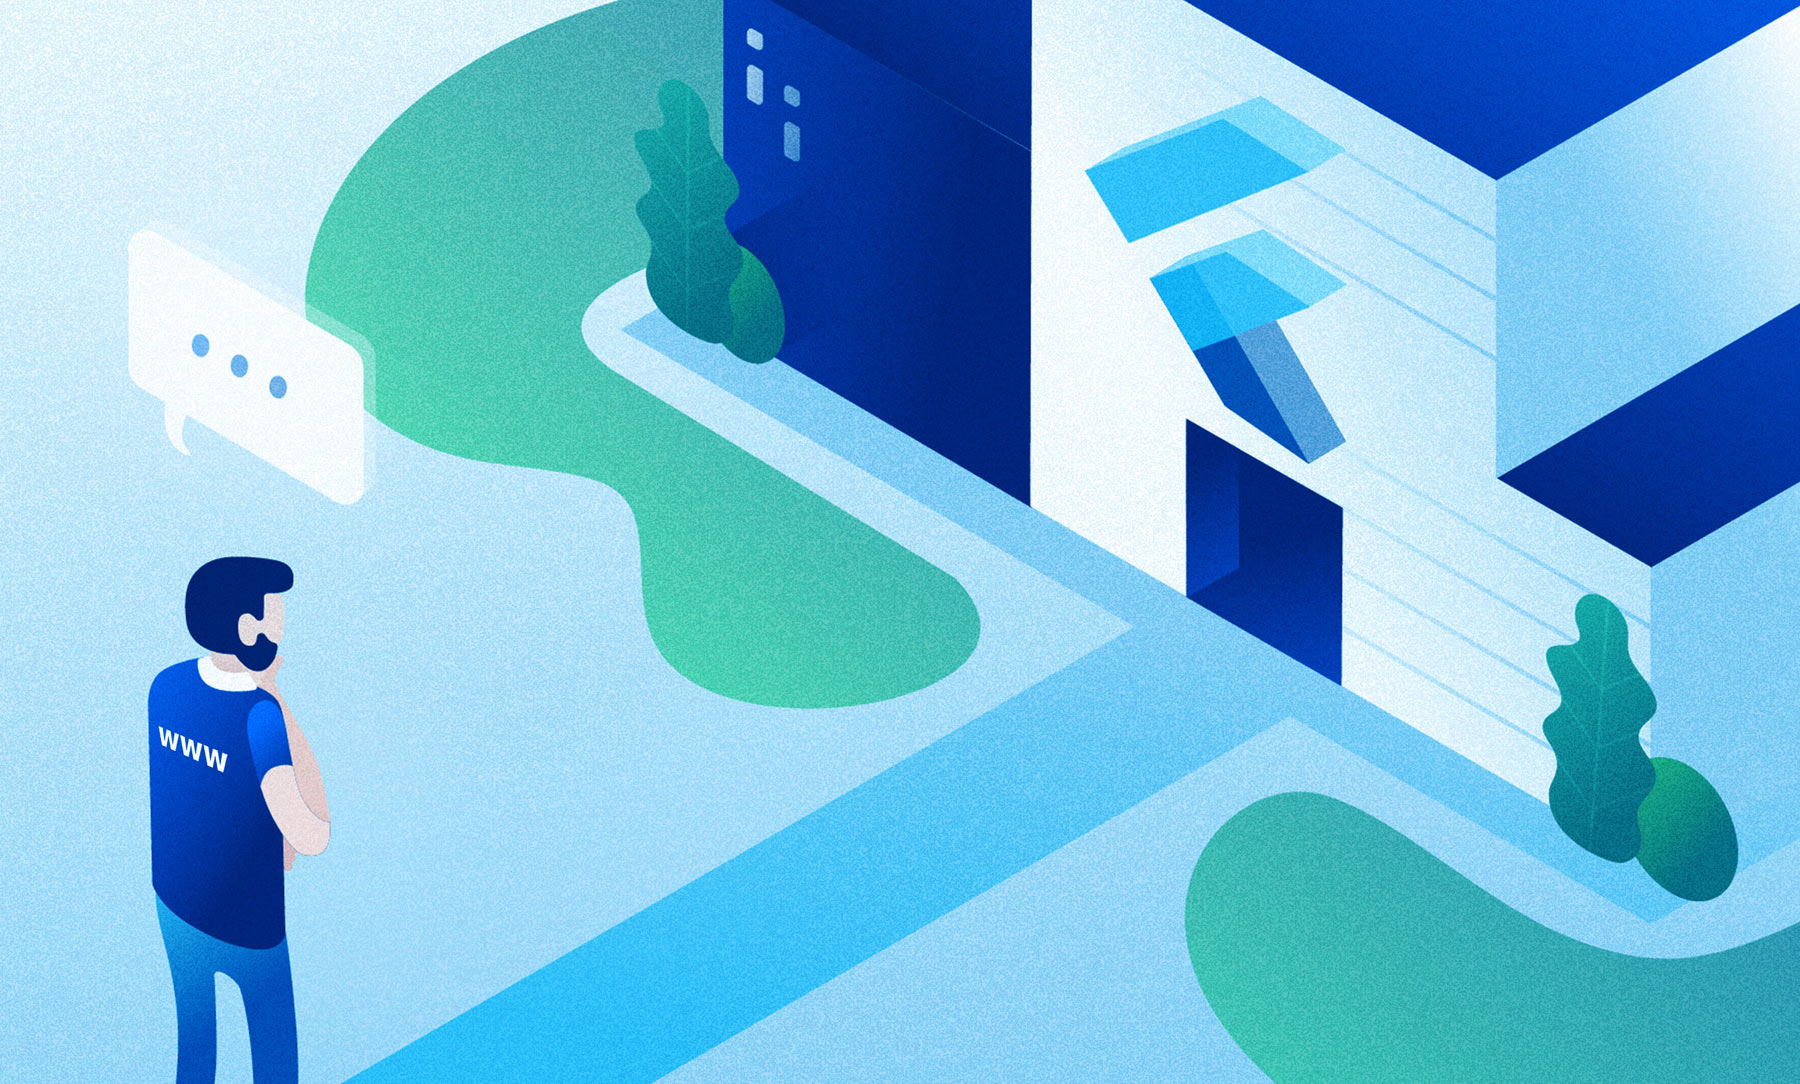 Jika tidak ada cukup informasi di sini atau jika Anda memiliki pengalaman dalam pengembangan asli untuk platform tertentu, maka saya sarankan untuk melihat bagian lain:Flutter. Bagian 1. Untuk pengembang AndroidFlutter. Bagian 2. Untuk pengembang iOSFlutter. Bagian 3. Untuk pengembang React NativeFlutter. Bagian 4. Untuk pengembang webFlutter. Bagian 5. Untuk Pengembang Xamarin
Kandungan:
- Tata letak dasar
- Posisi dan Ukuran
- Formulir
- Teks
Tata letak dasar
Pertanyaan:
Bagaimana cara mendesain dan menyelaraskan teks?Menjawab:
Menggunakan TextStyle .Contoh:
HTML / CSS<div class="greybox">
Lorem ipsum
</div>
.greybox {
background-color: #e0e0e0;
width: 320px;
height: 240px;
font: 900 24px Georgia;
}
Berdebarvar container = Container(
child: Text(
"Lorem ipsum",
style: TextStyle(
fontSize: 24,
fontWeight: FontWeight.w900,
fontFamily: "Georgia",
),
),
width: 320,
height: 240,
color: Colors.grey[300],
);
Pertanyaan:
Bagaimana pengaturan warna latar belakang?Menjawab
Menggunakan kelas BoxDecoration .Perbedaan
Properti background-colordi CSS hanya bertanggung jawab atas warna latar belakang. BoxDecoration bertanggung jawab untuk berbagai properti yang lebih luas, seperti sudut pembulatan, tepi, dll.Contoh
HTML / CSS<div class="greybox">
Lorem ipsum
</div>
.greybox {
background-color: #e0e0e0;
width: 320px;
height: 240px;
font: 900 24px Roboto;
}
Berdebarvar container = Container(
child: Text(
"Lorem ipsum",
style: bold24Roboto,
),
width: 320,
height: 240,
decoration: BoxDecoration(
color: Colors.grey[300],
),
);
Pertanyaan:
Bagaimana cara memusatkan komponen?Menjawab
Menggunakan Pusat widget .Contoh
HTML / CSS<div class="greybox">
Lorem ipsum
</div>
.greybox {
background-color: #e0e0e0;
width: 320px;
height: 240px;
font: 900 24px Roboto;
display: flex;
align-items: center;
justify-content: center;
}
Berdebarvar container = Container(
child: Center(
child: Text(
"Lorem ipsum",
style: bold24Roboto,
),
),
width: 320,
height: 240,
color: Colors.grey[300],
);
Pertanyaan:
Bagaimana cara mengatur lebar kontainer?Menjawab
Menggunakan properti width.Perbedaan
Widget bergetar memiliki properti widthtetap. Untuk mengkonfigurasi maxWidthatau minWidth, gunakan widget BoxConstraints .Contoh:
HTML / CSS<div class="greybox">
<div class="redbox">
Lorem ipsum
</div>
</div>
.greybox {
background-color: #e0e0e0;
width: 320px;
height: 240px;
font: 900 24px Roboto;
display: flex;
align-items: center;
justify-content: center;
}
.redbox {
background-color: #ef5350;
padding: 16px;
color: #ffffff;
width: 100%;
max-width: 240px;
}
Berdebarvar container = Container(
child: Center(
child: Container(
child: Text(
"Lorem ipsum",
style: bold24Roboto,
),
decoration: BoxDecoration(
color: Colors.red[400],
),
padding: EdgeInsets.all(16),
width: 240,
),
),
width: 320,
height: 240,
color: Colors.grey[300],
);
Posisi dan Ukuran
Pertanyaan
Bagaimana cara menetapkan posisi absolut?Menjawab
Menggunakan widget Diposisikan di dalam widget Stack .informasi tambahan
Secara default, widget diposisikan di dalam widget induk.Contoh
HTML / CSS<div class="greybox">
<div class="redbox">
Lorem ipsum
</div>
</div>
.greybox {
background-color: #e0e0e0;
width: 320px;
height: 240px;
font: 900 24px Roboto;
position: relative;
}
.redbox {
background-color: #ef5350;
padding: 16px;
color: #ffffff;
position: absolute;
top: 24px;
left: 24px;
}
Berdebarvar container = Container(
child: Stack(
children: [
Positioned(
child: Container(
child: Text(
"Lorem ipsum",
style: bold24Roboto,
),
decoration: BoxDecoration(
color: Colors.red[400],
),
padding: EdgeInsets.all(16),
),
left: 24,
top: 24,
),
],
),
width: 320,
height: 240,
color: Colors.grey[300],
);
Pertanyaan
Bagaimana cara mengatur rotasi komponen?Menjawab
Menggunakan widget Transform .Contoh
HTML / CSS<div class="greybox">
<div class="redbox">
Lorem ipsum
</div>
</div>
.greybox {
background-color: #e0e0e0;
width: 320px;
height: 240px;
font: 900 24px Roboto;
display: flex;
align-items: center;
justify-content: center;
}
.redbox {
background-color: #ef5350;
padding: 16px;
color: #ffffff;
transform: rotate(15deg);
}
Berdebarvar container = Container(
child: Center(
child: Transform(
child: Container(
child: Text(
"Lorem ipsum",
style: bold24Roboto,
textAlign: TextAlign.center,
),
decoration: BoxDecoration(
color: Colors.red[400],
),
padding: EdgeInsets.all(16),
),
alignment: Alignment.center,
transform: Matrix4.identity()
..rotateZ(15 * 3.1415927 / 180),
),
),
width: 320,
height: 240,
color: Colors.grey[300],
);
Pertanyaan
Bagaimana skala komponen?Menjawab
Menggunakan widget Transform .Contoh
HTML / CSS<div class="greybox">
<div class="redbox">
Lorem ipsum
</div>
</div>
.greybox {
background-color: #e0e0e0;
width: 320px;
height: 240px;
font: 900 24px Roboto;
display: flex;
align-items: center;
justify-content: center;
}
.redbox {
background-color: #ef5350;
padding: 16px;
color: #ffffff;
transform: scale(1.5);
}
Berdebarvar container = Container(
child: Center(
child: Transform(
child: Container(
child: Text(
"Lorem ipsum",
style: bold24Roboto,
textAlign: TextAlign.center,
),
decoration: BoxDecoration(
color: Colors.red[400],
),
padding: EdgeInsets.all(16),
),
alignment: Alignment.center,
transform: Matrix4.identity()
..scale(1.5),
),
width: 320,
height: 240,
color: Colors.grey[300],
);
Pertanyaan
Bagaimana cara menerapkan gradien?Menjawab
Menggunakan kelas BoxDecoration dan propertinya gradient.Contoh
HTML / CSS Gradien Linier Vertikal<div class="greybox">
<div class="redbox">
Lorem ipsum
</div>
</div>
.greybox {
background-color: #e0e0e0;
width: 320px;
height: 240px;
font: 900 24px Roboto;
display: flex;
align-items: center;
justify-content: center;
}
.redbox {
padding: 16px;
color: #ffffff;
background: linear-gradient(180deg, #ef5350, rgba(0, 0, 0, 0) 80%);
}
Berdebarvar container = Container(
child: Center(
child: Container(
child: Text(
"Lorem ipsum",
style: bold24Roboto,
),
decoration: BoxDecoration(
gradient: LinearGradient(
begin: const Alignment(0.0, -1.0),
end: const Alignment(0.0, 0.6),
colors: <Color>[
const Color(0xffef5350),
const Color(0x00ef5350)
],
),
),
padding: EdgeInsets.all(16),
),
),
width: 320,
height: 240,
color: Colors.grey[300],
);
HTML / CSS Gradien Linier Horisontal<div class="greybox">
<div class="redbox">
Lorem ipsum
</div>
</div>
.greybox {
background-color: #e0e0e0;
width: 320px;
height: 240px;
font: 900 24px Roboto;
display: flex;
align-items: center;
justify-content: center;
}
.redbox {
padding: 16px;
color: #ffffff;
background: linear-gradient(90deg, #ef5350, rgba(0, 0, 0, 0) 80%);
}
Berdebarvar container = Container(
child: Center(
child: Container(
child: Text(
"Lorem ipsum",
style: bold24Roboto,
),
decoration: BoxDecoration(
gradient: LinearGradient(
begin: const Alignment(-1.0, 0.0),
end: const Alignment(0.6, 0.0),
colors: <Color>[
const Color(0xffef5350),
const Color(0x00ef5350)
],
),
),
padding: EdgeInsets.all(16),
),
),
width: 320,
height: 240,
color: Colors.grey[300],
);
Formulir
Pertanyaan
Bagaimana cara membulatkan sudut?Menjawab
Menggunakan kelas BoxDecoration dan propertinya borderRadius.Contoh
HTML / CSS<div class="greybox">
<div class="redbox">
Lorem ipsum
</div>
</div>
.greybox {
background-color: #e0e0e0;
width: 320px;
height: 240px;
font: 900 24px Roboto;
display: flex;
align-items: center;
justify-content: center;
}
.redbox {
background-color: #ef5350;
padding: 16px;
color: #ffffff;
border-radius: 8px;
}
Berdebarvar container = Container(
child: Center(
child: Container(
child: Text(
"Lorem ipsum",
style: bold24Roboto,
),
decoration: BoxDecoration(
color: Colors.red[400],
borderRadius: BorderRadius.all(
const Radius.circular(8),
),
),
padding: EdgeInsets.all(16),
),
),
width: 320,
height: 240,
color: Colors.grey[300],
);
Pertanyaan
Bagaimana cara menambahkan bayangan?Menjawab
Menggunakan kelas BoxShadow .informasi tambahan
BoxShadow digunakan sebagai bagian boxShadowdari properti kelas BoxDecoration .Contoh
HTML / CSS<div class="greybox">
<div class="redbox">
Lorem ipsum
</div>
</div>
.greybox {
background-color: #e0e0e0;
width: 320px;
height: 240px;
font: 900 24px Roboto;
display: flex;
align-items: center;
justify-content: center;
}
.redbox {
background-color: #ef5350;
padding: 16px;
color: #ffffff;
box-shadow: 0 2px 4px rgba(0, 0, 0, 0.8),
0 6px 20px rgba(0, 0, 0, 0.5);
}
Berdebarvar container = Container(
child: Center(
child: Container(
child: Text(
"Lorem ipsum",
style: bold24Roboto,
),
decoration: BoxDecoration(
color: Colors.red[400],
boxShadow: [
BoxShadow (
color: const Color(0xcc000000),
offset: Offset(0, 2),
blurRadius: 4,
),
BoxShadow (
color: const Color(0x80000000),
offset: Offset(0, 6),
blurRadius: 20,
),
],
),
padding: EdgeInsets.all(16),
),
),
width: 320,
height: 240,
decoration: BoxDecoration(
color: Colors.grey[300],
),
margin: EdgeInsets.only(bottom: 16),
);
Pertanyaan
Bagaimana cara membuat bentuk bulat dan elips?Menjawab
Menggunakan enumkelas BoxShape .informasi tambahan
BoxShape digunakan sebagai bagian dari properti bentuk kelas BoxDecoration .Contoh
HTML / CSS<div class="greybox">
<div class="redcircle">
Lorem ipsum
</div>
</div>
.greybox {
background-color: #e0e0e0;
width: 320px;
height: 240px;
font: 900 24px Roboto;
display: flex;
align-items: center;
justify-content: center;
}
.redcircle {
background-color: #ef5350;
padding: 16px;
color: #ffffff;
text-align: center;
width: 160px;
height: 160px;
border-radius: 50%;
}
Berdebarvar container = Container(
child: Center(
child: Container(
child: Text(
"Lorem ipsum",
style: bold24Roboto,
textAlign: TextAlign.center,
),
decoration: BoxDecoration(
color: Colors.red[400],
shape: BoxShape.circle,
),
padding: EdgeInsets.all(16),
width: 160,
height: 160,
),
),
width: 320,
height: 240,
color: Colors.grey[300],
);
Teks
Pertanyaan
Bagaimana cara menyesuaikan jarak antar teks?Menjawab
Menggunakan kelas TextStyle dan propertinya letterSpacingdan wordSpacing.Contoh
HTML / CSS<div class="greybox">
<div class="redbox">
Lorem ipsum
</div>
</div>
.greybox {
background-color: #e0e0e0;
width: 320px;
height: 240px;
font: 900 24px Roboto;
display: flex;
align-items: center;
justify-content: center;
}
.redbox {
background-color: #ef5350;
padding: 16px;
color: #ffffff;
letter-spacing: 4px;
}
Berdebarvar container = Container(
child: Center(
child: Container(
child: Text(
"Lorem ipsum",
style: TextStyle(
color: Colors.white,
fontSize: 24,
fontWeight: FontWeight.w900,
letterSpacing: 4,
),
),
decoration: BoxDecoration(
color: Colors.red[400],
),
padding: EdgeInsets.all(16),
),
),
width: 320,
height: 240,
color: Colors.grey[300],
);
Pertanyaan
Bagaimana cara memformat bagian dari teks?Menjawab
Menggunakan widget RichText dan kelas TextSpan .Contoh
HTML / CSS<div class="greybox">
<div class="redbox">
Lorem <em>ipsum</em>
</div>
</div>
.greybox {
background-color: #e0e0e0;
width: 320px;
height: 240px;
font: 900 24px Roboto;
display: flex;
align-items: center;
justify-content: center;
}
.redbox {
background-color: #ef5350;
padding: 16px;
color: #ffffff;
}
.redbox em {
font: 300 48px Roboto;
font-style: italic;
}
Berdebarvar container = Container(
child: Center(
child: Container(
child: RichText(
text: TextSpan(
style: bold24Roboto,
children: <TextSpan>[
TextSpan(text: "Lorem "),
TextSpan(
text: "ipsum",
style: TextStyle(
fontWeight: FontWeight.w300,
fontStyle: FontStyle.italic,
fontSize: 48,
),
),
],
),
),
decoration: BoxDecoration(
color: Colors.red[400],
),
padding: EdgeInsets.all(16),
),
),
width: 320,
height: 240,
color: Colors.grey[300],
);
Pertanyaan
Bagaimana membatasi tampilan teks yang panjang?Menjawab
Dengan bantuan widget maxLinesdan overflowwidget Teks .Contoh
HTML / CSS<div class="greybox">
<div class="redbox">
Lorem ipsum dolor sit amet, consec etur
</div>
</div>
.greybox {
background-color: #e0e0e0;
width: 320px;
height: 240px;
font: 900 24px Roboto;
display: flex;
align-items: center;
justify-content: center;
}
.redbox {
background-color: #ef5350;
padding: 16px;
color: #ffffff;
overflow: hidden;
text-overflow: ellipsis;
white-space: nowrap;
}
Berdebarvar container = Container(
child: Center(
child: Container(
child: Text(
"Lorem ipsum dolor sit amet, consec etur",
style: bold24Roboto,
overflow: TextOverflow.ellipsis,
maxLines: 1,
),
decoration: BoxDecoration(
color: Colors.red[400],
),
padding: EdgeInsets.all(16),
),
),
width: 320,
height: 240,
color: Colors.grey[300],
);
Pada akhir Desember 2019, dengan rilis Flutter 1.12, dukungan web masuk ke versi beta! Dan ini adalah berita bagus, artinya dalam waktu dekat kita akan semakin melihat situs web yang ditulis dalam Flutter. Karena itu, jika Anda masih berpikir, saya sarankan mencoba kerangka ini dan saya harap artikel saya bermanfaat. Dan itu saja untuk hari ini. Semoga Google tidak merusak Chrome Anda!