Hoy escanearemos el documento y mostraremos el texto reconocido de este documento. No necesita instalar bibliotecas adicionales para esto: VisionKit es útil para escanear y Vision para reconocimiento de texto.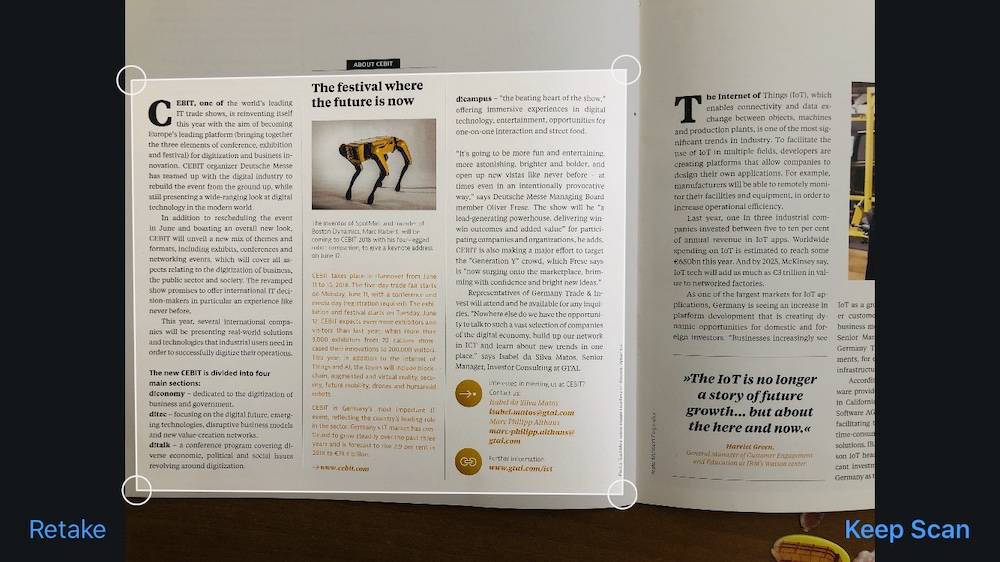 Primero, asegúrese de tener Xcode 11 e iOS 13 instalados , luego cree un nuevo proyecto con soporte de Storyboard .Escanearemos con una cámara de video. Por lo tanto, debemos agregar NSCameraUsageDescription a Info.plist , sin esta aplicación se bloqueará.
Exploración
Para escanear documentos, utilizamos el Marco VisionKit . Para abrir la pantalla para escanear, debe crear una nueva muestra de VNDocumentCameraViewController y generar:let scanner = VNDocumentCameraViewController()
scanner.delegate = self
present(scanner, animated: true)
Agregue VNDocumentCameraViewControllerDelegate a ViewController :class ViewController: UIViewController, VNDocumentCameraViewControllerDelegate {
...
Después de hacer clic en "Cancelar" o un error, cierre la pantalla abierta:func documentCameraViewControllerDidCancel(_ controller: VNDocumentCameraViewController) {
controller.dismiss(animated: true)
}
func documentCameraViewController(_ controller: VNDocumentCameraViewController, didFailWithError error: Error) {
controller.dismiss(animated: true)
}
Después de escanear y hacer clic en "Guardar", lo siguiente funcionará:func documentCameraViewController(_ controller: VNDocumentCameraViewController, didFinishWith scan: VNDocumentCameraScan) {
for i in 0 ..< scan.pageCount {
let img = scan.imageOfPage(at: i)
}
controller.dismiss(animated: true)
}
Cada página puede ser procesada individualmente.Reconocimiento de texto
Descubrimos el escaneo, ahora extraemos el texto.Para que todo funcione sin problemas, realizaremos el reconocimiento en segundo plano. Para hacer esto, cree un DispatchQueue :lazy var workQueue = {
return DispatchQueue(label: "workQueue", qos: .userInitiated, attributes: [], autoreleaseFrequency: .workItem)
}()
Para el reconocimiento, necesitamos un VNImageRequestHandler con una imagen y VNRecognizeTextRequest con las opciones recognitionLevel , customWords , recognitionLanguages , así como un controlador de finalización que dará el resultado en forma de texto. Al finalizar, recopilamos las mejores opciones de texto y mostramos:lazy var textRecognitionRequest: VNRecognizeTextRequest = {
let req = VNRecognizeTextRequest { (request, error) in
guard let observations = request.results as? [VNRecognizedTextObservation] else { return }
var resultText = ""
for observation in observations {
guard let topCandidate = observation.topCandidates(1).first else { return }
resultText += topCandidate.string
resultText += "\n"
}
DispatchQueue.main.async {
self.txt.text = resultText
}
}
return req
}()
VNImageRequestHandler :func recognizeText(inImage: UIImage) {
guard let cgImage = inImage.cgImage else { return }
workQueue.async {
let requestHandler = VNImageRequestHandler(cgImage: cgImage, options: [:])
do {
try requestHandler.perform([self.textRecognitionRequest])
} catch {
print(error)
}
}
}
Latest ViewController
import UIKit
import Vision
import VisionKit
class ViewController: UIViewController, VNDocumentCameraViewControllerDelegate {
@IBOutlet weak var txt: UITextView!
lazy var workQueue = {
return DispatchQueue(label: "workQueue", qos: .userInitiated, attributes: [], autoreleaseFrequency: .workItem)
}()
lazy var textRecognitionRequest: VNRecognizeTextRequest = {
let req = VNRecognizeTextRequest { (request, error) in
guard let observations = request.results as? [VNRecognizedTextObservation] else { return }
var resultText = ""
for observation in observations {
guard let topCandidate = observation.topCandidates(1).first else { return }
resultText += topCandidate.string
resultText += "\n"
}
DispatchQueue.main.async {
self.txt.text = self.txt.text + "\n" + resultText
}
}
return req
}()
@IBAction func startScan(_ sender: Any) {
txt.text = ""
let scanner = VNDocumentCameraViewController()
scanner.delegate = self
present(scanner, animated: true)
}
func recognizeText(inImage: UIImage) {
    guard let cgImage = inImage.cgImage else { return }

    workQueue.async {
        let requestHandler = VNImageRequestHandler(cgImage: cgImage, options: [:])
        do {
            try requestHandler.perform([self.textRecognitionRequest])
        } catch {
            print(error)
        }
    }
}
func documentCameraViewController(_ controller: VNDocumentCameraViewController, didFinishWith scan: VNDocumentCameraScan) {
for i in 0 ..< scan.pageCount {
let img = scan.imageOfPage(at: i)
recognizeText(inImage: img)
}
controller.dismiss(animated: true)
}
func documentCameraViewControllerDidCancel(_ controller: VNDocumentCameraViewController) {
controller.dismiss(animated: true)
}
func documentCameraViewController(_ controller: VNDocumentCameraViewController, didFailWithError error: Error) {
print(error)
controller.dismiss(animated: true)
}
}

¿Que sigue?
Documentación:developer.apple.com/documentation/visiondeveloper.apple.com/documentation/visionkitWWDC Speech framework video:developer.apple.com/videos/all-videos/?q=VisionGitHub project:github.com/usenbekov / vision-demo