Many people who are just starting to learn programming ask the question - is it ok to copy-paste someone else's code? Given that a person is a lazy creature, and a programmer’s time costs money - the answer, in my opinion, is obvious - yes. But to people who bring this principle to the point of absurdity, who copy without thinking and not understanding , and also to those who write a diploma, this essay is dedicated to this keyboard and article. And yes, this keyboard contains exactly two buttons - copy and paste.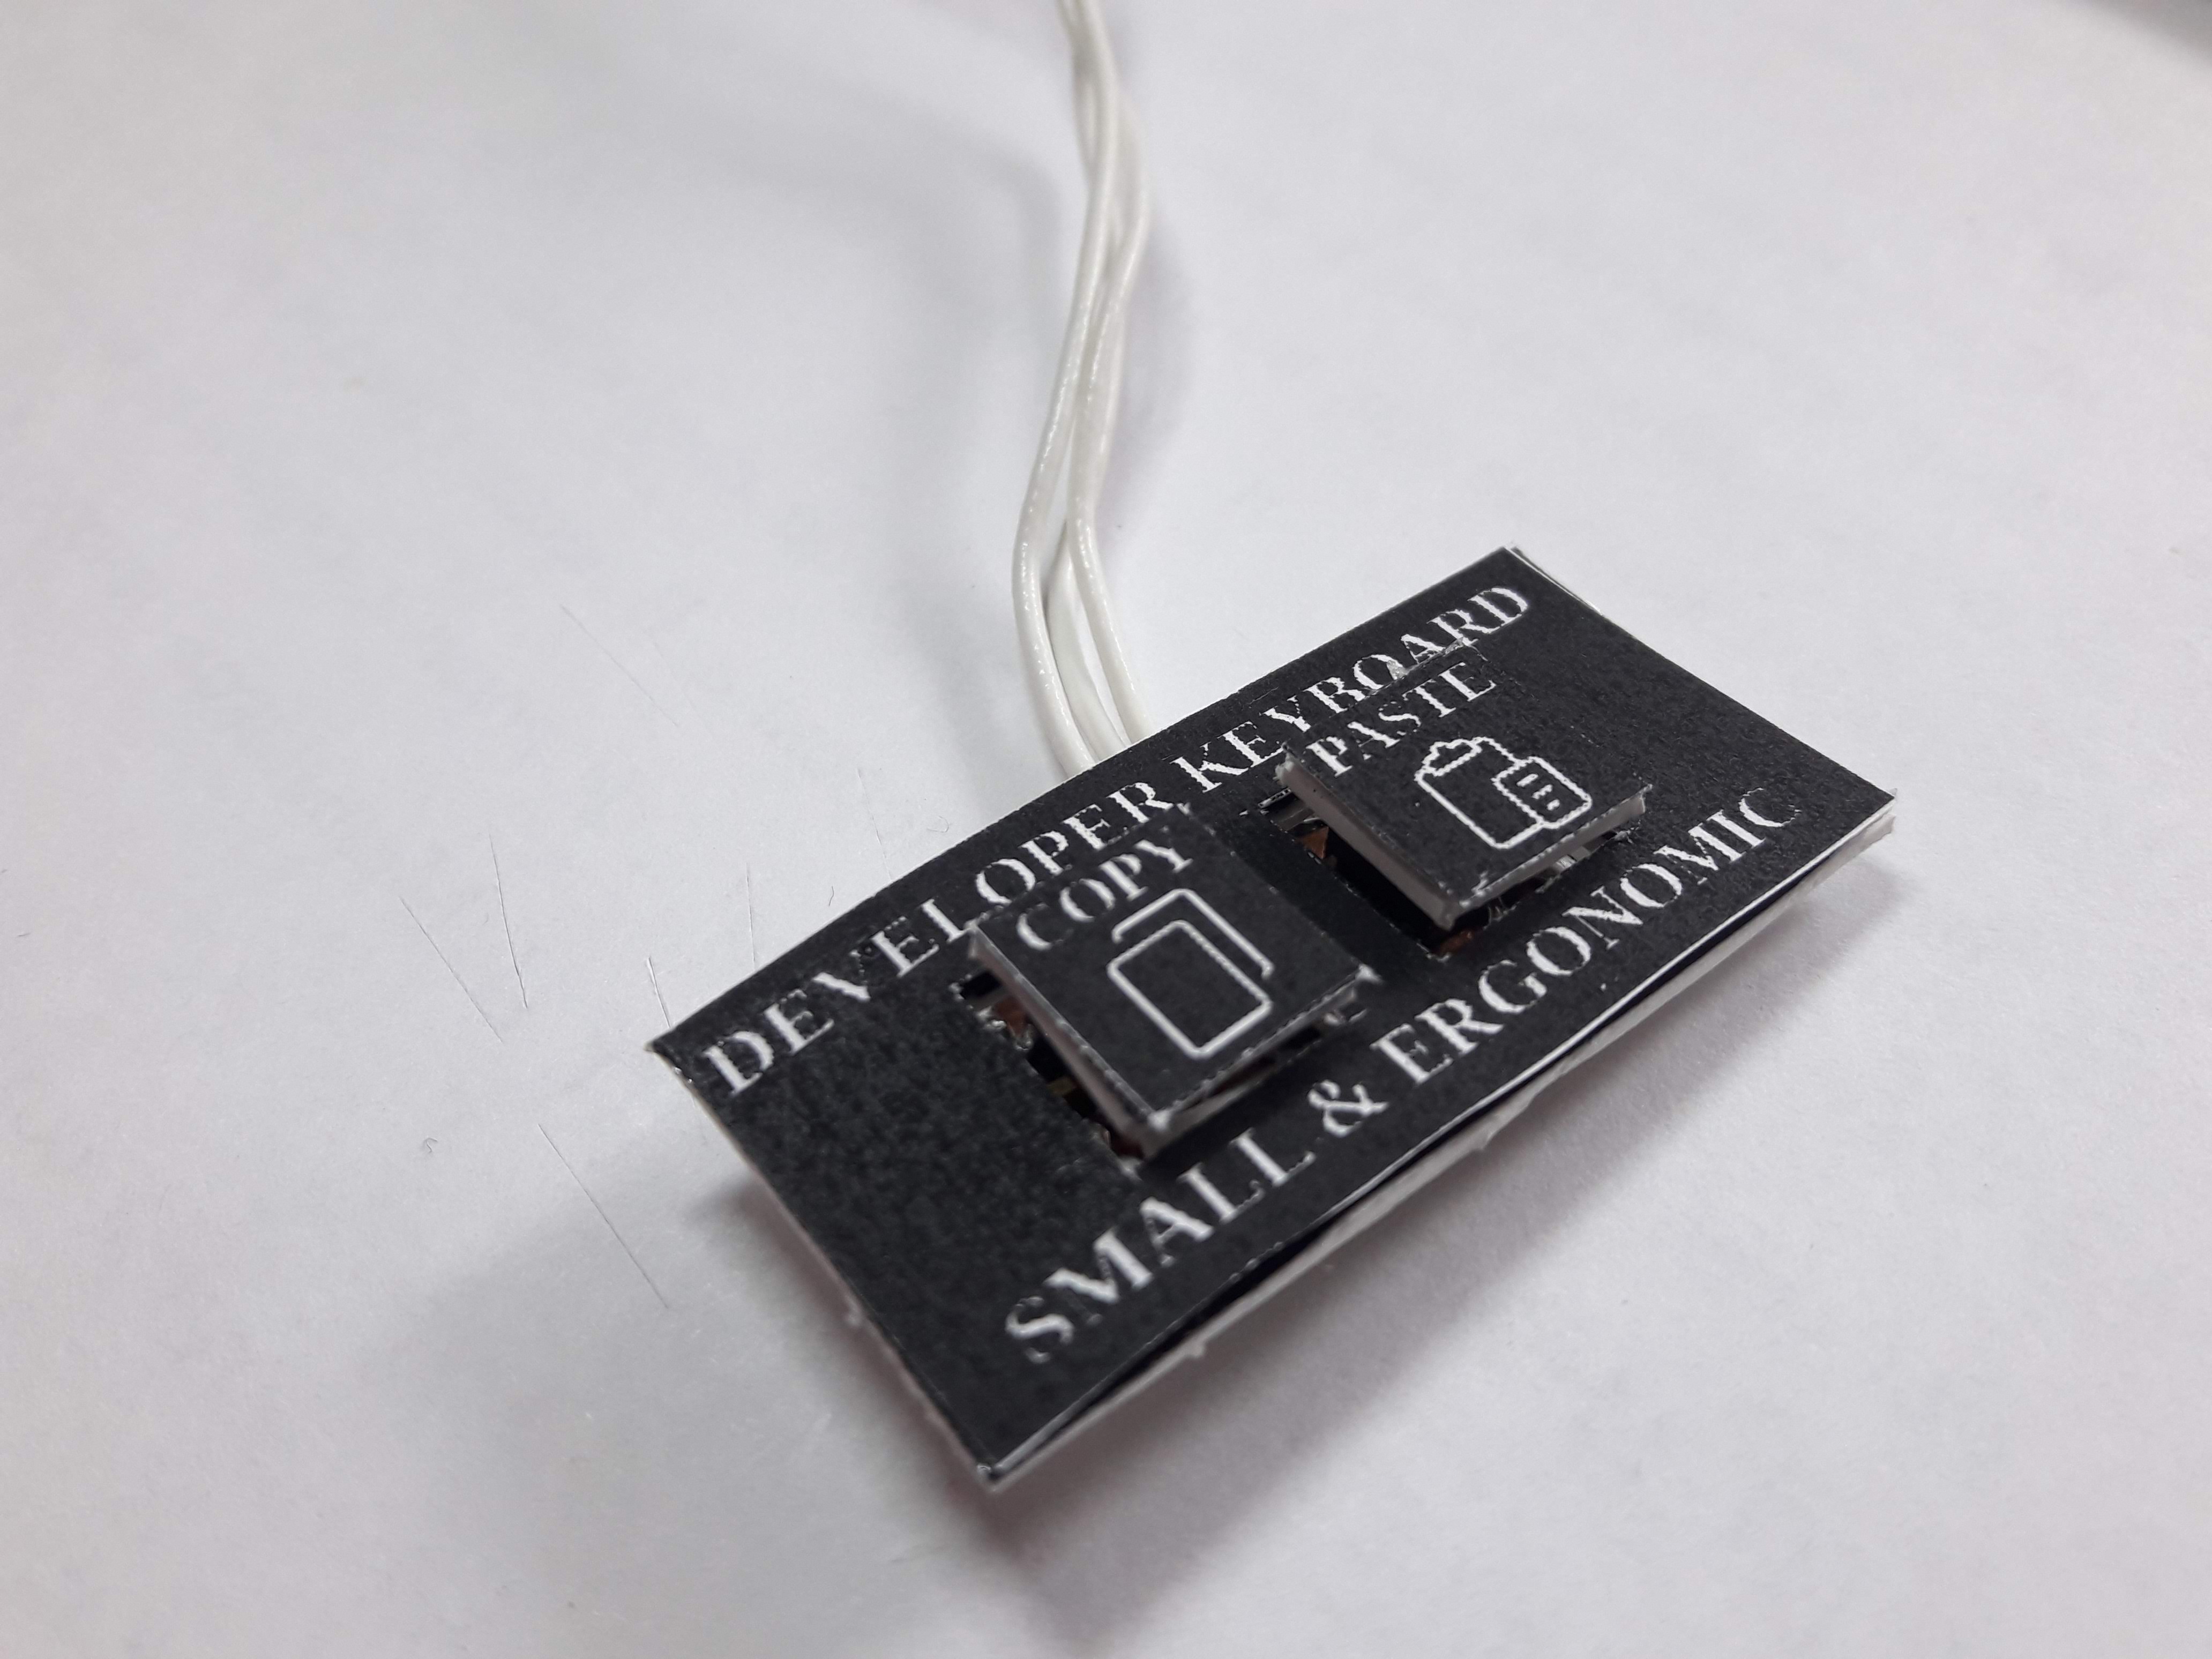 Under the cut will be a story about assembly and firmware - we’ll even see the bounce of a logical analyzerSo, I decided to assemble this keyboard. I decided to start with the components - digispark (a small scarf with attiny85 and a usb binding that can be inserted directly into the computer), let it capture keystrokes and emulate the keyboard. Now I don’t have buttons - I don’t have normal mechanical buttons for the keyboard, but I don’t feel like waiting, so let's take the smd buttons. Like these ones:Having decided on the components, now we will draw the front panel to print it on a printer in the future. Dimensions 45mm * 21mm, pad sizes for buttons 10mm * 10mmWrite something at the top and bottom.It turned out something like this:
 The next problem is the smd buttons, so they need to be soldered to some kind of board. Since poisoning the board for the sake of such a thing does not make sense - we scratch the textolite with the letter T:
 The distance between the centers of the buttons is 15mm. Solder them to an improvised board.We solder three wires. When the button is pressed, it will close one of the outermost wires to the central one.
 Next, take the first piece of PVC plastic that comes across and glue our front panel on it, and glue their nozzles on the buttons. The only thing I did not take into account was that the part itself that presses the membrane rotates on the tact buttons. If you want to improve the design - use the normal switches.The result should be what you saw at the beginning of the article. Another angle.
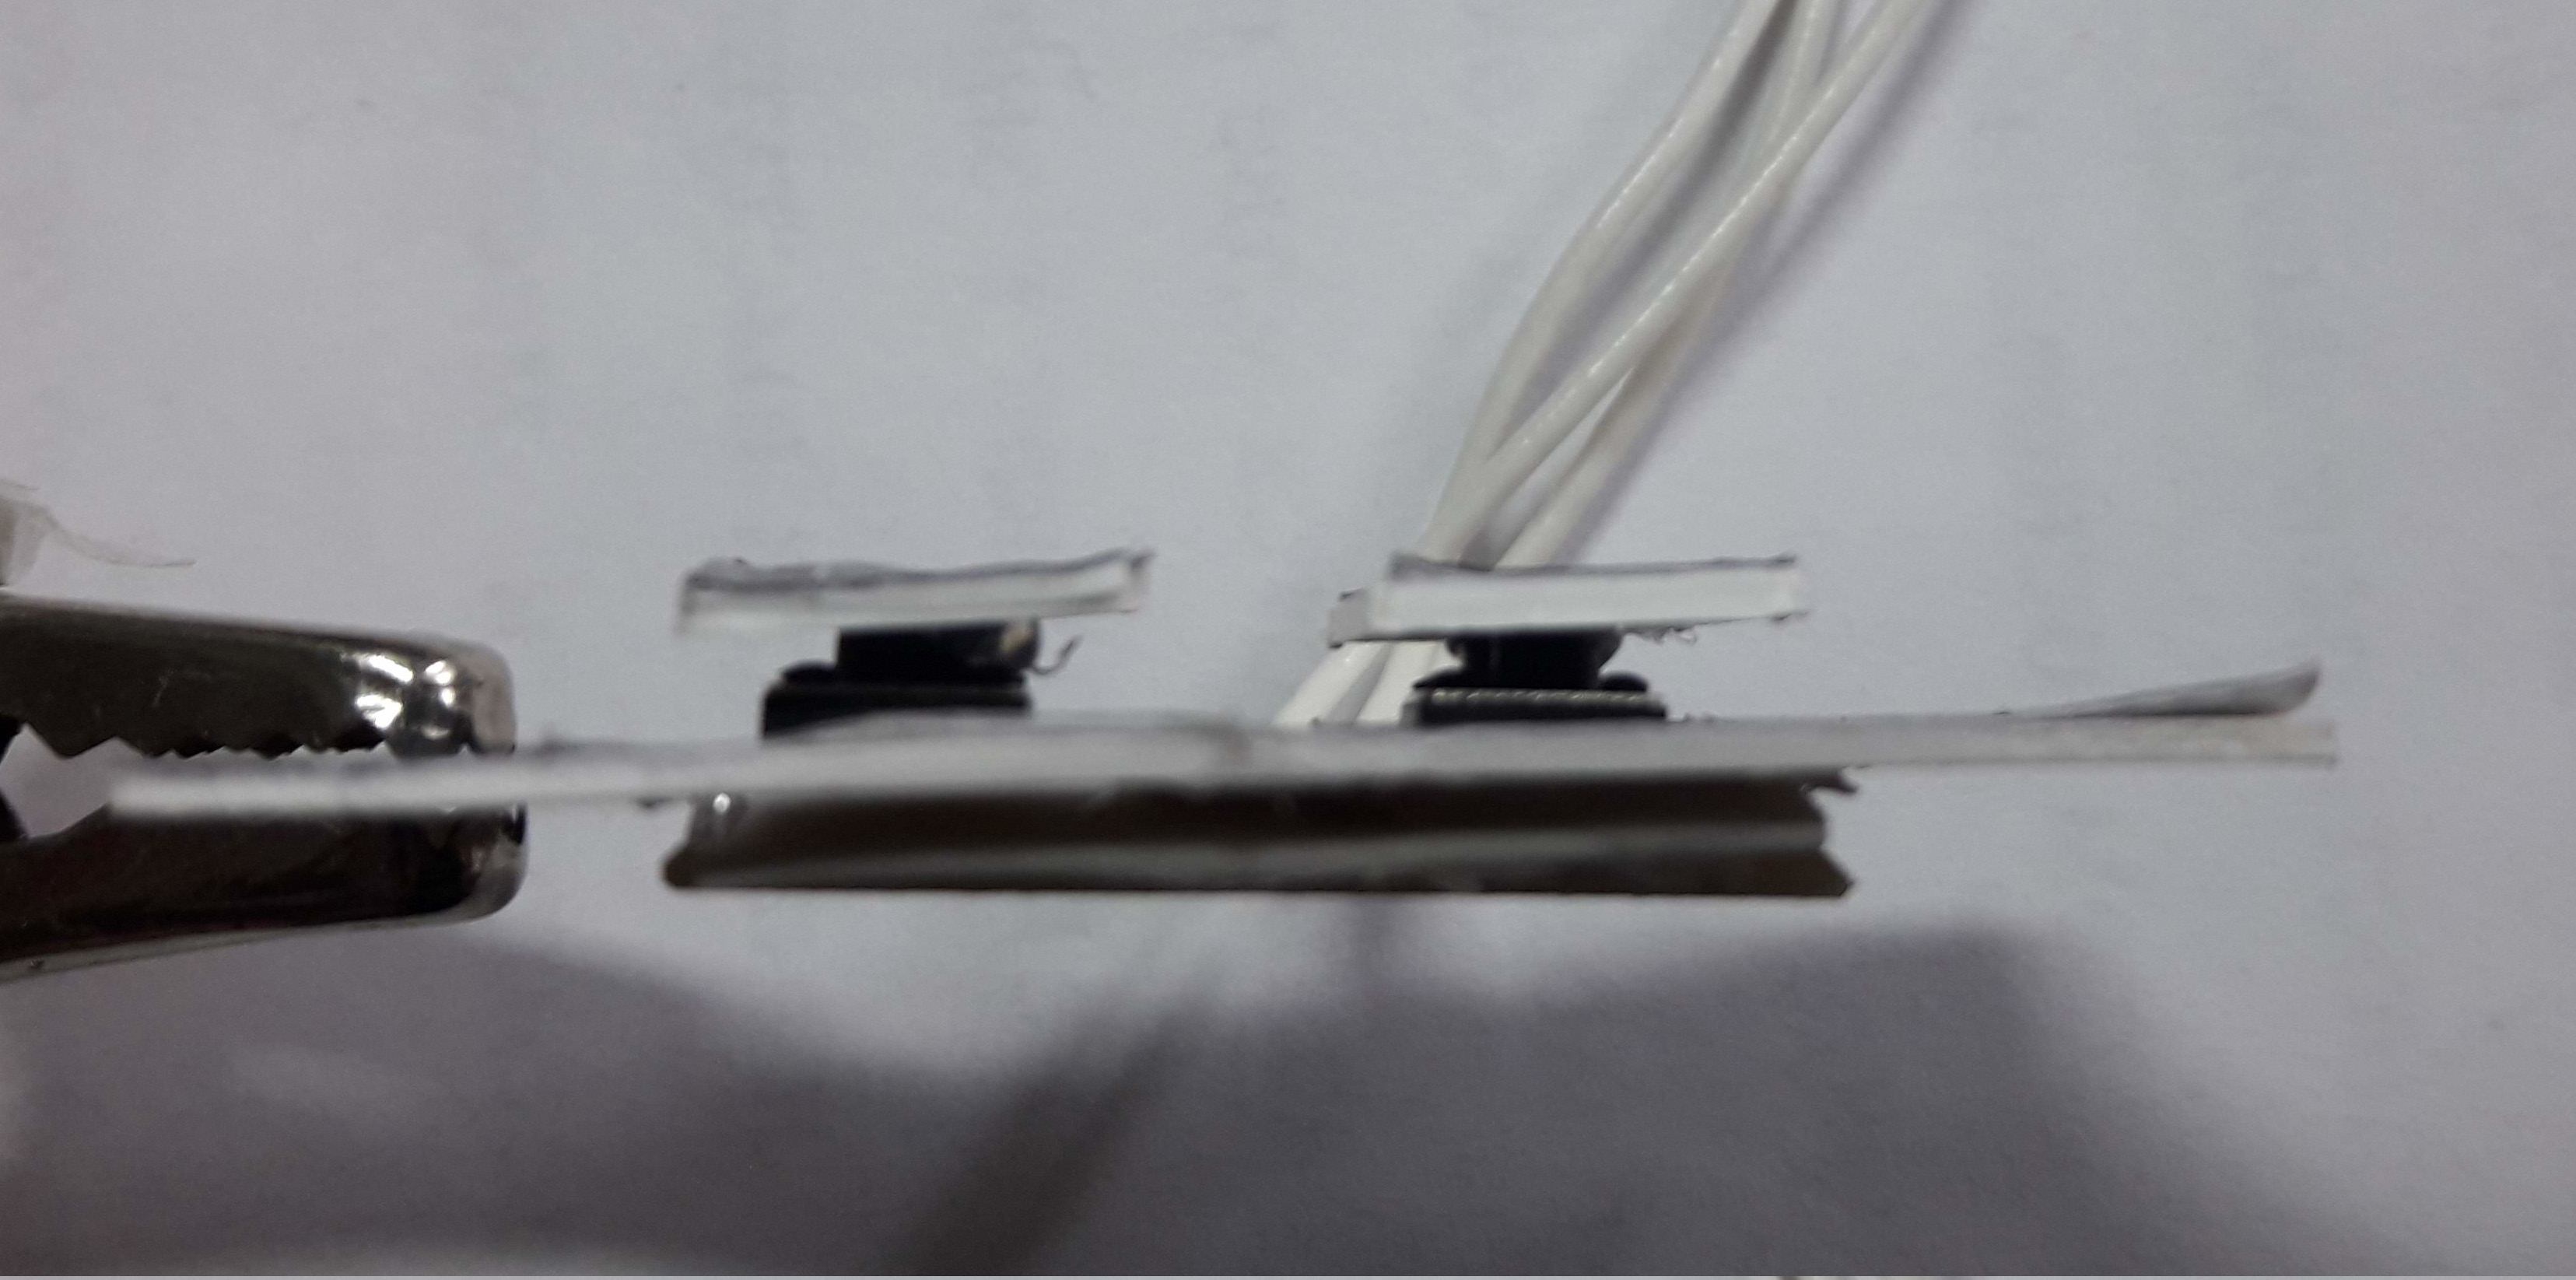
So, with the help of simple devices you can make a keyboard with two buttons, BUT WHY? We connect three wires in digispark. Scheme of the “keyboard”
 Next, we need to make digispark pretend to be a keyboard and send CTRL + C / CTRL + V by pressing the button.So, we need to catch the click. To begin with, if you connect the central wire to + 5V and connect the side wires to the pins configured for input, then when the button is pressed, yes, there will be 1 on the pin, but when the pin is not pressed, it will catch interference and fail to track what is pressing, and what a hindrance. This problem is solved surprisingly simple - you need to pull the pins to the ground through a large resistor (tens of ohms). Opening the datasheet on the microcontroller, you can see that inside it you can turn on the lift, but only to VCC (+ power). Actually, this is not a problem - you just need to connect the central pin to GND (ground) and invert the logic of work.You can imagine it this way:
 But there is one more problem. We live in an imperfect world where buttons have mechanical contact.And he is imperfect. And the controller is fast - and so it turns out that at the time of switching the button does not instantly close, but its resistance jumps for a few milliseconds - this is called bounce. Due to the bounce, the controller may decide that the button is pressed more than once, but, for example, 10. Here is an illustration of this phenomenon from the Internet:
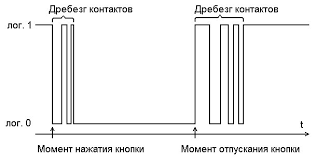 But it’s also not interesting! Maybe we don’t have any bounce. To find out, I uncovered a logic analyzer. Now let's see ... We are assembling a test setup - a 10-com lift, 16 million measurements per secondWe see that the pressing lasted 0.1176 ms. We approximate the
 moment of release of the button (highlighted in red).
 On the side there are some measurements of "emissions", and in all the bounce lasted about 0.1435ms. Yes, I know this is not enough, but it’s worth considering that I only have buttons from the tape, the contacts have not yet had time to oxidize or change shape. And over time, the situation will only worsen. How to deal with bounce? There are three main ways:
- Schmidt trigger + RC circuit - allows you to get the perfect signal
- RC-circuit - allows you to make a slide out of emissions (smoothly increasing signal)
But we have a whole microcontroller - and therefore we have 3 methods available: delays.One of the ways to deal with bounce is to check whether the button is still pressed after a certain amount of bounce. If implemented through delays, the code will be blocking, but how to do this correctly can be seen in hundreds of articles about combating bounce and arduino.So, we realized that the button is pressed - what next? Tell the computer that CTRL + C / V is pressed.This is done using the standard library for digispark.The resulting code came out like this:#include "DigiKeyboard.h"
#define COPY 2
#define PASTE 0
#define GND 1
void setup() {
pinMode(COPY, INPUT);
digitalWrite(COPY, HIGH);
pinMode(PASTE, INPUT);
digitalWrite(PASTE, HIGH);
pinMode(GND, OUTPUT);
digitalWrite(GND, LOW);
}
void loop() {
if (!digitalRead(COPY) || !digitalRead(PASTE)) {
delay(30);
if (!digitalRead(COPY)) {
DigiKeyboard.sendKeyStroke(KEY_C , MOD_CONTROL_LEFT);
delay(30);
}
else if (!digitalRead(PASTE)) {
DigiKeyboard.sendKeyStroke(KEY_V , MOD_CONTROL_LEFT);
delay(200);
}
}
}
Here's a project in 3 hours I got it. Do not be afraid to copy someone else's code!Copying and Pasting from Stack Overflow