Hello, Habr! I present to you the translation of the article “Creating A VR Audio / Visual Experience On the Web With A-Frame and Tone.js” by Sean Sullivan.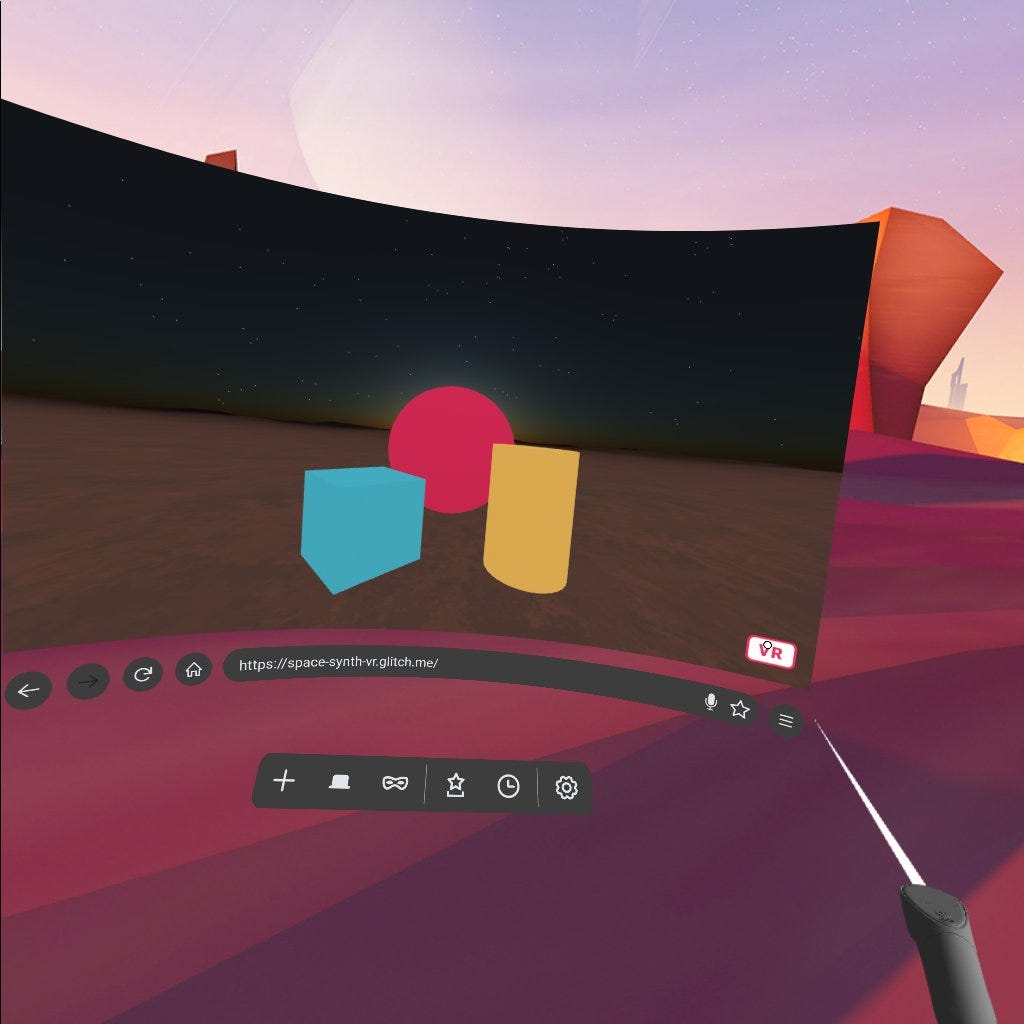 A-Frame is a framework for creating virtual reality on the web. Using just a link, anyone with a VR helmet or VR-enabled smartphone can immerse themselves in 3D space. Tone.js is a JavaScript library for creating sounds. Let's see what happens if they are combined.To begin with, we will create an environment, with A-frame it is very simple. Using only basic HTML, we can create a whole 3D space, for this we need aframe-environment-component . Below is the basic markup for our purposes.
<!DOCTYPE html>
<html>
<head>
  <title>Basic Scene with Environment - A-Frame</title>
  <meta name="description" content="Basic Scene with Environment - A-Frame">
  <script src="https://aframe.io/releases/1.0.4/aframe.min.js">  </script>
  <script src="https://unpkg.com/aframe-environment-component@1.1.0/dist/aframe-environment-component.min.js"></script>
</head>
<body>
  <a-scene environment="preset: starry">
    <a-camera>
      <a-entity cursor="fuse: true; fuseTimeout: 500"
            position="0 0 -1"
            geometry="primitive: ring; radiusInner: 0.02; radiusOuter: 0.03"
            material="color: black; shader: flat">
      </a-entity>
    </a-camera>
  </a-scene>
</body>
</html>
Pay attention to the element:<a-entity cursor>
It is inside our cell. A little later, he will allow you to communicate with our synthesizer. But before you begin, you should make sure that the project is loaded correctly.Opening the page, you should see a three-dimensional sky, stars and a grid on the earth. All this was created by aframe-environment-component when we defined the environment:<a-scene environment=”preset: starry”>
If desired, the environment can be changed, just add another template. At the time of this writing, there are 16 different environment templates of your choice.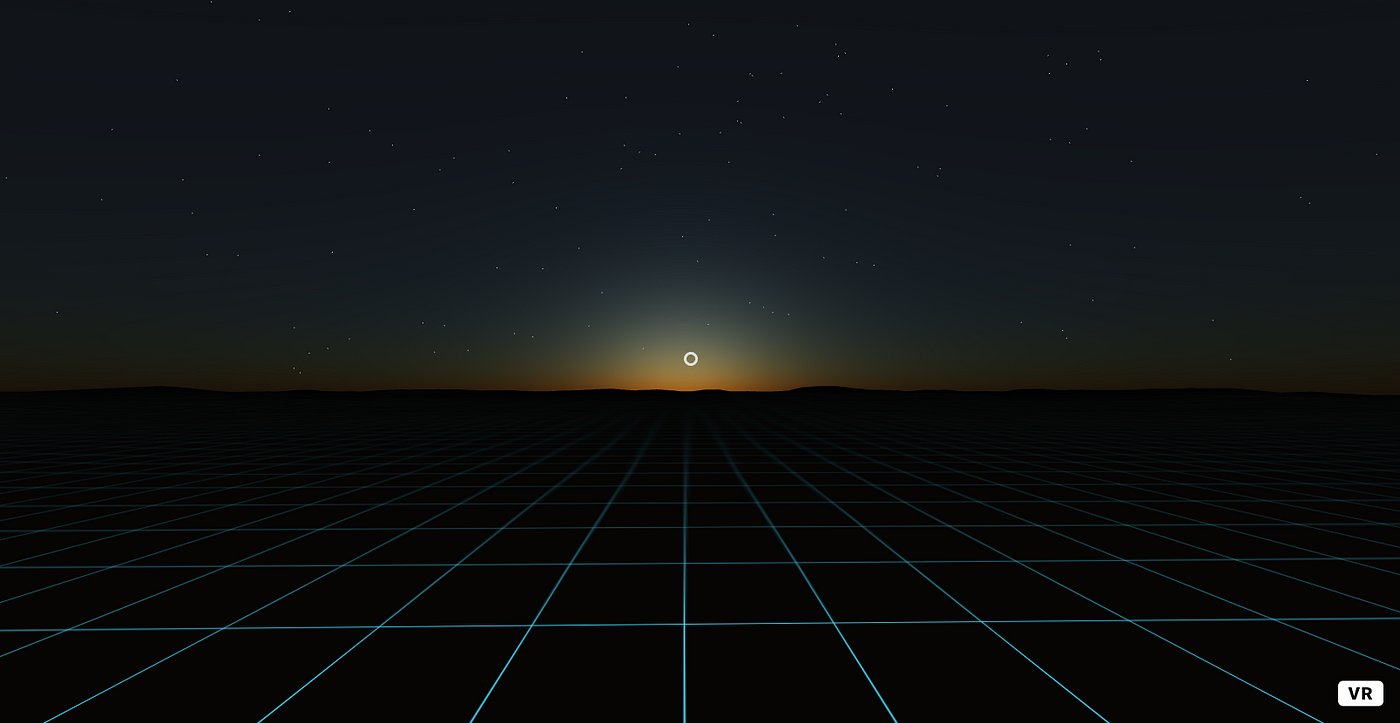 I like that our synthesizer is in space, space is cool. Let's make our environment more like a planet’s surface.First, we will remove the grid and add the texture of the earth, changing:
<a-scene environment="preset: starry">
on the<a-scene environment="preset: starry; grid: none; groundTexture: walkernoise">
Having started the page now, we will see that our planet is still too dark to see something on the earth. Fix this by adding a light source to our scene.<a-entity light="type: ambient; color: #CCC"></a-entity>
With it, the scene should look something like this: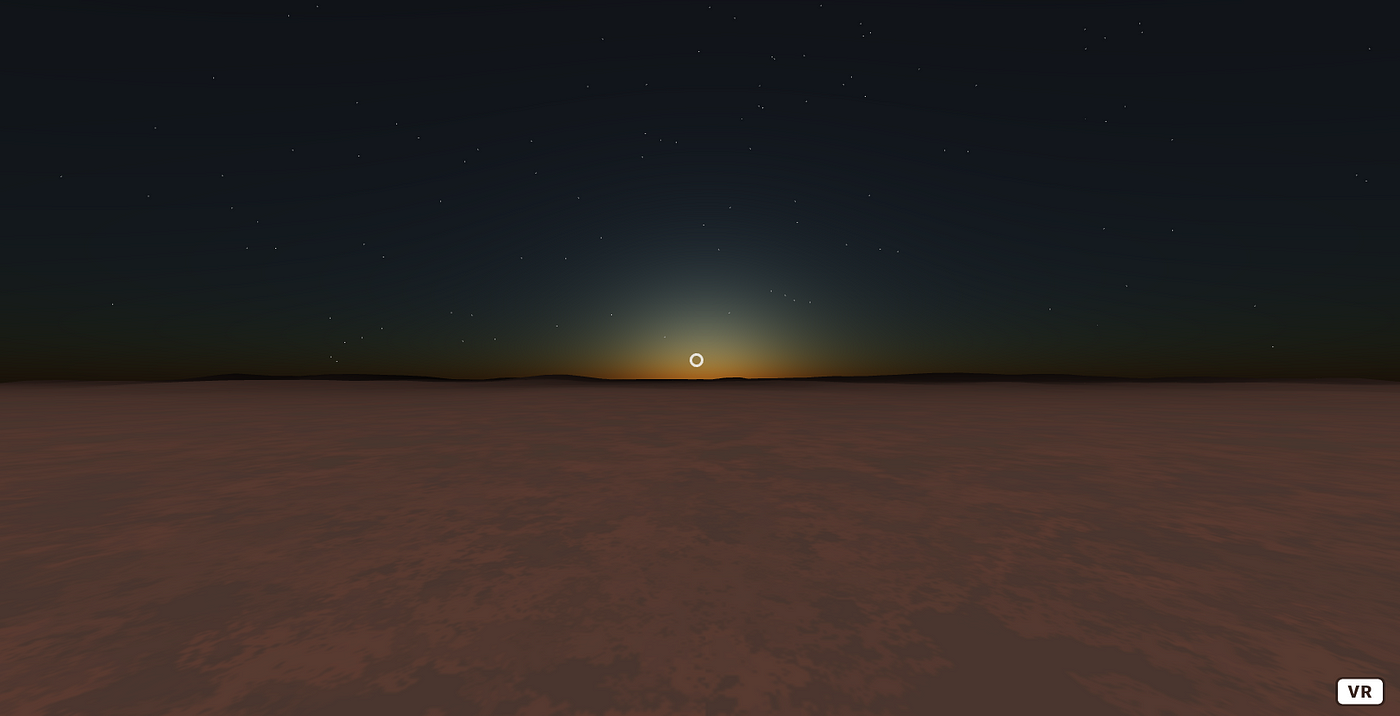 Now that we’ve figured out the surroundings, let's start developing a synthesizer.
Component Creation
A-Frame is built on an entity-component-system . It allows you to create components and add them to entities in our scene.Let's create a synth.js file for our component.AFRAME.registerComponent('synth', {
schema: {
},
init: function () {
},
update: function () {
},
remove: function () {
},
tick: function (time, timeDelta) {
}
});
As you can see, life cycle methods are built into A-Frame, this makes it easy to add interactivity to our WebVR projects. The component base is ready, let's take a look at the process of creating a synthesizer with Tone.js.Tone.js
Tone.js - a framework for creating interactive music in a browser, is a wrapper for the Web Audio API. Creating a synthesizer with tone.js is simple - just write a line:var synth = new Tone.Synth().toMaster()
But we will create an oscillator and add several parameters to simplify further customization:const synth = new Tone.Synth({
volume: -15,
oscillator: {
type: 'triangle'
},
envelope: {
attack: 0.05,
release: 2
}
}).toMaster()
Add this code directly on top of our component in the synth.js file . Now we have a synthesizer, but we need to provide our component with a way to access it. Remember the <a-entity cursor> we added to the camera? This cursor has a parameter fuse = "true" . This will allow us to keep track of how the cursor interacts with entities. Add an EventListener to the component for fuse.We will create an EventListener in the init method of the lifecycle and create a new method called trigger that fires Tone.js....
init: function () {
this.el.addEventListener('fusing', this.trigger.bind(this))
},
trigger: function () {
synth.triggerAttackRelease(this.data.note, this.data.duration)
},
...
Add a synthesizer component to the scene.
We created the component, it's time to add it to the A-Frame scene.To start, I added Tone.js and a synthesizer component to our markup. Pay attention to the order of connecting files - synth.js is loaded after Tone.js....
<script src="https://unpkg.com/tone@13.8.25/build/Tone.js"></script>
<script src="synth.js"></script>
</head>
...
We also need several entities to which we will attach the component. Add some standard A-Frame shapes for use in our scene.<a-scene>
...
<a-box synth="note: E4" position="-1 0.5 -3" rotation="0 45 0" color="#4CC3D9"></a-box>
<a-sphere synth="note: C4" position="0 1.25 -5" radius="1.25" color="#EF2D5E"></a-sphere>
<a-cylinder synth="note: G4" position="1 0.75 -3" radius="0.5" height="1.5" color="#FFC65D"></a-cylinder>
...
Note the synth attribute . This is the component we created. 'Synth' is the name we registered withAFRAME.registerComponent ('synth', {})
and we declared “note” in the component diagram. There is also a “duration” property - we can use it to change the length of a note. For instance:synth = "note: E4; duration: 8n »
will play 1/8 of the whole note, not the standard 1/4.Now, having opened the scene in the browser, we will see our figures, and when you hover over them, the note from our synthesizer component should be played.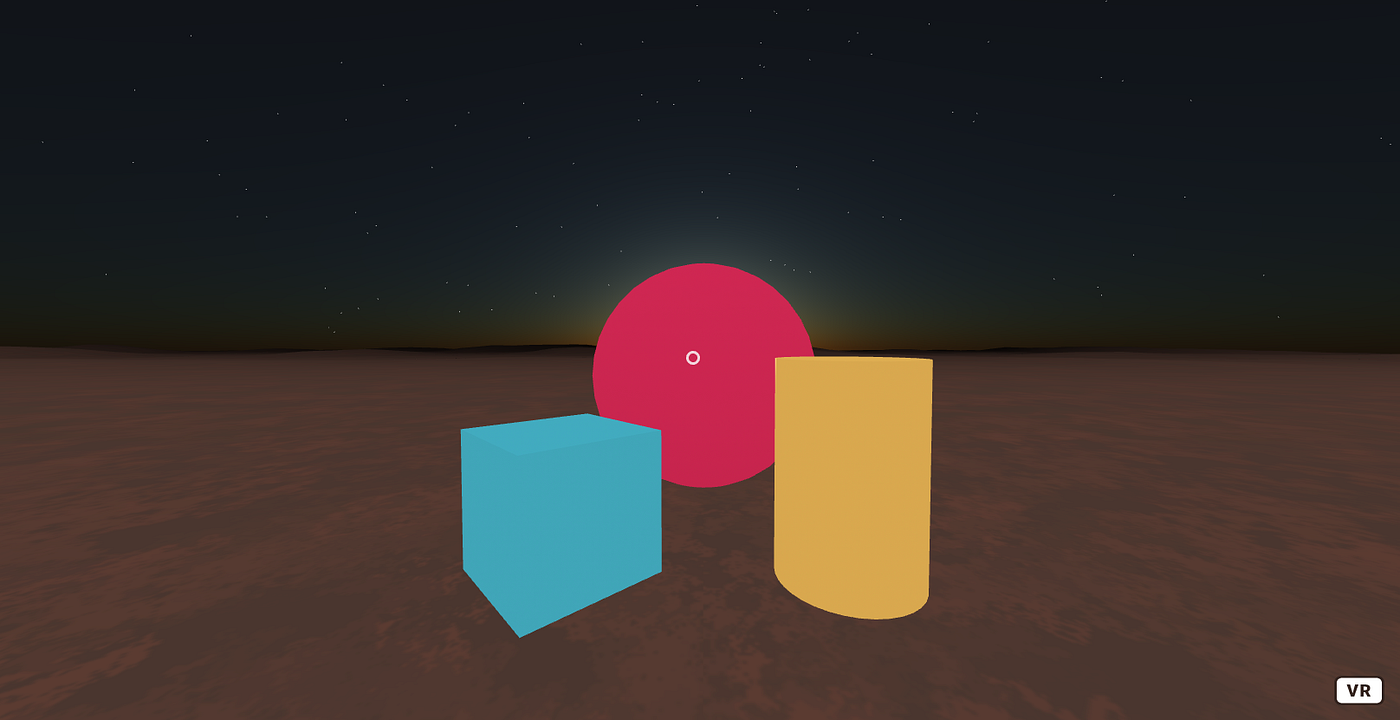
Using the Oculus Go Controller
Now our scene works like this - the cursor is fixed in the center of the screen. On VR helmets, this is called “visual” control. Turning the head, the cursor will move in the direction of movement of the user. This is an absolutely normal experience and works well for many projects. But what if we want to control the synthesizer using a VR controller? Moving your arms around and making music sounds fun, so let's change our scene to use the Oculus Go controller.First, add a few entities to our scene - the controller and raycaster....
<a-entity oculus-go-controls>
<a-entity laser-controls raycaster="far: 200; interval: 100"></a-entity>
...
Here we have our own entity to control Oculus Go, as well as one for raycaster, which will run every 100 milliseconds.Now let's modify the synthesizer component to control Oculus. We do this by adding raycaster depending on our component.AFRAME.registerComponent('synth', {
dependencies: ['raycaster'],
...
Then, in the init method, change the EventListener - it should track the event:raycaster-intersection
init: function () {
  this.el.addEventListener('raycaster-intersection', this.trigger.bind(this))
},
...
The start of the scene in Oculus Go should now show your controller - and the laser control should start the synthesizer playing notes when you hover over the figures.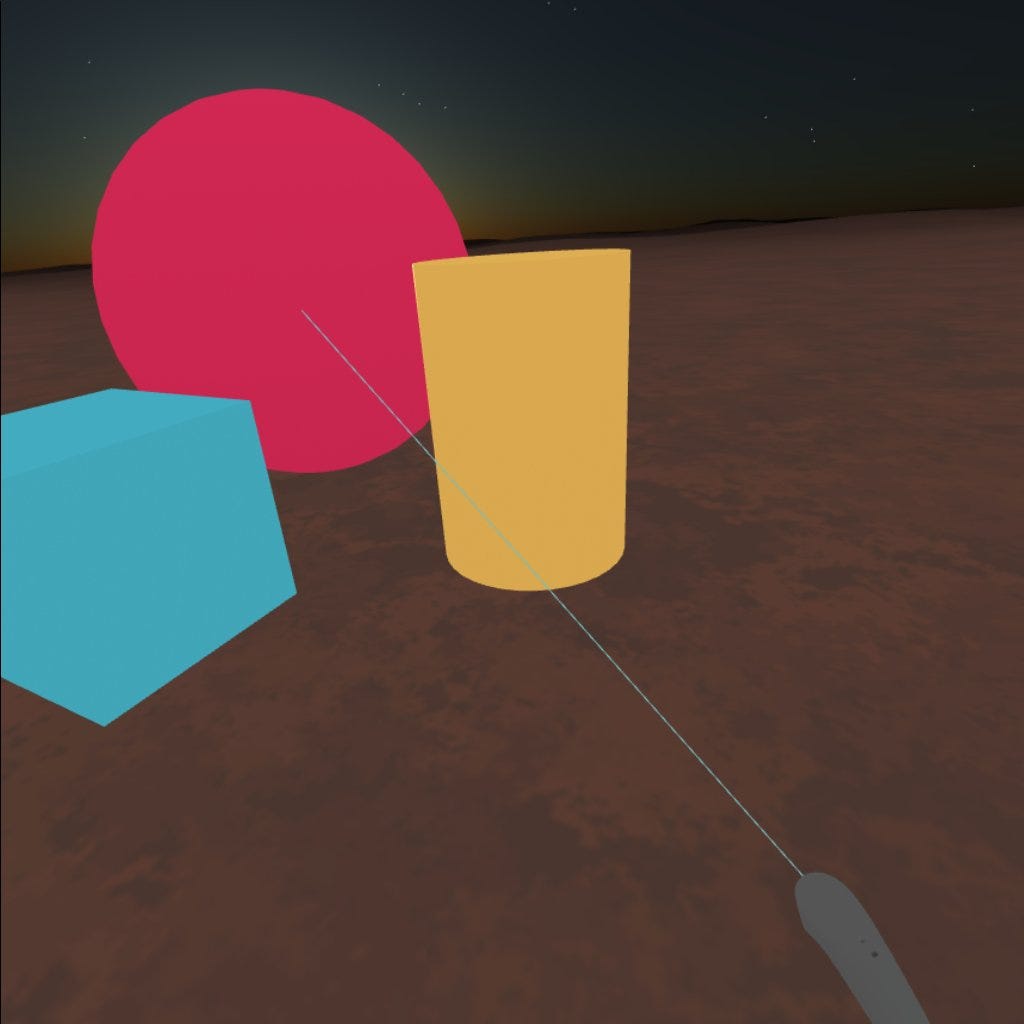 If you want to get a closer look at the project, you can run it and see the source code here - glitch.com/~space-synth-vr
In custody
Now we have a simple scene with a VR synthesizer and there are a huge number of opportunities to improve it. We can add more objects for interaction, more synthesizers and effects for the component. We can animate objects based on some events. As the scene grows, you should think about performance. Fortunately, A-Frame has many built-in features that can help with this problem.Here are some useful links RaycasterComponents Interaction and Control Tone.js Project Source Code Thank you for reading.