Introduction
During the development process of our DSS product, it was required to create an extension for LibreOffice in C ++. The choice of language was due to the presence of existing projects in C ++, but I did not want to create a “zoo” in the projects.We began to study materials on this issue, articles, including on this resource . It would seem that there is a lot of data, but in fact the information was either very scarce, or it was no longer relevant due to outdated versions of LO.I had to study the issue on my own.
SDK assembly
To build under Windows you will need
- LibreOffice 6.2.4 / 6.2.5 + LibreOffice SDK 6.2.4 / 6.2.5 ( LibreOffice & SDK ) or higher.
- GNU Zip Make CoreUtils Sed ( GNU )
- jdk ( JDK )
- Microsoft VS with installed compiler for C ++ + MSTools and Microsoft.NET
Main steps
Install LibreOffice and LibreOffice SDK, preferably in the "Without spaces" directory.Example C: \ App \ Libreoffice6.2.4.2x64 and C: \ App \ Libreoffice6.2.4.2x64 \ sdk, respectively.We open the console, go to the directory containing our downloaded SDK:cd C: \ App \ Libreoffice6.2.4.2x64 \ sdkRun setsdkenv_windows.batThis script generates a batch file for your user on the system for the first time, asking you to register the paths to:- LibreOffice
- LibreOffice SDK;
- GNU utilities for building packages, C ++, C # and VB.NET compilers, and the Java SDK directory.
Specify the appropriate folders.Important ! You must specify all the paths to the versions of the corresponding bit depths. “Automatic deployment of UNO components (YES / NO)“ will install the package immediately after assembly, I chose NO. It is also necessary to go along the path to the batch file, for example C: \ Users \ yurev.admin \ AppData \ Roaming \ libreoffice6.2_sdk and adjust the path to VCVARS32 with handles, I did this through a new variable.set OO_SDK_CPP_HOME=C:\Program Files (x86)\Microsoft Visual Studio\2019\Enterprise\VC\Tools\MSVC\14.20.27508\bin\HostX64\x64
set OO_SDK_VCVARS_HOME=C:\Program Files (x86)\Microsoft Visual Studio\2019\Enterprise\VC\Auxiliary\Build
if defined OO_SDK_VCVARS_HOME call "%OO_SDK_VCVARS_HOME%\VCVARS64.bat"
You need to choose a path for your bit depth.After successfully setting the environment variables, we will receive the following message: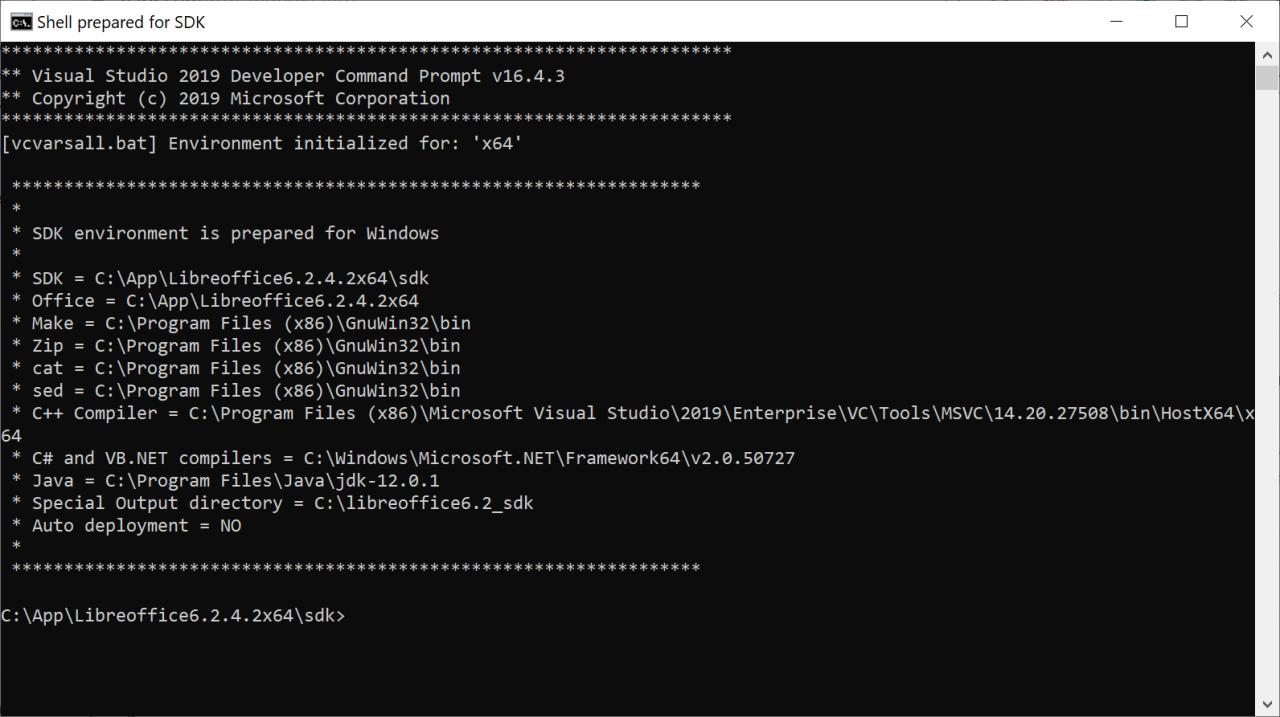 There should not be any comments - this will affect the assembly later. The command line goes into Shell prepared for SDK mode.We also go to the directory with the GNU packages (C: \ Program Files (x86) \ GnuWin32 \ bin) and rename the link.exe linker so that it does not get confused with the Microsoft linker in the future, if necessary, we can always call it by a new name.
SDK compilation
The next step is to compile the headers or (for Java) classes. By itself, the SDK is a collection of components with the .idl extension, which are assembled into .udl blocks, which, in turn, are assembled into a registry with the .rdb extension.In this form, of course, it is impossible to use it, but the goal of this approach is the ability to write your own components, which are then added to the general tree.Take the project from the LibreOffice example.Go to the C: \ App \ Libreoffice6.2.4.2x64 \ sdk \ examples \ cpp \ complextoolbarcontrols directory and execute make.If the data in the first step is entered correctly and the environment variables are set correctly, then we will seeC:\App\Libreoffice6.2.4.2x64\sdk\examples\cpp\complextoolbarcontrols>make
mkdir c:\libreoffice6.2_sdk\WINexample.out\slo\complextoolbarcontrols
c:\libreoffice6.2_sdk\WINexample.out\slo\complextoolbarcontrols .
make: [c:/libreoffice6.2_sdk/WINexample.out/slo/complextoolbarcontrols/MyProtocolHandler.obj] 1 ()
cl -c -MD -Zm500 -Zc:wchar_t- -wd4251 -wd4275 -wd4290 -wd4675 -wd4786 -wd4800 -GR -EHa -I. -Ic:/libreoffice6.2_sdk/WINexample.out/inc-Ic:/libreoffice6.2_sdk/WINexample.out/inc/examples -I../../../include -Ic:/libreoffice6.2_sdk/WINexample.out/inc/complextoolbarcontrols -DWIN32 -DWNT -D_DLL -DCPPU_ENV=mscx -Foc:\libreoffice6.2_sdk\WINexample.out\slo\complextoolbarcontrols\MyProtocolHandler.obj MyProtocolHandler.cxx
Microsoft (R) C/C++ 19.21.27702.2 x64
(C) (Microsoft Corporation). .
and the assembly will go, as a result of the assembly we get:- downloaded files in the C: \ libreoffice6.2_sdk \ WINexample.out \ inc directory,
- manifest.xml C:\libreoffice6.2_sdk\WINexample.out\misc\complextoolbarcontrols\complextoolbarcontrols\META-INF,
- complextoolbarcontrols.uno.dll C:\libreoffice6.2_sdk\WINexample.out\misc\complextoolbarcontrols\Windows,
- , description.xml C:\libreoffice6.2_sdk\WINexample.out\misc\complextoolbarcontrols,
- C:\libreoffice6.2_sdk\WINexample.out\slo\complextoolbarcontrols
- complextoolbarcontrols.oxt C:\libreoffice6.2_sdk\WINexample.out\bin.
In essence, the Makefile does everything for us in which we correctly entered the environment variables.Cppmaker, based on the offapi.rdb and types.rdb registry files, downloads the dependencies needed to build cxx files.The compiler collects these files into object files, hanging the linker from them from the LibreOffice directory collects the output dll, then the manifest.xml description.xml .components files are generated and all this is packaged together using zip into the .oxt archive.The version with cigwin ( wiki ) had to be abandoned due to the impossibility of building due to a hanging console.To build under Linux you will need:
ibcurl4-openssl-dev zip git build-essential wget curl gstreamer1.0-libav libkrb5-dev nasm graphviz ccache libpython3-dev libreoffice-dev*
These packages do not take up much space, so we use the Docker image to build the extension.The preparation process is almost similar to Window. Instead of setsdkenv_windows.bat, run setsdkenv_unix from / usr / lib / libreoffice / sdk.After that, by analogy with Windows, go to / usr / lib / libreoffice / sdk / examples / cpp / complextoolbarcontrols and run make.As a result, upon completion of the assembly, we will get the finished extension that lies in the directory specified during configuration through setsdkenv_unix.Links that helped us