For what? All kinds of ideas constantly come to me and some of them I immediately want to try, but the workstation is not always at hand, so I set up the IDE for everything that comes to hand. As a result, the devices began to be cluttered, and it became difficult to maintain and update them.To solve this problem, I decided to place such a “notebook” in the cloud, and that would be updated daily and delete all the accumulated garbage. And to work, connect to it remotely.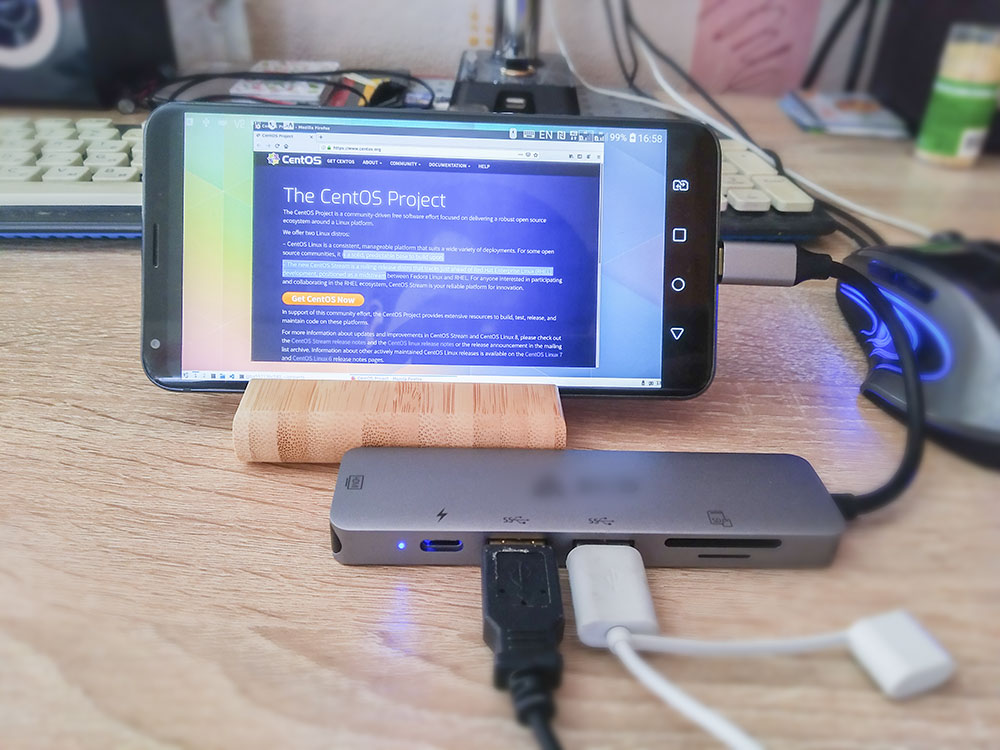 As a result, without suspecting it, he made a very convenient tool for solving a large number of tasks: a notebook, a test site, to see what the phone does not show, a secure sandbox, and running scripts for programs that work only on the GUI and many others. etc. And in the article I want to share the method of creating such containers.To create such a container, you must write your Dockerfile. And in the article I will describe the whole process of its creation. Who does not want to create himself, but wants to take and try, then at the bottom of the article there will be links to ready-made images.
operating system
Any Linux will do. Personally, I prefer the beautiful OpenSuse, but comparing its memory consumption with CentOS I decided to choose the latter. Indeed, the less memory a container consumes, the more you can save on its hosting.Let's start creating a dockerfile:FROM centos:7
Remote access
In order to connect to the container on it, you must configure the VNC remote access server. Two factors must be understood for this:- The system does not have a monitor. Therefore, it will have to be emulated. There is a special x0vncserver server for this.
- VNC Server should not be resourceful. After all, you have to pay for them. And the lags in the signal transmission should be minimal, otherwise they cause discomfort.
To solve both problems, I chose TigerVNC Server for the server and TightVNC for the client. TigerVNC Server is included in the delivery of any Linux, lightweight, fast, and also supports work without a monitor through x0vncserver. The TightVNC client provides such fast transfer of pictures that it feels like it is not a remote connection, but a program running on a computer.Extend Dockerfile:FROM centos:7
RUN yum install -y epel-release dnf \
&& \
dnf install -y \
tigervnc-server \
&& \
yum clean all && dnf clean all \
&& \
rm -rf /var/cache/yum/* && rm -rf /var/cache/dnf/*
After installing the programs, we clear the cache to lighten the weight of the image.Desktop
I really love KDE with the Breeze theme, but KDE is a very gluttonous desktop. Gnome and its derivatives were even more gluttonous. Xfce, Ice is not too beautiful. Fortunately, there is a solution - the LXQT desktop with the Kde-Plasma theme.Install the desktop:FROM centos:7
RUN yum install -y epel-release dnf \
&& \
dnf install -y \
tigervnc-server \
openbox obconf-qt \
lxqt-about lxqt-common lxqt-config lxqt-globalkeys lxqt-notificationd \
lxqt-openssh-askpass lxqt-panel lxqt-policykit lxqt-qtplugin lxqt-runner \
lxqt-session pcmanfm-qt \
dejavu-sans-mono-fonts \
xterm nano htop expect sudo \
&& \
yum clean all && dnf clean all \
&& \
rm -rf /var/cache/yum/* && rm -rf /var/cache/dnf/*
A little more and you can run.User Creation
In the container it is necessary to work from some user. To do this, create it and set a password, as well as set a password for the root user:... Dockerfile
ENV HOME=/home/headless
RUN /bin/dbus-uuidgen --ensure && \
useradd headless && \
echo "centos" | passwd --stdin root && \
echo "centos" | passwd --stdin headless
Here headless is the user whom we create and from whom we will work, “centos” is the password specified by the user and root. It is better to pass it from external parameters when the container starts, but even in this form the container will not be vulnerable, because the connection will be password-protected in VNC via the password in the arguments.Configure vnc server startup
To start, you need an auxiliary script that will configure our VNC Server:
spawn /usr/bin/vncserver :1 -fg -geometry 1820x960
expect "Password:"
send "$env(password)\r"
expect "Verify:"
send "$env(password)\r"
expect "Would you like to enter a view-only password (y/n)?"
send "n\r"
set timeout -1
expect eof
It must be put next to the Dockefile, later it will be included in the container and the program will start from it. In this file, you must specify the resolution in which you plan to work, for example, I have 1820x960 set. If you specify less than the size of the client window, the server may crash due to lack of memory. If you specify more, then the picture will need to be scaled and the elements of the desktop will become too small. Also in this script, a password will be set from the variables that will be passed in the container launch parameters.It remains to copy this file to the container and add the parameters for its launch:... Dockerfile
COPY ./startup.sh ${HOME}
RUN mkdir -p ${HOME}/.vnc \
&& \
echo '#!/bin/sh' > ${HOME}/.vnc/xstartup && \
echo 'exec startlxqt' >> ${HOME}/.vnc/xstartup && \
chmod 775 ${HOME}/.vnc/xstartup \
&& \
chown headless:headless -R ${HOME}
WORKDIR ${HOME}
USER headless
ENTRYPOINT ["expect", "./startup.sh"]
That's all, you can run. If you are confused in compiling the Dockerfile, then its full version can be found in my repository , and the finished container in the docker hub .To start the finished container, you must run the command:docker run -it --rm -e password='YOUR_VNC_PASSWORD' -p5901:5901 labeg/centos-lxqt-vnc
And connect using the TightVNC client.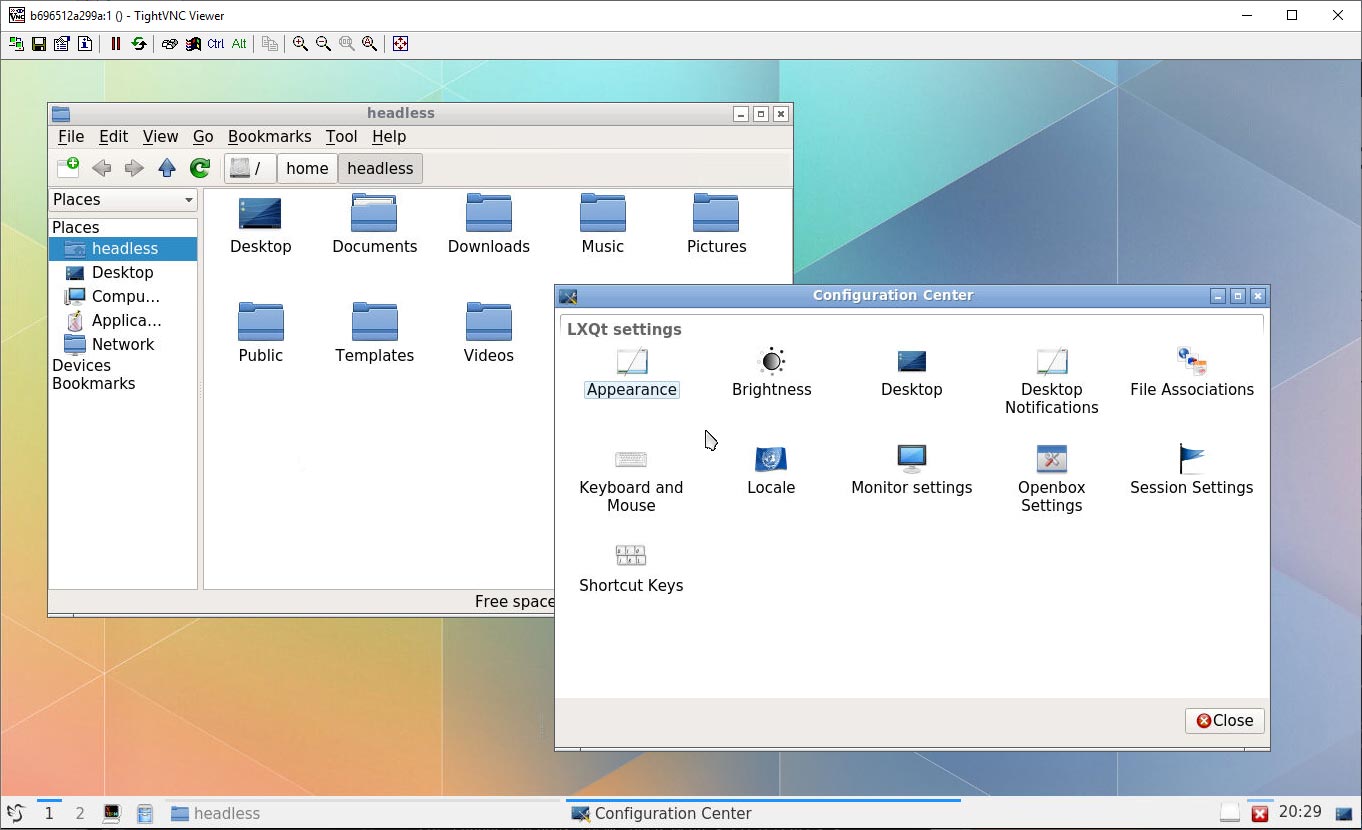 After connecting, you must enter the user password specified earlier. It is also recommended that you change it immediately for greater safety.To enable beautiful design as in the screenshot above, go to Start> Preferences> Appearance> LXQt Theme and select the Kde-plasma theme.
Programs for work
Now you can create a second image with work programs. To do this, just take the image created above and supplement it with scripts for installing packages:FROM labeg/centos-lxqt-vnc:latest
USER root
RUN rpm -Uvh https://packages.microsoft.com/config/rhel/7/packages-microsoft-prod.rpm \
&& \
rpm --import https://packages.microsoft.com/keys/microsoft.asc && \
sh -c 'echo -e "[code]\nname=Visual Studio Code\nbaseurl=https://packages.microsoft.com/yumrepos/vscode\nenabled=1\ngpgcheck=1\ngpgkey=https://packages.microsoft.com/keys/microsoft.asc" > /etc/yum.repos.d/vscode.repo' \
&& \
rpm --import "http://keyserver.ubuntu.com/pks/lookup?op=get&search=0x3FA7E0328081BFF6A14DA29AA6A19B38D3D831EF" && \
su -c 'curl https://download.mono-project.com/repo/centos7-vs.repo | tee /etc/yum.repos.d/mono-centos7-vs.repo' \
&& \
yum install -y https://centos7.iuscommunity.org/ius-release.rpm \
&& \
curl -sL https://rpm.nodesource.com/setup_13.x | bash - \
&& \
dnf install -y geany git2u git2u-gui code monodevelop firefox dotnet-sdk-3.1 nodejs gnome-terminal gnome-system-monitor \
&& \
npm install -g gulp typescript npm-check-updates \
&& \
chown headless:headless -R ${HOME}
USER headless
RUN code --install-extension ms-vscode.vscode-typescript-tslint-plugin && \
code --install-extension dbaeumer.vscode-eslint && \
code --install-extension mrmlnc.vscode-scss && \
code --install-extension visualstudioexptteam.vscodeintellicode && \
code --install-extension ms-dotnettools.csharp && \
code --install-extension joelday.docthis && \
code --install-extension mrmlnc.vscode-remark && \
code --install-extension eamodio.gitlens
The script installs tools for Typescript and C # development under Linux. This is NodeJS, VS Code with the necessary extensions and Monodevelop (aka Visual Studio for Mac).It starts as simple as the previous image:docker run -it --rm -e password='YOUR_VNC_PASSWORD' -p5901:5901 labeg/devpc
Now in seconds you can deploy a clean working environment.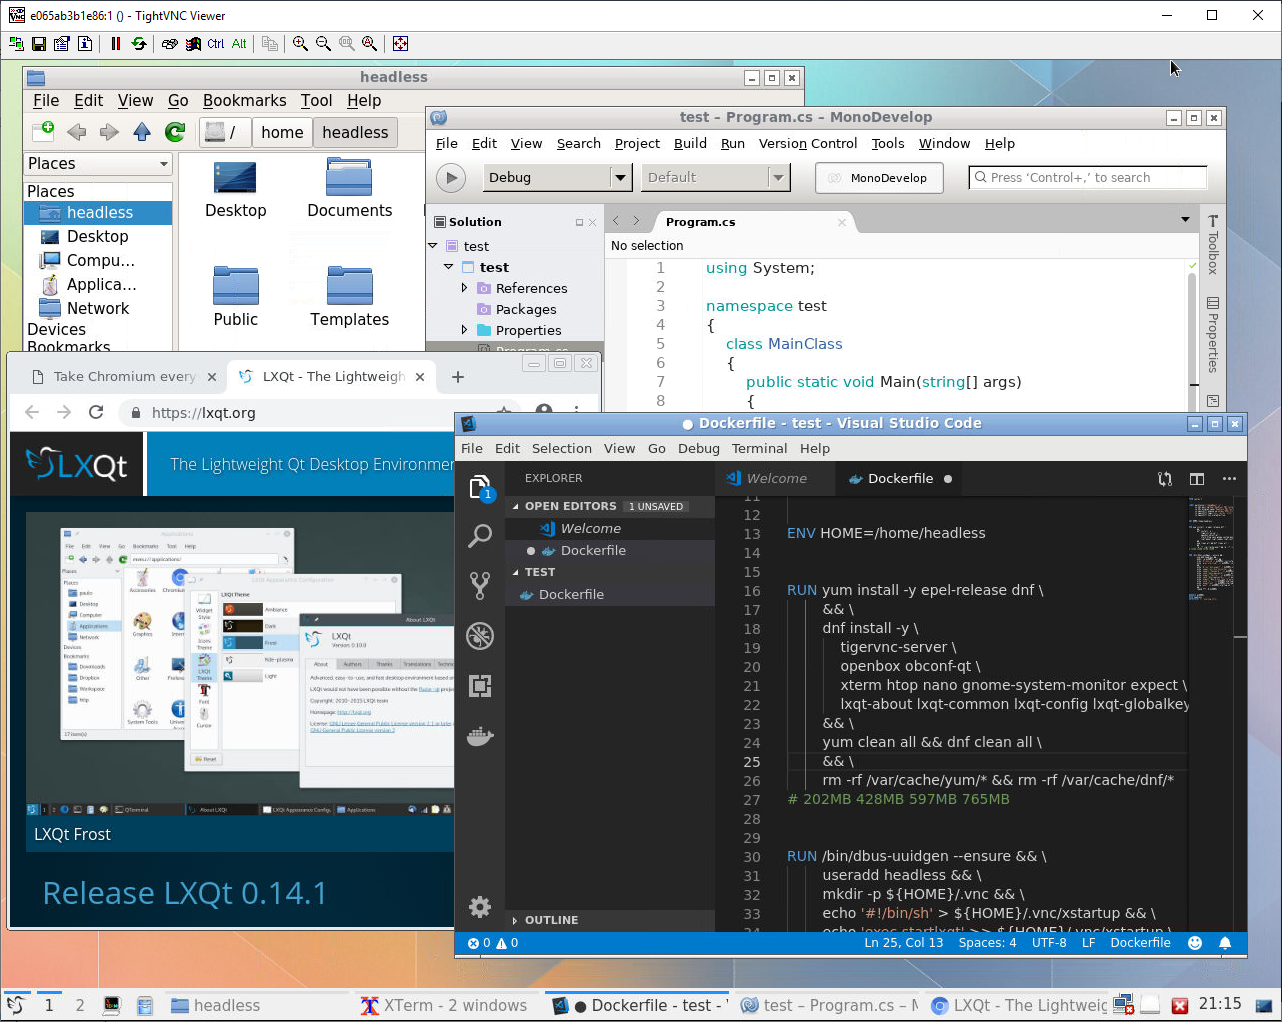
Repositories and finished images
If you need ready-made repositories and images, or if you want to improve existing ones, for example, through the startup parameters, set the user password, screen resolution, or restart the VNC server after it crashes, then welcome to my repositories.Basic image with the Gihub Dockerhub desktop .Image with Typescript and C # Gihub Dockerhub tools .