 Part 2. Install the map for the server lobby.
Part 3. Install the mini-gamestl; dr;So what will be done at the end of the whole tutorial?- create the main server, the so-called lobby - the place where all the players who have just connected to the server get
- run the second server, on which we install the popular mini-game Murder Mystery
- install and configure a proxy server that connects the game client and running servers in such a way that players do not notice that they are switching from one server to another
- create a game character that will redirect us to the server with a mini-game
- Install another popular SkyBlock minigame
- Add an in-game menu based on player’s inventory items
- Add in-game money
- Let's create a store
- … and much more
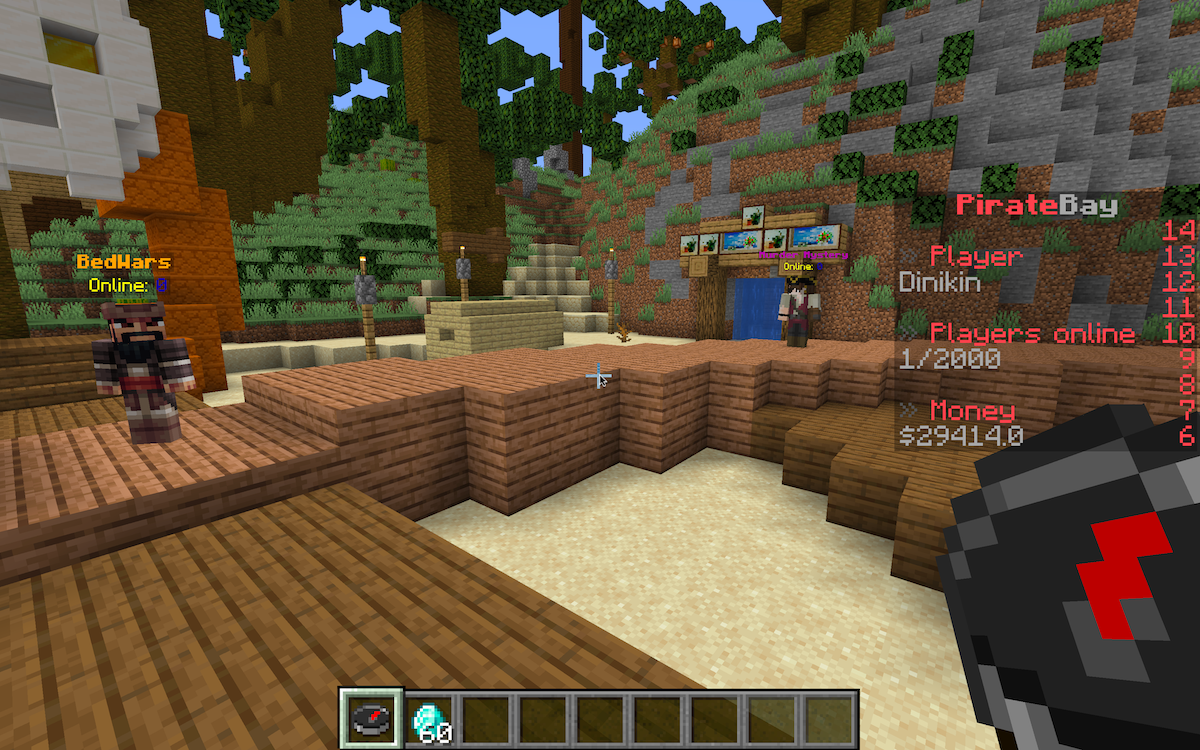
See what I ended up with: mc.piratebayserver.netFor any questions, write to Discord .Go!I have never played Minecraft before. I will say even more, he was not particularly interesting to me. Most likely, due to the fact that I did not understand his ideas. Yes, I saw that in it you can build an infinite number of structures, grow different types of plants and animals, build mechanisms. But I still could not understand how my children can spend whole days all day playing this game with primitive graphics.But one fine day, an eight-year-old son complained that he had few friends and he had almost no one to play Minecraft with. I began to think how to help him find more friends and solve the problem with the game on the network. I knew that there was an alternative version of the Minecraft network game called Realms. This is a paid subscription where you can create your own server, and Minecraft acts as a hoster. The disadvantage of this option is that up to 10 people can play on such a server. There is also no way to install mods - add-ons from third-party developers that modify or complement the original Minecraft content. Such servers without mods are also called vanilla.Thus, having studied a little topic, I suggested that the child pick up the server with some interesting map and place its address on the Internet so that other players can visit it. That was the plan for finding friends to play together for my son, and for myself, I decided that this was a great option for a new project, as an additional source of income, which I had long thought about.There are two versions of Minecraft. One is Pocket Edition, designed for mobile devices and Windows 10, the second is Java Edition, for PCs. As it turned out, they are not compatible with each other, so I chose Java Edition, since there are more features in the game world, in addition to it there is a wider selection of plugins. Well, also because I'm a Java developer.For hosting, I chose DigitalOcean, since I already had experience using it and it takes a few minutes to create droplets on it. You can use any hosting convenient for you.To start, we have enough configuration for 2 CPU and 2 GB RAM. I tried 1 CPU, but the server started a terribly long time, with 1GB of RAM, I sometimes encountered a server crash when importing large cards.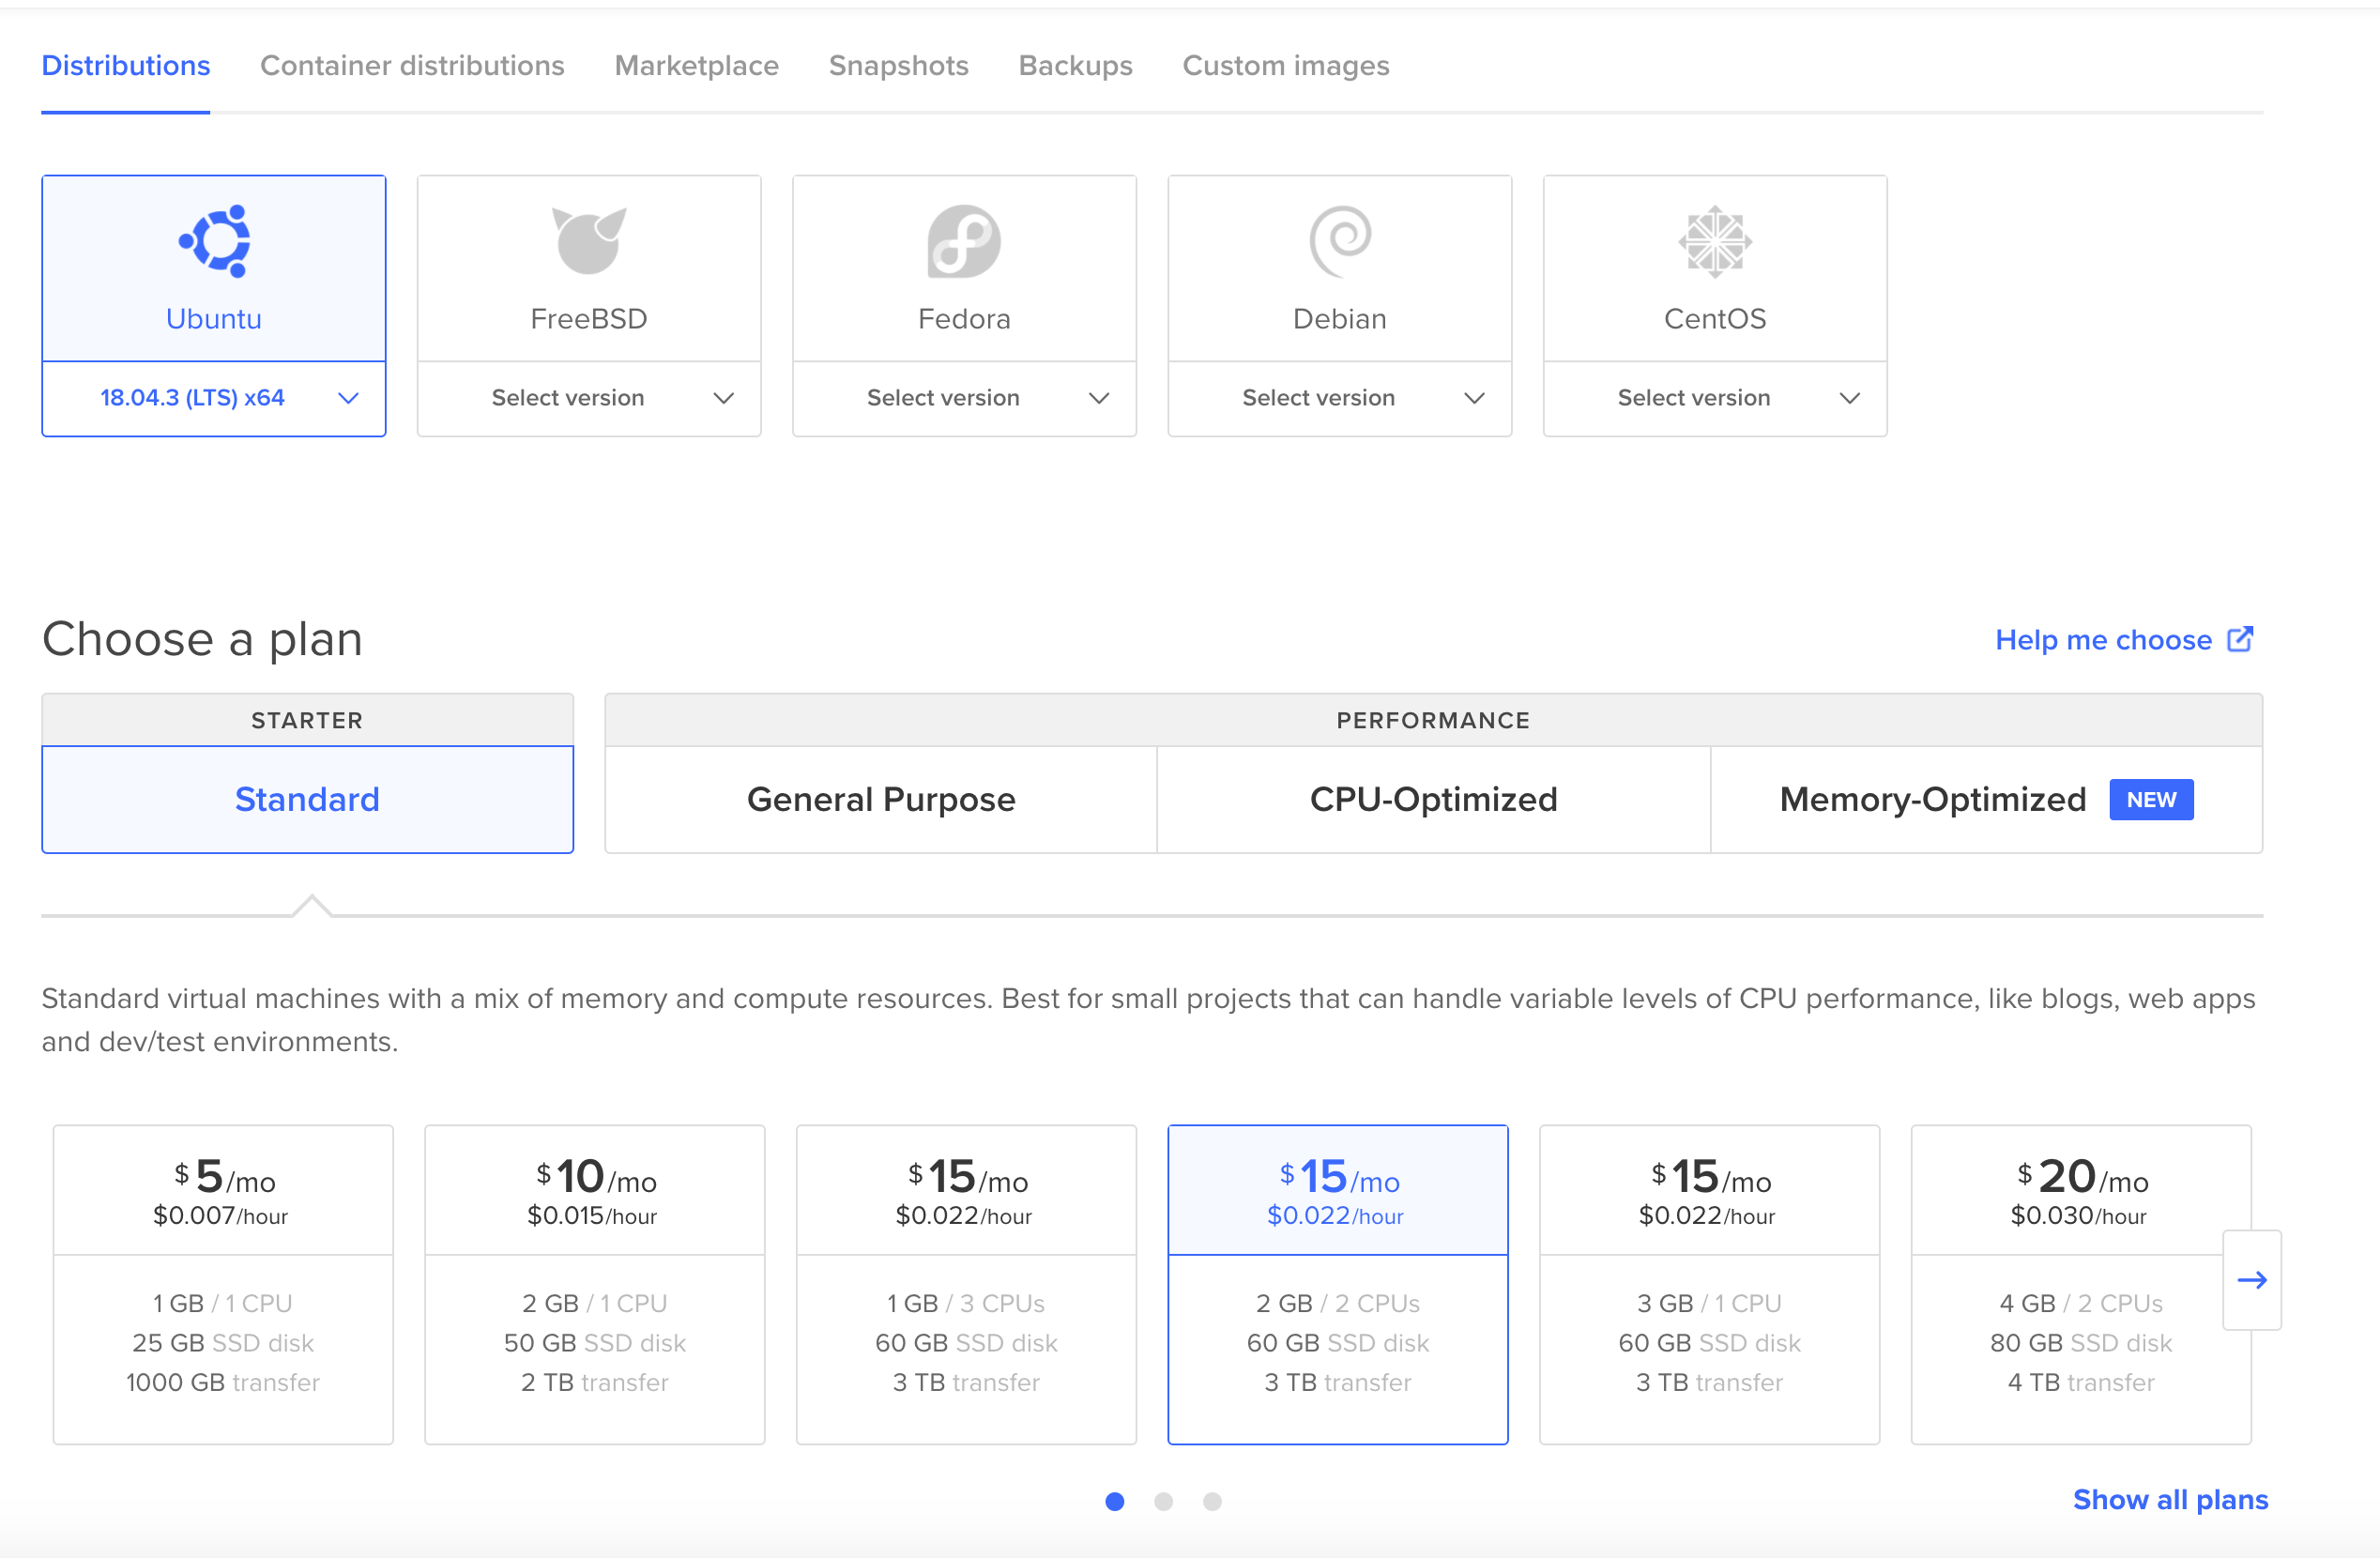 When creating the droplet, I chose the authentication method - SSH key
 Followed the instructions for its creation
 And so, the virtual server is ready.
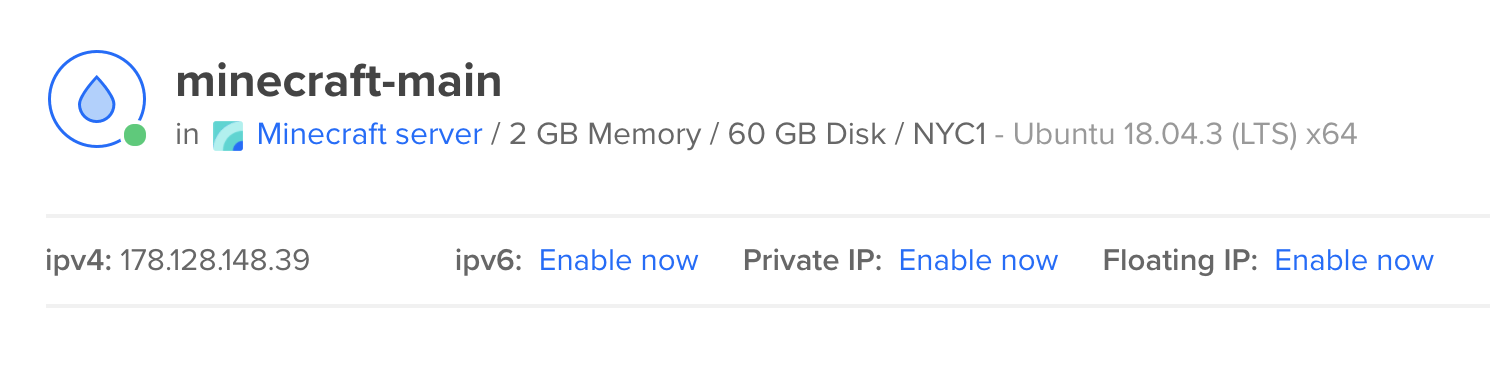 We go to it by ssh:
ssh -i ~/minecraft root@IP_address
where ~ / minecraft is the path to the created private SSH key, IP_address is the IP address provided by the hosting.I would like to note that it is not recommended to use the root user to start the server, as this can allow attackers through vulnerable plug-ins to harm your server. How to add a new user, you can find the link .In short, create a user (replace dinikin with your user):adduser dinikin
and give him administrator rights:usermod -aG sudo dinikin
and remote access rights via SSH:rsync --archive --chown=dinikin:dinikin ~/.ssh /home/dinikin
Now start a new session and use SSH with a new username:ssh -i ~/minecraft dinikin@your_server_ip
And so, we are on the server.Welcome to Ubuntu 18.04.3 LTS (GNU/Linux 4.15.0-66-generic x86_64)
* Documentation: https://help.ubuntu.com
* Management: https://landscape.canonical.com
* Support: https://ubuntu.com/advantage
System information as of Sat Apr 11 09:03:11 UTC 2020
System load: 0.04 Processes: 96
Usage of /: 1.7% of 57.98GB Users logged in: 0
Memory usage: 6% IP address for eth0: 142.93.248.77
Swap usage: 0%
0 packages can be updated.
0 updates are security updates.
The programs included with the Ubuntu system are free software;
the exact distribution terms for each program are described in the
individual files in /usr/share/doc/*/copyright.
Ubuntu comes with ABSOLUTELY NO WARRANTY, to the extent permitted by
applicable law.
To run a command as administrator (user "root"), use "sudo <command>".
See "man sudo_root" for details.
dinikin@minecraft-main:~$
Create a folder for our first Minecraft server and go to it:mkdir PirateBay
cd PirateBay
Now we need to decide on the implementation of the server. There are several, the most popular are Spigot , Paper , Forge . You can read more about the differences between these servers here .The main difference from the native Vanilla server is that modifications to the original server allow, among other things, the launch of third-party plugins, significantly expanding the capabilities of the game world. Such plugins allow you to create mini-games, impose restrictions on players, integrate servers into a network, and much more.I originally downloaded and installed Spigot. This is the most popular and well-optimized server for minecraft. Many plug-ins are developed for it and there is a huge community of both developers and users.However, I was faced with the fact that when working with one of the plugins for editing maps, the latter did not work correctly and recommended using Paper as a more optimized fork based on Spigot in the logs .In the end, I opted for Paper, although for some server instances I left Spigot. Now we need to install and start the selected server. Download the latest server version:curl -kLJ https://papermc.io/api/v1/paper/1.15.2/165/download -o Paper-1.15.2.jar
and try to runjava -Xms1G -Xmx1G -XX:+UseConcMarkSweepGC -jar Paper-1.15.2.jar
My server did not start because Java was not installed:Command 'java' not found, but can be installed with:
sudo apt install default-jre
sudo apt install openjdk-11-jre-headless
sudo apt install openjdk-8-jre-headless
Install:sudo apt update
sudo apt install default-jre
Now run again:java -Xms1G -Xmx1G -XX:+UseConcMarkSweepGC -jar Paper-1.15.2.jar
The server does not start, displaying a message:You need to agree to the EULA in order to run the server. Go to eula.txt for more info.
Open the file:nano eula.txt
change eula = false to true and save. Run the server again:java -Xms1G -Xmx1G -XX:+UseConcMarkSweepGC -jar Paper-1.15.2.jar
The server started: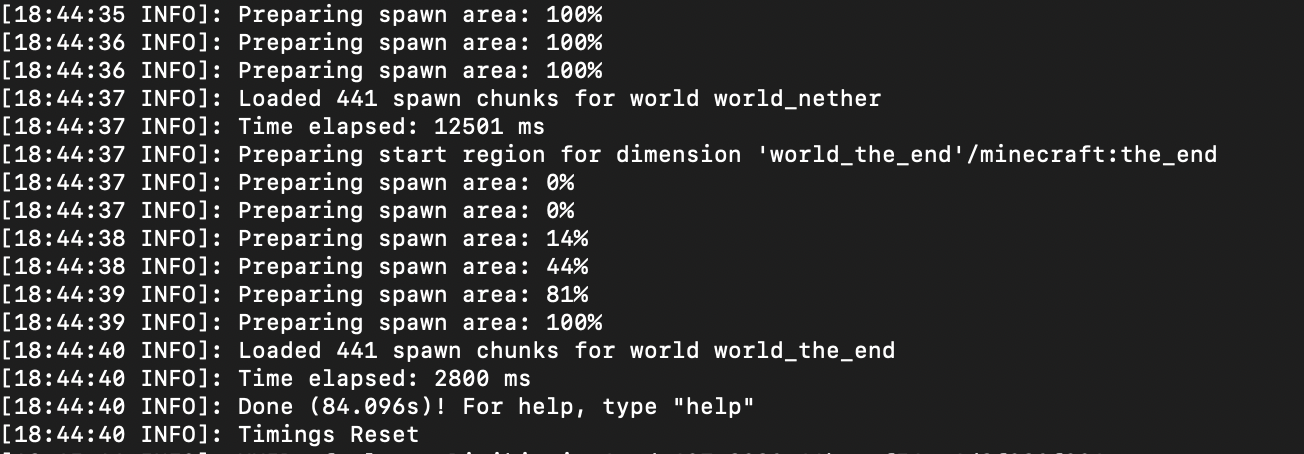 We start the game and connect to our server:
 If, for some reason, your Minecraft version was not licensed, you will not be able to connect to the server.To fix this, set the parameter online-mode = false in the PirateBay / server.properties file.But I still recommend not to regret $ 26.95 and support the developers of this wonderful game.Congratulations, your first server is up and running.What we will do in the next part:
- install the first plugin
- prepare an empty world to create a lobby
- download the map for the lobby and import it
Do not switch!