This article was created for lazy people who do not want to code a lot and deal with all the "stuffing".Group training
First, we need to create a community that will be tied to our bot.To do this, go to the "Communities" section and click "Create Community"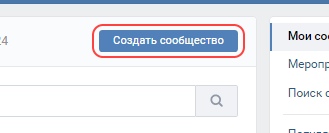 Now we will configure it to work with Callback-API // More about Callback-APIGo to "Management" >>
 >> “Settings” >> “Working with the API”
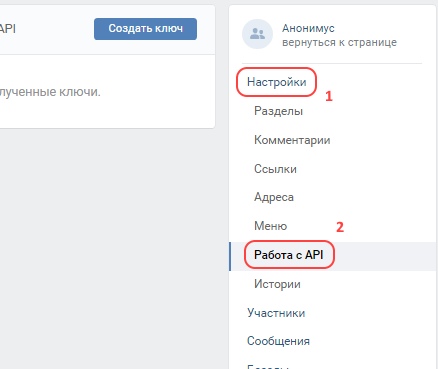 We create an access key with all permissions and write it out, it will come in handy for us.
 Next, go to the Callback-API tab, select the latest version of the API and write out the confirmation code specified. It
 remains to turn on the messages. Go to the section "Messages" >> "Settings for the bot" turn on and save the setting
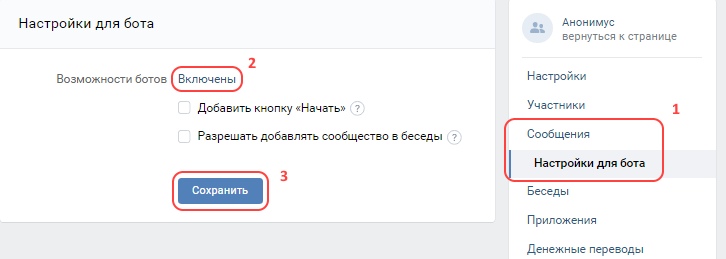
Server Preparation
To work, the bot needs a place where it will be launched. Any hosting is suitable for this, because .NET Core can be launched from any platform.I considered an example with a VPS server on Ubuntu 18.04.On a clean server for the bot to work, you need to install .NET Core at least version 2.2.We enter the following commands:The command to register the Microsoft key and web feed:> wget -q https://packages.microsoft.com/config/ubuntu/19.04/packages-microsoft-prod.deb -O packages-microsoft-prod.deb
sudo dpkg -i packages-microsoft-prod.deb
Updating the products available for installation:> sudo apt-get update
> sudo apt-get install apt-transport-https
> sudo apt-get update
Now install the .NET Core itself.For the Runtime version, enter the command:> sudo apt-get install aspnetcore-runtime-3.1
For Software Development Kit version:> sudo apt-get install dotnet-sdk-3.1
After installing the environment, check its readiness with the command:> dotnet --info
Installation and setup
We pass directly to the bot.Download and unload the archive with the assembly.Open the appsettings.json file . Insert the access key and the confirmation key saved earlier in the AccessToken value and the Confirmation value .
 Save and go back to the console.With the 《
cd " "》command, go to the assembly folder and enter the command to start:> dotnet vkBotCore.dll
It remains to bind the bot to the group. To do this, in the Callback-API section, in the address field, enter the domain to which the server is attached with the path / api / callback.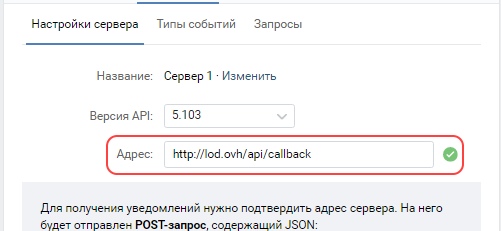 If everything is done correctly, a green checkmark will appear after confirmation.
Plugin creation
The basic functions of VkBotCore as a chatbot include only 2 commands: / help and / everyone.To increase the functionality, you need to write a plugin.Plugins are a class library with the basic functionality needed to connect as a plugin.Let's create a new project. Connect the vkBotCore.dll library from the assembly to the project.
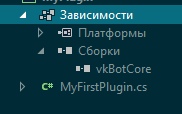 Add using to vkBotCore.Plugins and inherit the main class from Plugin
using vkBotCore.Plugins;

namespace myPlugin
{
    public class MyFirstPlugin : Plugin
    {
    }
}
Add hello command so that it responds Hi {name}using vkBotCore.Plugins;
using vkBotCore.Plugins.Attributes;
namespace myPlugin
{
public class MyFirstPlugin : Plugin
{
[Command]
public void Hello(CommandContext context)
{
context.Chat.SendMessage($" {context.Sender.GetMentionLine()}");
}
}
}
Now create a new folder in the assembly folder called plugins.Save the assembled plugin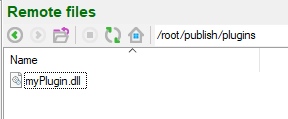 p.s. in it . For the commands to work, in the settings "Calback-API" >> "Event types" you need to enable notification of incoming messages.
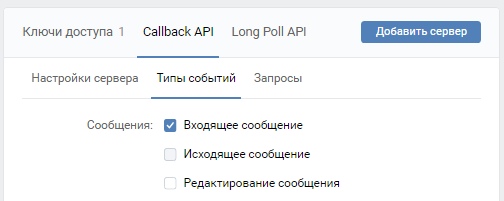 Run and check:
Related Materials
Archives of the assembly and test plugin
VkBotCore source code
Article with a chat bot based on ASP.NET Core, VkNet C #