Hello everyone. In this article I’ll talk about how I managed to implement Arduino control over the Internet using an Internet-connected PC. In general, this method can be used for any microcontroller, for example, PIC. The method is pretty oak, there is much to modernize and there are many more advanced schemes, but in the simplest case this is enough.Instead of joining
I would like to say right away that in this article I will not go very deep into the intricacies of programming, it is assumed that the reader has at least minimal basics. I’ll tell you in general how resources were used and about interesting points.Prerequisites for the creation of this method I had during the creation of my electric car: Zhmyak here! I must say right away that it was created more and more out of sports interest than for serious practical work, but nevertheless it works and can be useful to someone.What is the whole system built on and how is it implemented in hardware
The working scheme is as follows: from the server we read the file in which the data is stored using the program running on the PC / laptop. This program via USB sends data to the controller. The controller receives data and performs actions on them. The scheme with the server is attractive in that you can control the scheme without an application, simply by going to the site from any smartphone / tablet / pc / laptop anywhere in the world where there is access to the Internet.PS. About the server side is described below.In this article I will control the Arduino MEGA 2560 (the Chinese counterpart), but behind the scenes the circuit worked smoothly with the PIC16F877A, the only thing I had to use was the USB-TTL adapter: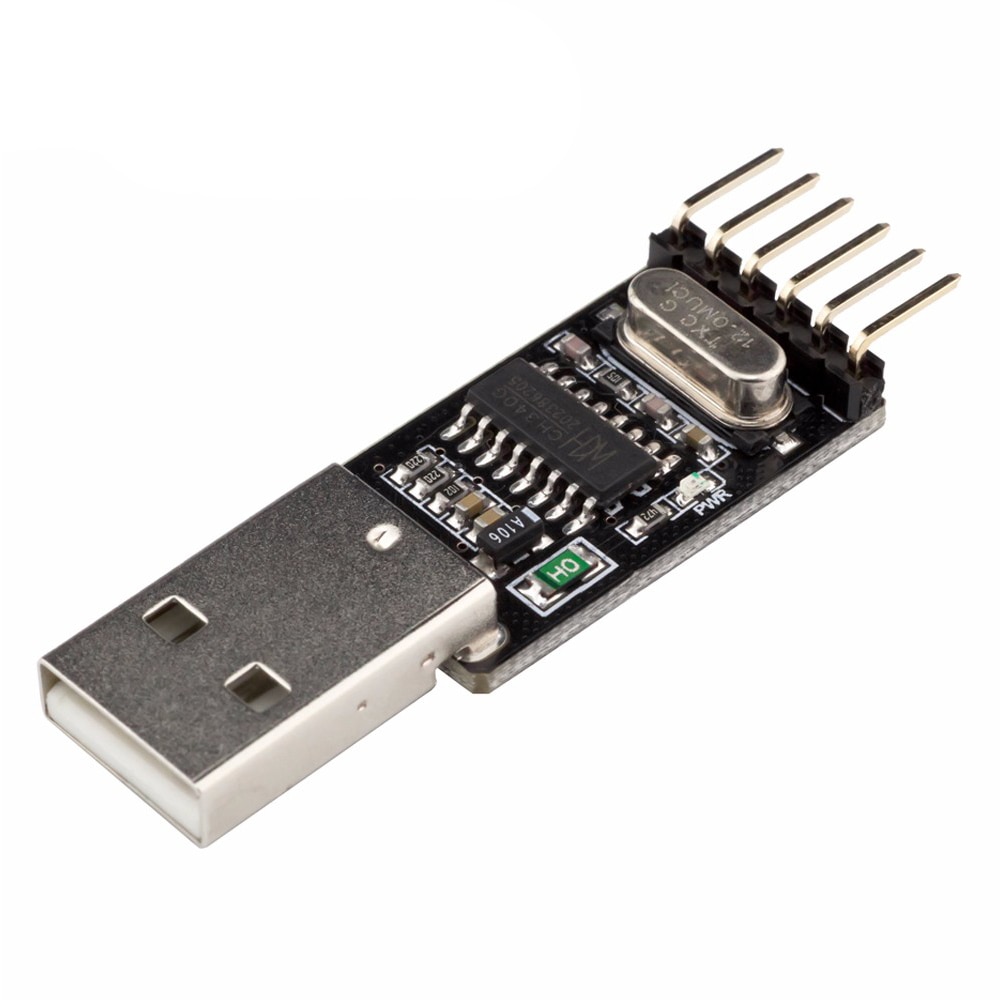 It’s clear that the PIC program is slightly different from the Arduino program, due to different types of MK, but the principle is the same:We receive data through the COM port, compare them with the internal table of commands and perform the corresponding action.The scheme initially seemed very simple to me, but there was one BUT - there was no program that would read the file on the Internet and send data to the COM port. Accordingly, I had to write such a program.The program was written on VB6. To read the file from the server, the VB6 component is used: Microsoft Internet Transfer Control 6.0. With its help, a text file on the server is simply read into a string variable. After reading this line, it is sent to the COM port using the VB6 component: Microsoft Comm Control 6.0. The whole process of reading a file and sending a line is read in a loop using a timer. The timer interval can be changed in the program config, or directly during operation. In addition, you can select the mode of operation of the port, its number, the mode of operation of the Internet connection and a link to the readable file.I would like to make a remark that with large file sizes and small gaps, the program freezes, but continues to work. My program's buffer size is 512 bytes. Given that my MK has less buffer, this is enough.An important point. A program in MK cannot parse data, it can read only which character was transmitted to the input via the serial port. Without errors, I managed to accept the Latin alphabet (26 characters AZ and 10 digits 0-9). A total of 36 teams, if the algorithm is finalized and data parsing is introduced into the MK, then any data can be transferred. There is also the possibility of “doping” software for two-way data exchange.
Server selection and server side
For the server side, any server with PHP support , even if running on a personal PC, would only have a static IP, but I personally use a rented Jino. The server part in my example consists of two files: HTML pages with a form with ON / OFF buttons for an LED and a PHP script that changes the contents of a TXT file from which a program running on a PC reads data.Software
HTML code Form with 2 buttons, on / off LED on the board:<html>
<head>
<title> </title>
</head>
<body>
<form action="work.php" method="post">
:
<p>
<input type="submit" name="sv" value="On" />
<input type="submit" name="sv" value="Off" />
<p>
</form>
</body>
</html>
PHP code, here we write the command A to the file, if the LED should be on, and B if it should go out:<?php
$cm = fopen("command.txt", "w");
switch ($_POST['sv']) {
case "On":
fwrite($cm,"a");
break;
case "Off":
fwrite($cm,"b");
break;
}
fclose($cm);
?>
Now the actual code for Arduino:int val;
void setup() {
Serial.begin(9600);
pinMode(13, OUTPUT);
}
void loop() {
if (Serial.available()) {
val = Serial.read();
if (val == 'a') {digitalWrite(13, HIGH);}
if (val == 'b') {digitalWrite(13, LOW);}
}}
The program itself for reading information on the server with forwarding to the COM port and its source code are in the archive at the link: Yandex-Disk The program is compiled into several versions of the code, there may be some differences in operation, but it should not be. At the first start of the EXE file, a help file and a config file are generated. Data from this file is read when the program starts, if it exists. If the file does not exist (for example, at the first start of the program), then the config-file is created with default values.Work results
Instead of a conclusion
In this example, I implemented a simple “oak” algorithm that works. There is of course where to develop further, but nevertheless, 36 teams can already be sent in this form. If you implement parsing of incoming data in the microcontroller, then you can transfer any data. For my tasks 36 teams will be enough with the head, and besides, this is the experience of a beginner :)