 Good day,% username%. It's time to uncover the blog after 6 years of inactivity and try again to bring something useful to the community.I am extremely surprised that there is still no article on Swarmpit on the hub. Of course, I understand that most people studying Docker probably stop on it and then try to climb Mount Everest called Kubernetes. I don’t know the exact numbers, but I think most of them get lost and either get killed on Docker or just use it. But in vain!Docker Swarm is an almost perfect system for almost everyone. I very much doubt that a really large number of people need Kubernetes. I killed him for almost a day and realized that I would kill 30 more so that I could use it calmly later, BUT I am a simple programmer and all this cool DevOps is not about programming at all. And then I heard about Docker Swarm and in 1 day it was absolutely easy to penetrate into it.Who needs Docker Swarm? You are already imbued with the great features of the Docker ecosystem. Your applications are made up of microservices. At the same time, you have several servers and I would like to have fault tolerance and somehow manage the load.And in this article I will not describe how to configure it and what it is. I will go even further and show an insanely simple tool for working with an already configured cluster. Yes, the cluster needs to be configured, this is actually just a couple of commands ( more details here ):
docker swarm init
docker swarm join
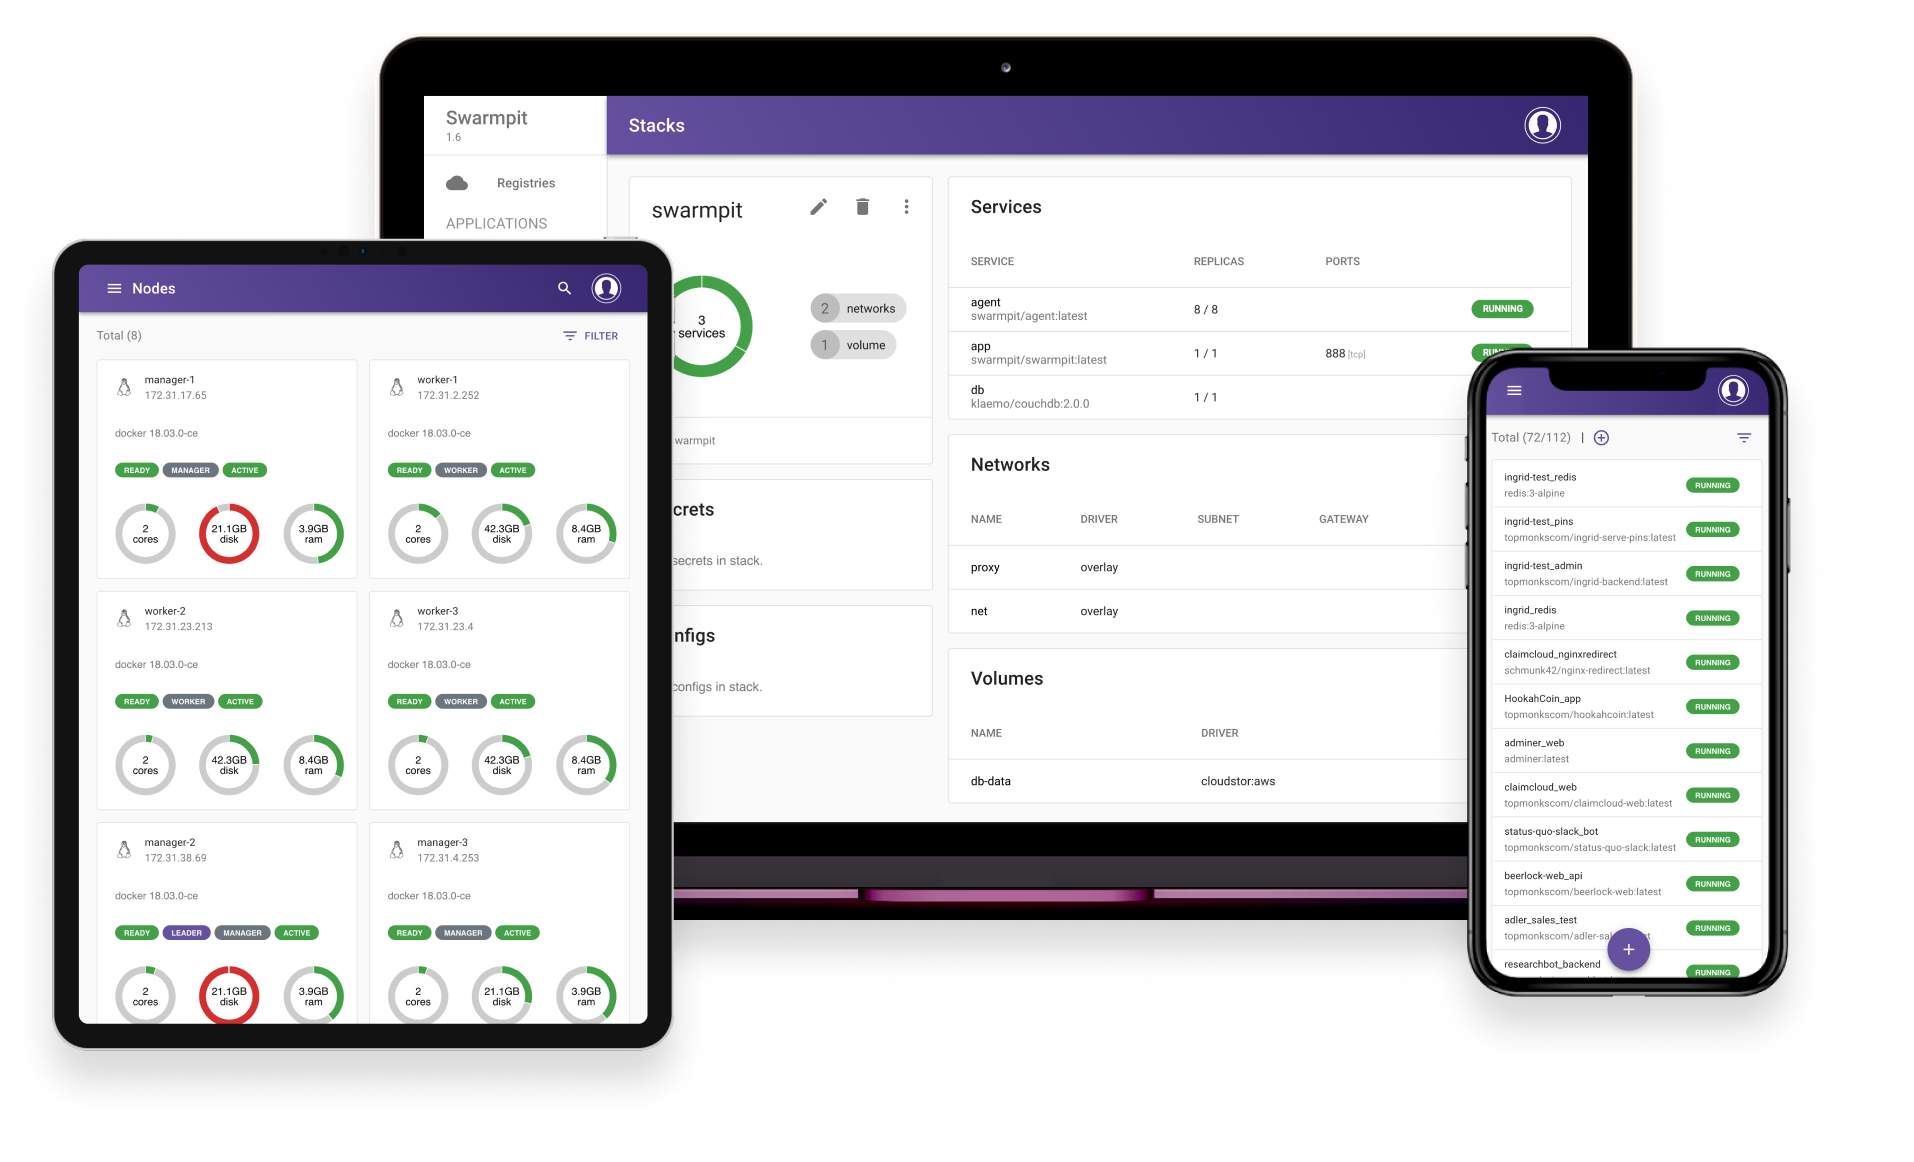
In general, I could just leave a link to the Swarmpit website and finish, you all can read, but it is installed in general by 1 team and you don’t even have to think there, you just relax and launch your containers.Link here :But still, I will describe a little and show screenshots from this wonderful admin panel.1. Home screen
All information about the cluster is collected here. You can also pin selected services here and monitor their status: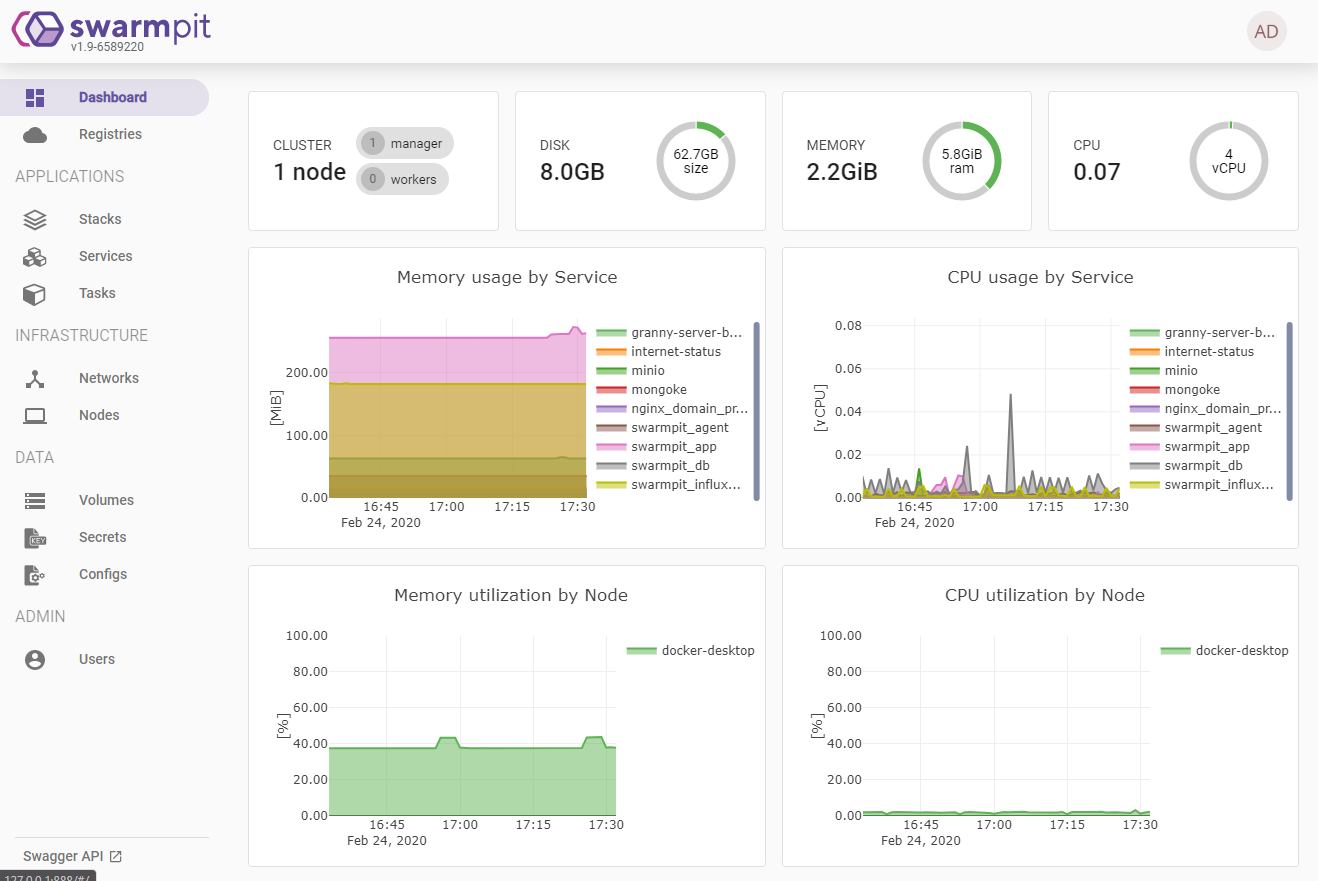
2. Connection of third-party registries
By default, Swarmpit will search for images in hub.docker.com
3. Adding a new service
Everything is extremely simple and clear here. First we find the image in open or closed registries. We select the version, the name and the mode itself: global or replicated. You can also specify a command to execute:
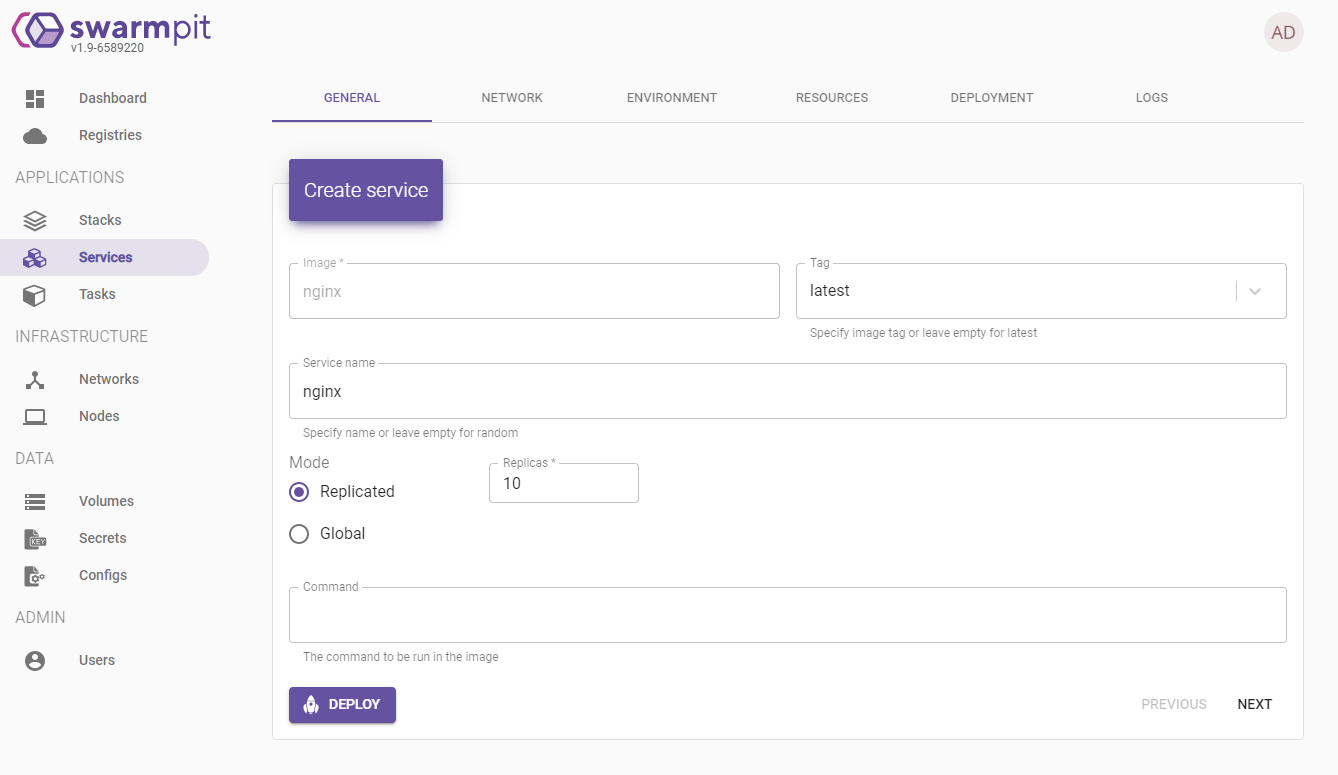 Then configure its network. Can add from general, configure ports and give hostname alias for the service.
 We set environment variables, connect storage, add configs and secret configs.
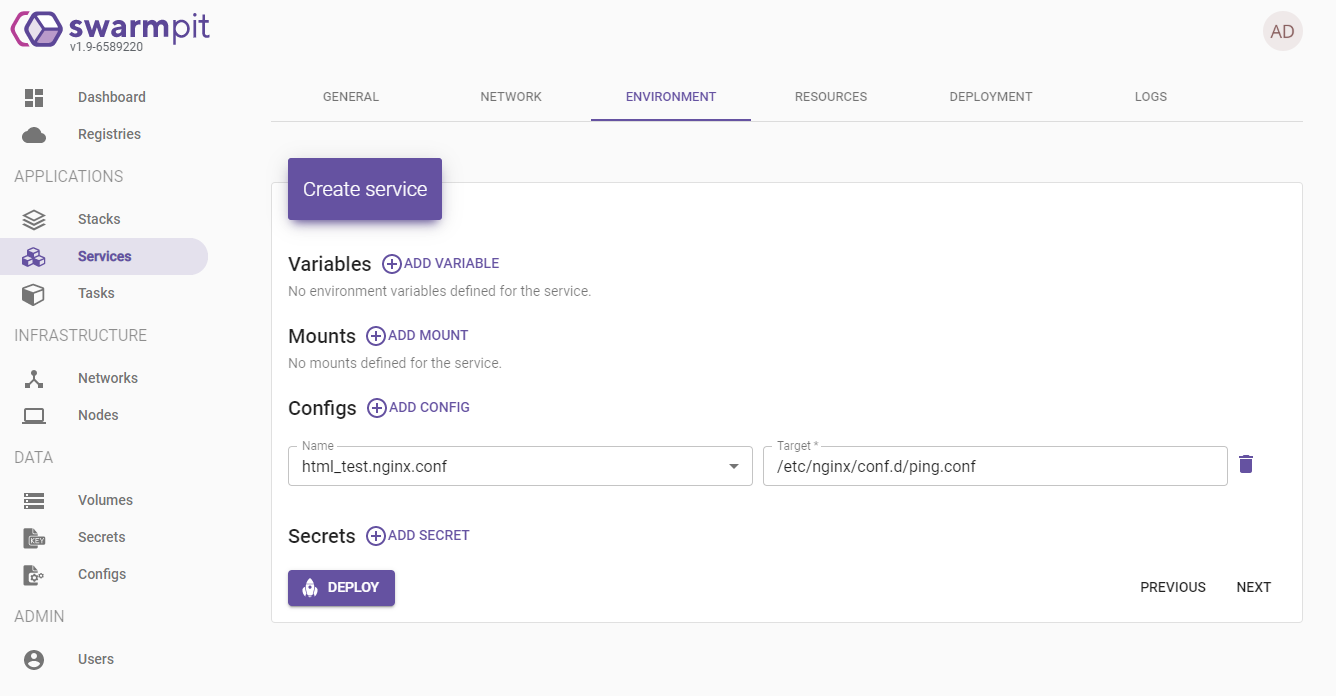 We set limits for the application:
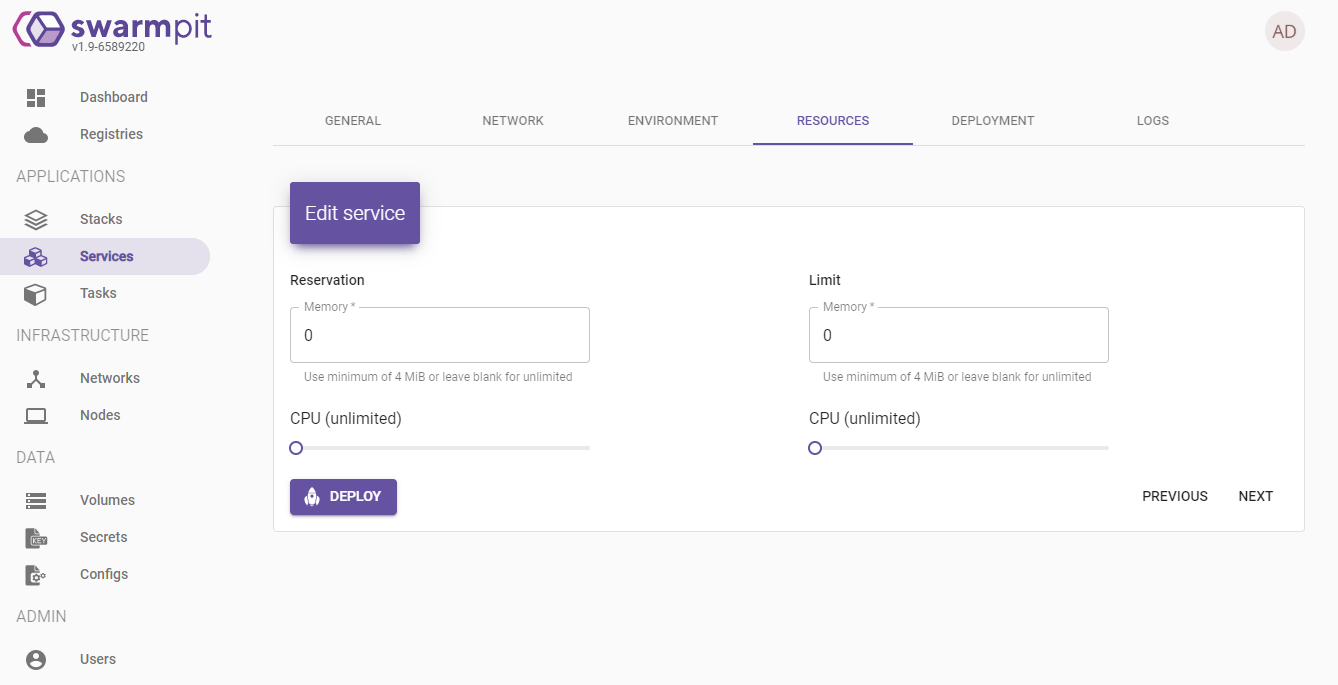 We can issue tags to the service, enable auto-update of the image, issue nodes for the deployment and generally configure the re-deployment policy to avoid application downtime: Log
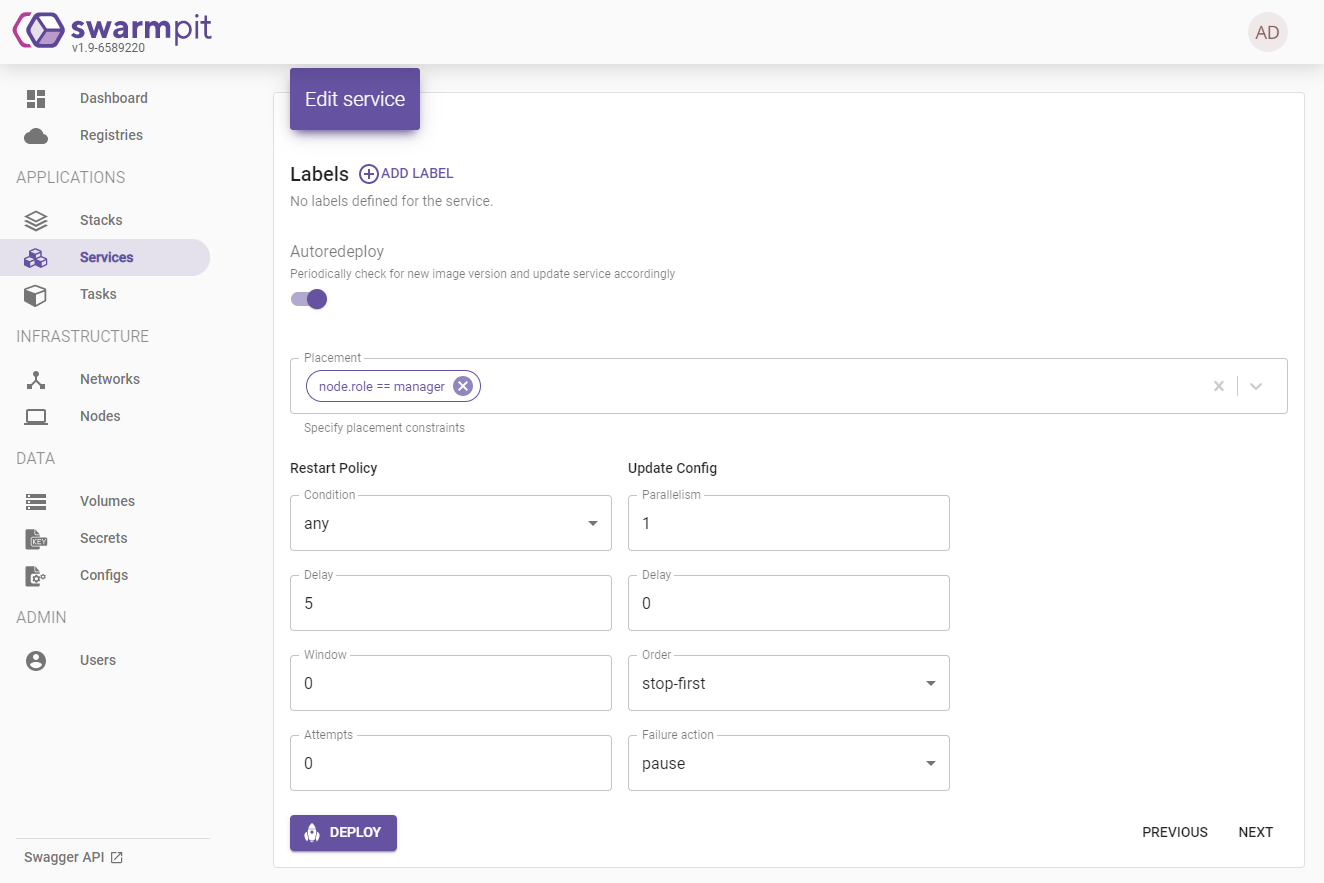 settings:
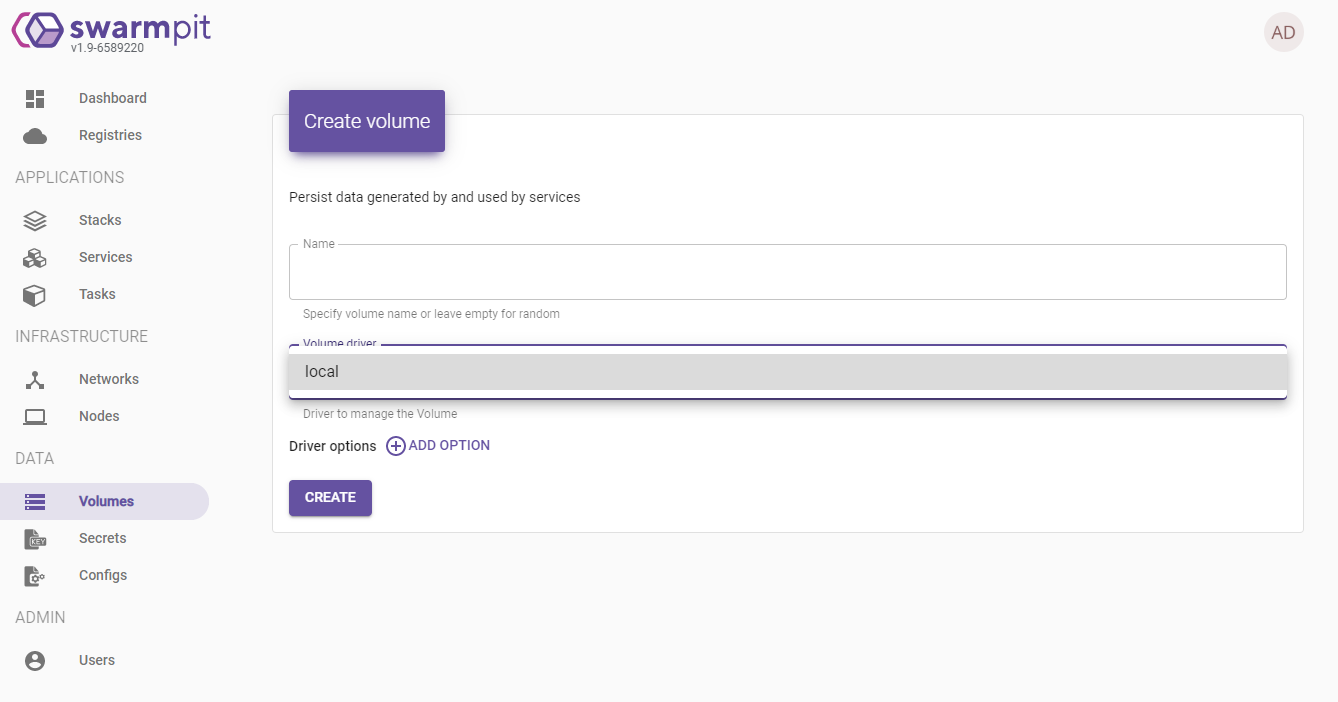
4. Of course, you can add networks and change them

5. View the nodes connected to the cluster
You can have several nodes on one machine (read about docker-machine ), but the Swarmpit instance can be connected to only one cluster and will only monitor it.
6. Add docker-controlled repositories
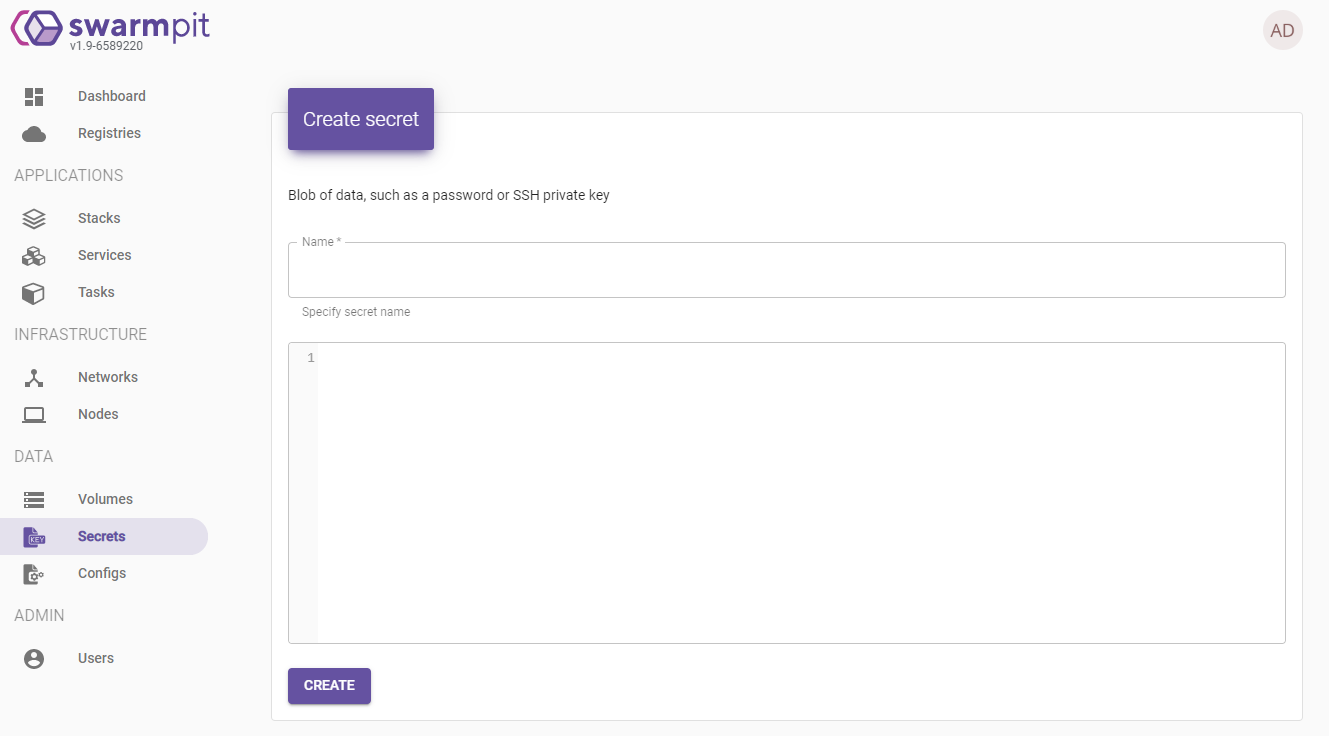
7. Well, by itself add configs
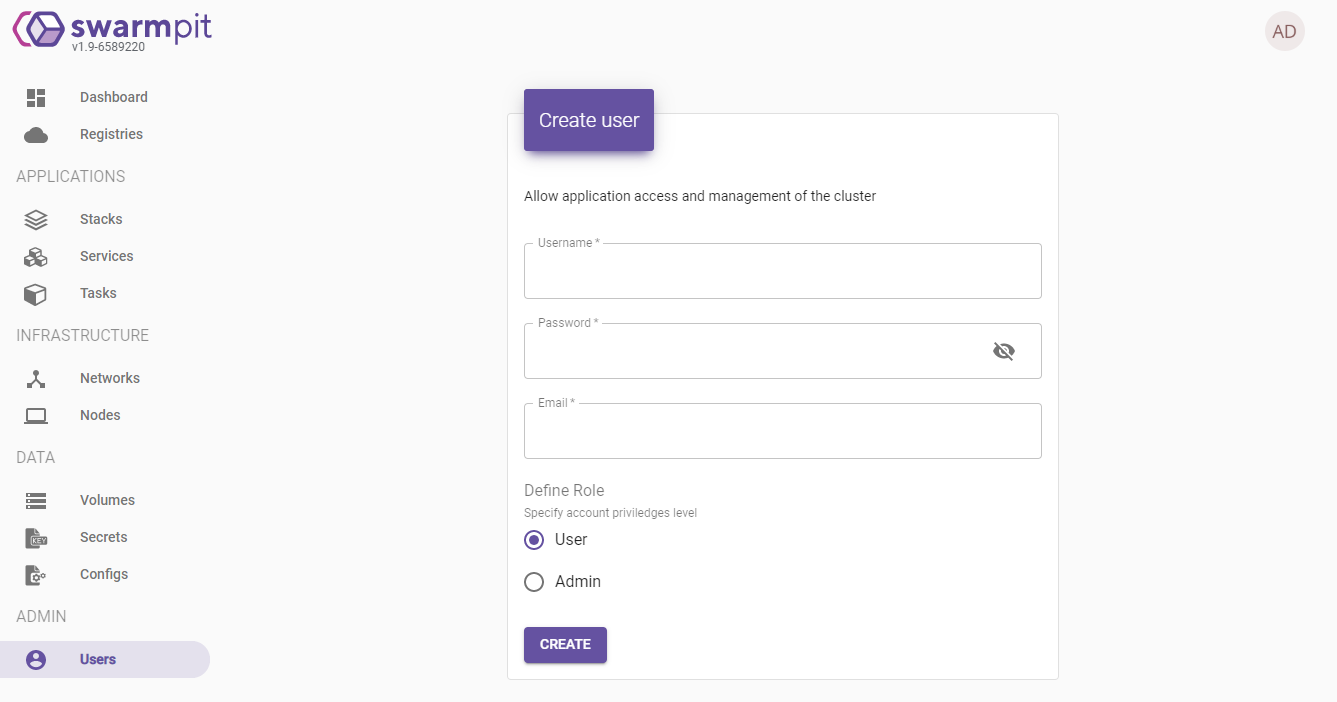
8. You can also add users with 2 types of access
 Because this docker swarm by itself can create stacks and their launch is possible only with the help of the docker-compose format:
 Pros:+ I am not a kung fu console master, although I deployed some of my services in it and killed a lot of time for this. Swarmpit saves this time great, especially when you start playing with configs for the same nginx for example. And soon they promise to make versioning of the configs with auto-discovery of related services. Those. changed the line, saved and the config automatically flew to all services where it was previously indicated.+ Also, I did not mention the presence of the API, and here there are just gorgeous opportunities for managing the cluster with my logic. You can monitor the state through the API, add replicas to the application during a surge, and reduce them when you reduce them.Minuses:-Master password cannot be reset in any way and you need to reinstall the cluster if you lost it-Developers like 1-2, so they add features for a long time, but at the moment I have not foundany critical bugs -All minor flaws, but most of them are in issue and the developers promise to fulfill all 2.0-Control only on the connected cluster, no support for third-party cluster or connect to there and probably will not bea matter of once again give a link to the website Swarmpit tytsGithub page Swarmpit tyts .At the moment, I have done 2 more open source projects on NodeJS, if interested I can talk about them too. The 1st one is a redirect for an ad-free telegram and ultra-small (Docker Image weighs 27MB and is also written in NodeJS without a single package), the 2nd more complicated is the cdn server for images, which can modify images on the fly (resize, format change, quality, etc.) and can save $ 200 (maybe less, this is the price of Business CloudFlare that allows you to do the same).