Molding molds from liquid silicone at home
 Last time I described the development of the Soluble Spoon focus kit , which featured a silicone mold.Today I will describe in detail the very process of casting such molds from liquid silicone based on platinum. I warn you, under the cut a lot of photos!
Materials and equipment
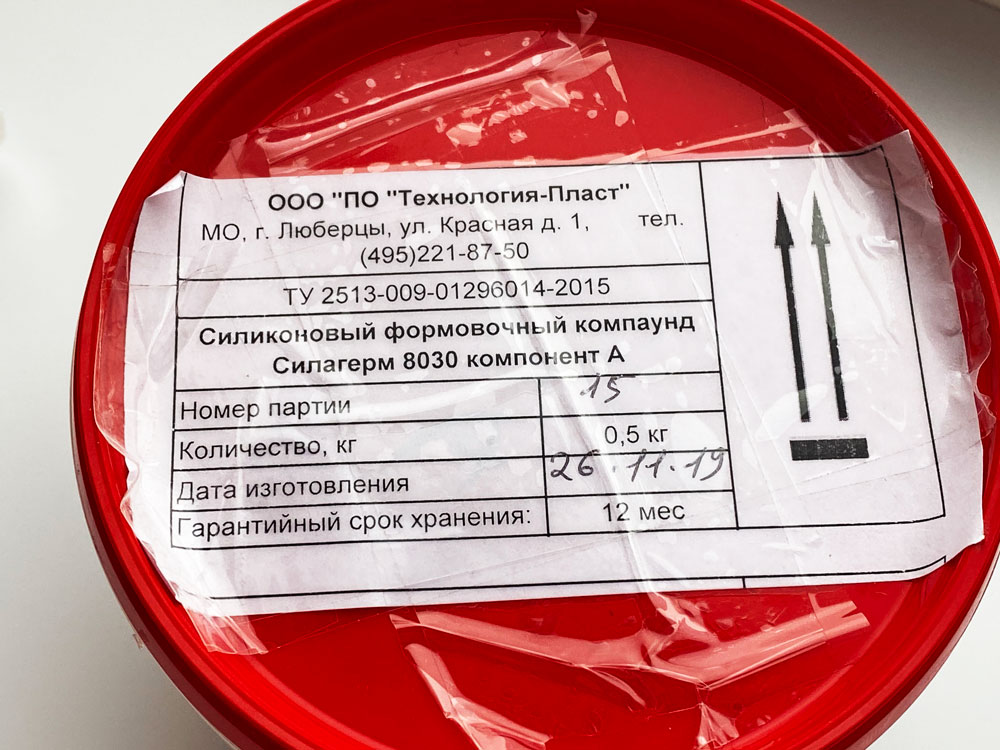
Two-component liquid silicone
Which one and where I bought liquid silicone described the last time.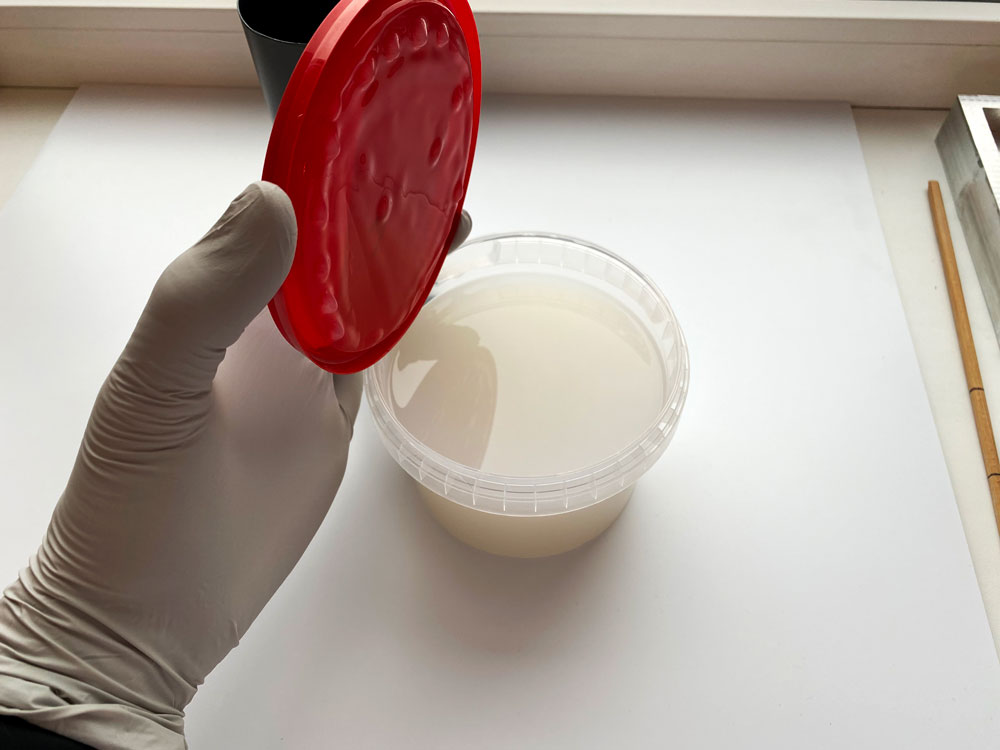
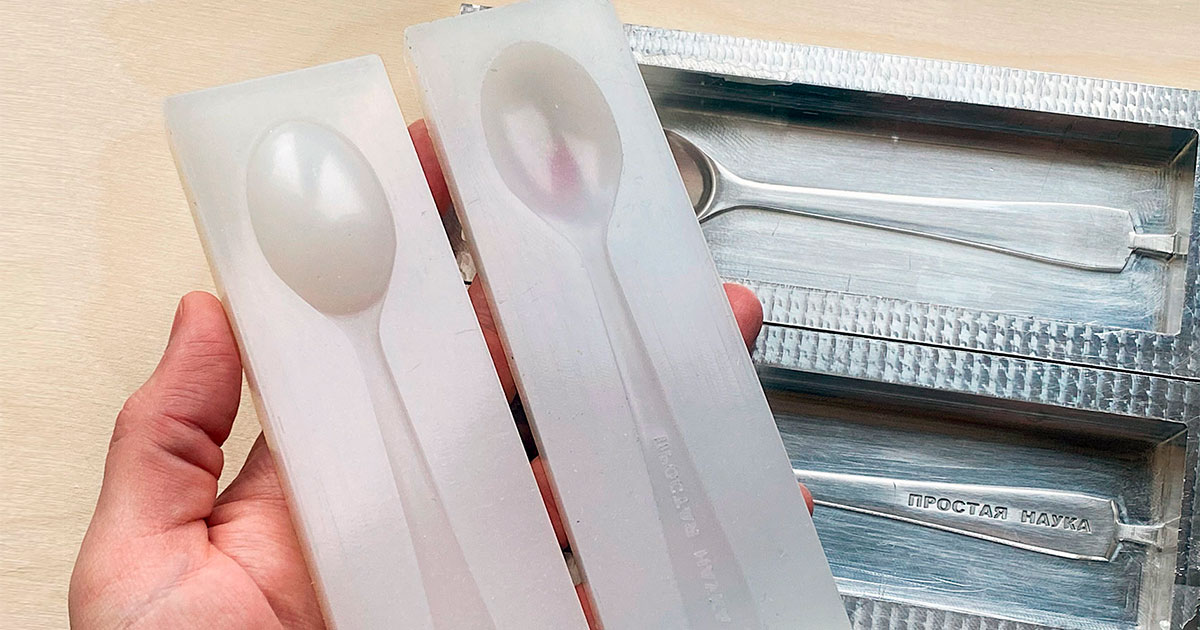
Silicone mold
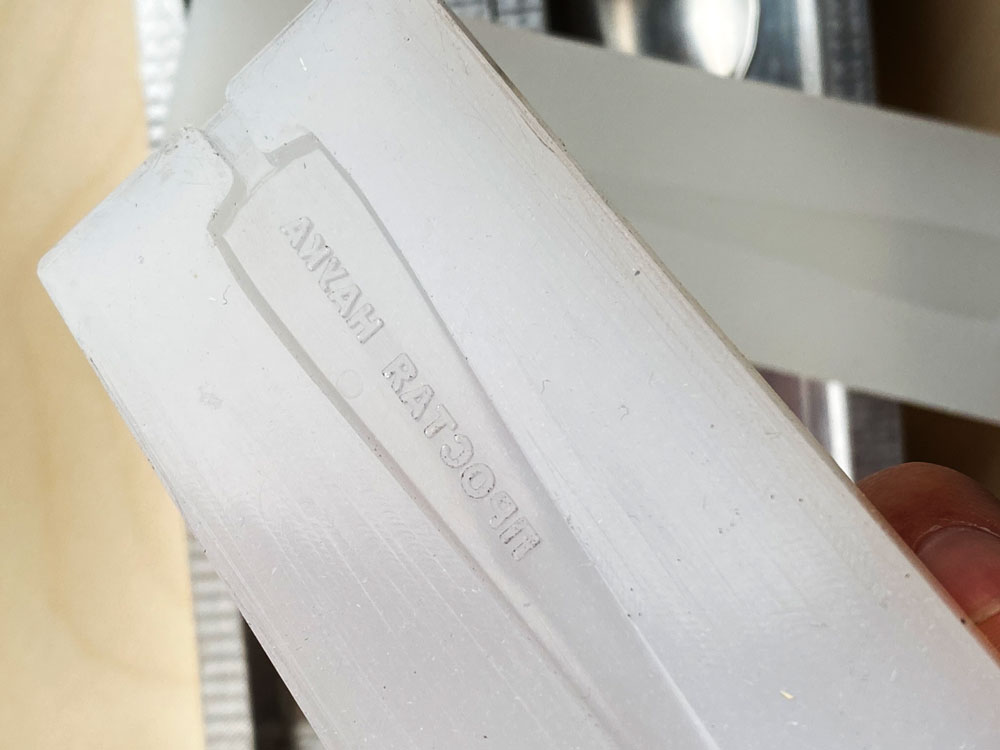
The mold was made to order from aluminum, but for simple and home tasks it can be made with gypsum with your own hands. I have not described this process yet, so there will be a topic for the next post.Here is an example of a plaster mold, which they themselves did at the very beginning: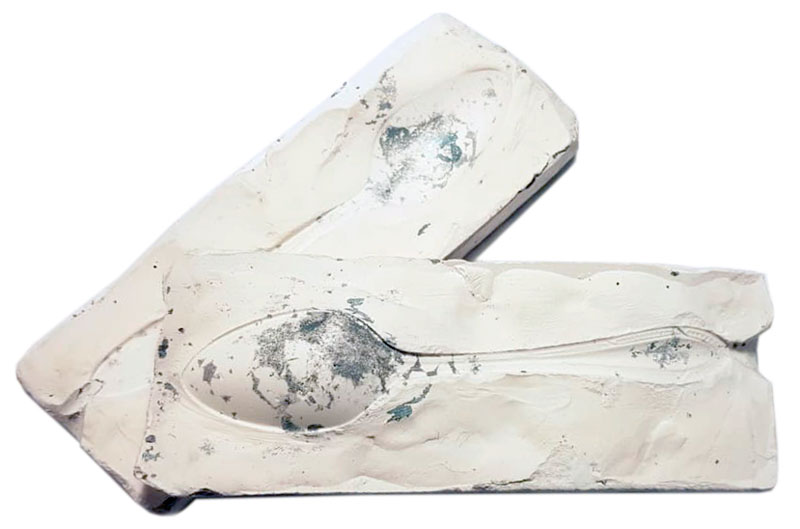 And this is an industrial form:
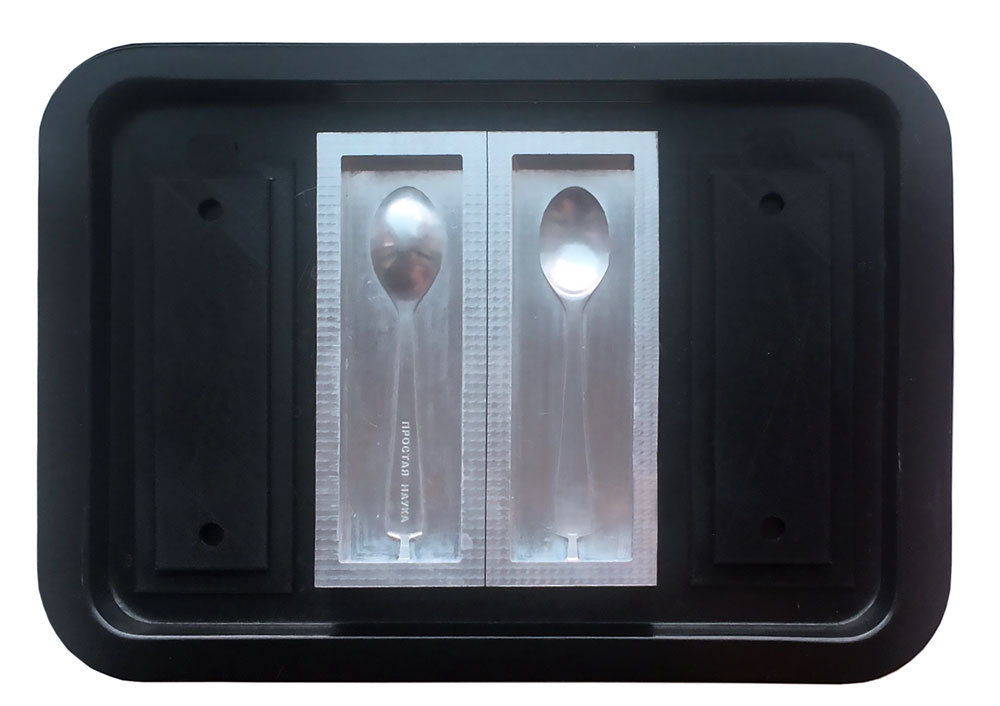
Mixing bowl
It is better to use transparent containers with measured risks. But in order not to spoil the container, I took the bottle from under the shampoo and cut off the top. And since the bottle is not transparent, additional steps were required to determine the level of filling. But these are trifles.Stir stick
Silicone consists of two components that need to be mixed together in equal proportions. Chinese chopsticks are great for stirring, which you can grab on the way home in any fast-food with rolls.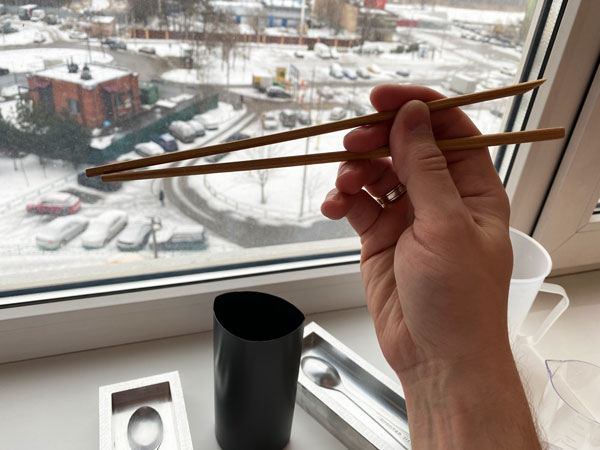
Funnel
Typically, molds have a small hole for pouring silicone into them. Therefore, a funnel is useful, which can be made of glossy paper, fixed on top with tape.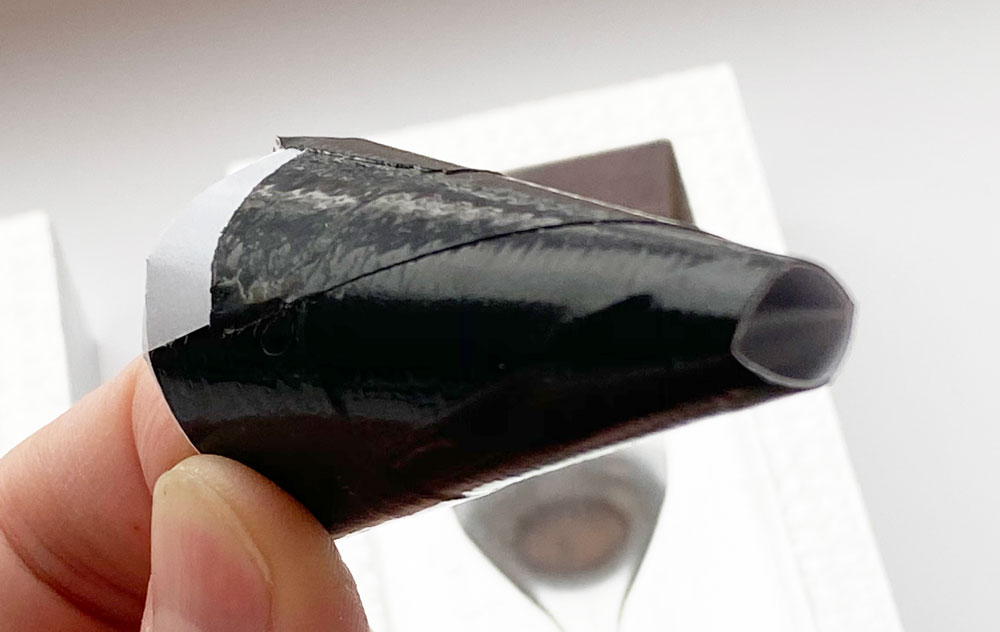
Gloves
When working, I used ordinary latex gloves. But any fit, if only it was convenient in them.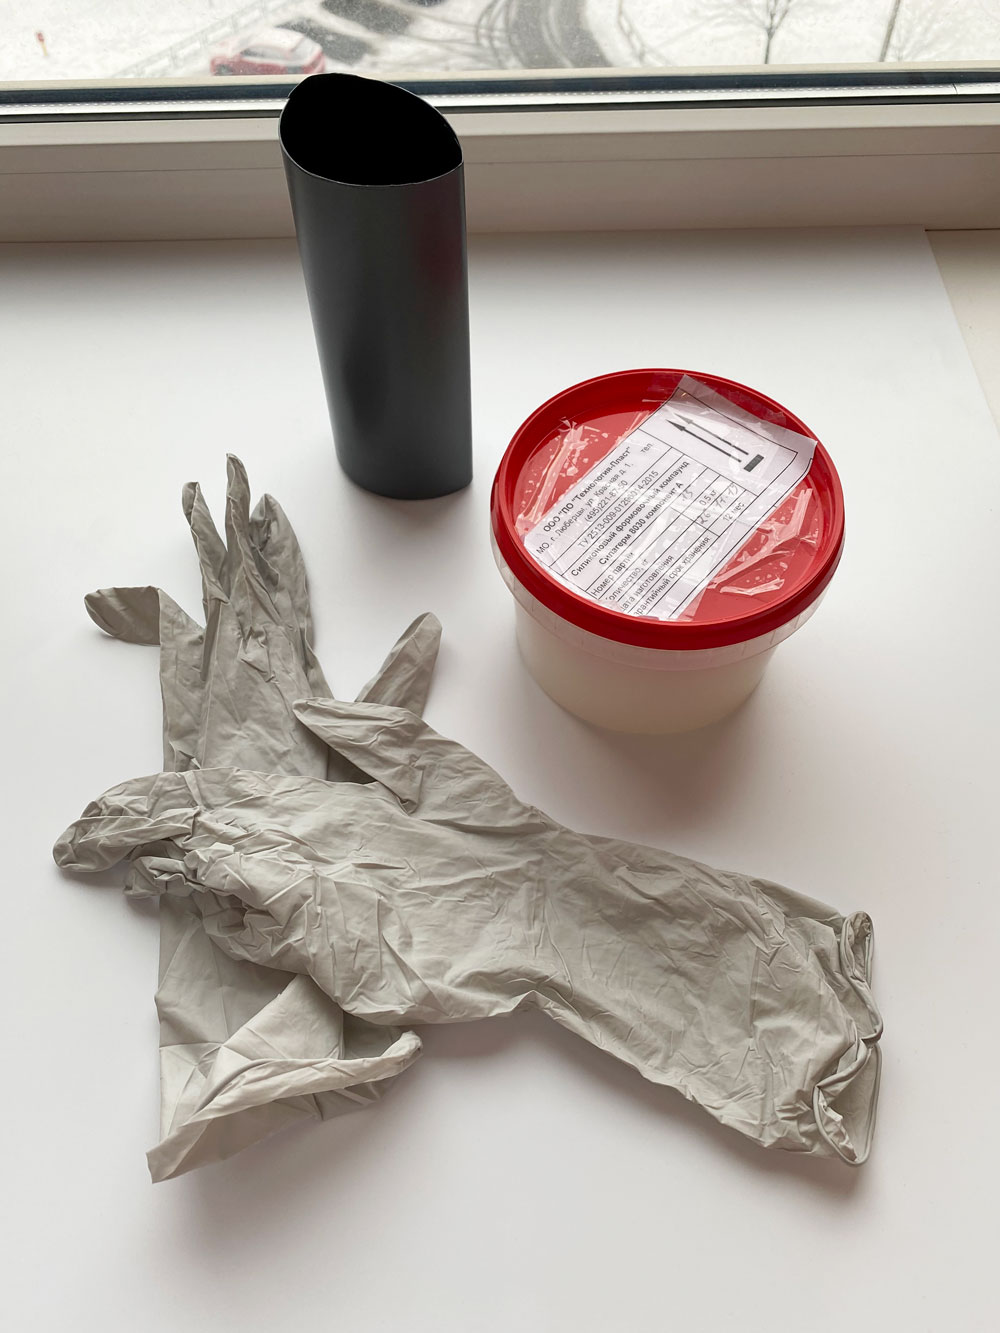
Degreaser
The mold where the silicone will be poured must be cleaned and degreased. For the first time, I did not do this, and on the form there were small potholes from solid debris, and in a couple of places the silicone adhered quite strongly to the form.For cleaning, I used a cleaner purchased at the construction market. I forgot to take a picture of it, unfortunately. But you can use alcohol or WB.What else can come in handy
Wax grease
A special wax lubricant in the form of a spray is sold from a silicone supplier. It is applied to the mold before pouring and this ensures easy removal of the finished silicone part from the mold. But so far I have done without her.Vacuum chamber
You can also use a centrifugal or vacuum chamber to remove air bubbles from the silicone. But for my purpose it was not so critical, and there were almost no bubbles.Manufacturing process
Level setting
Since my molds for casting have a bath form factor, they need to be installed horizontally using a level. After measuring, I put it under the low edge of the cardboard and everything is ready.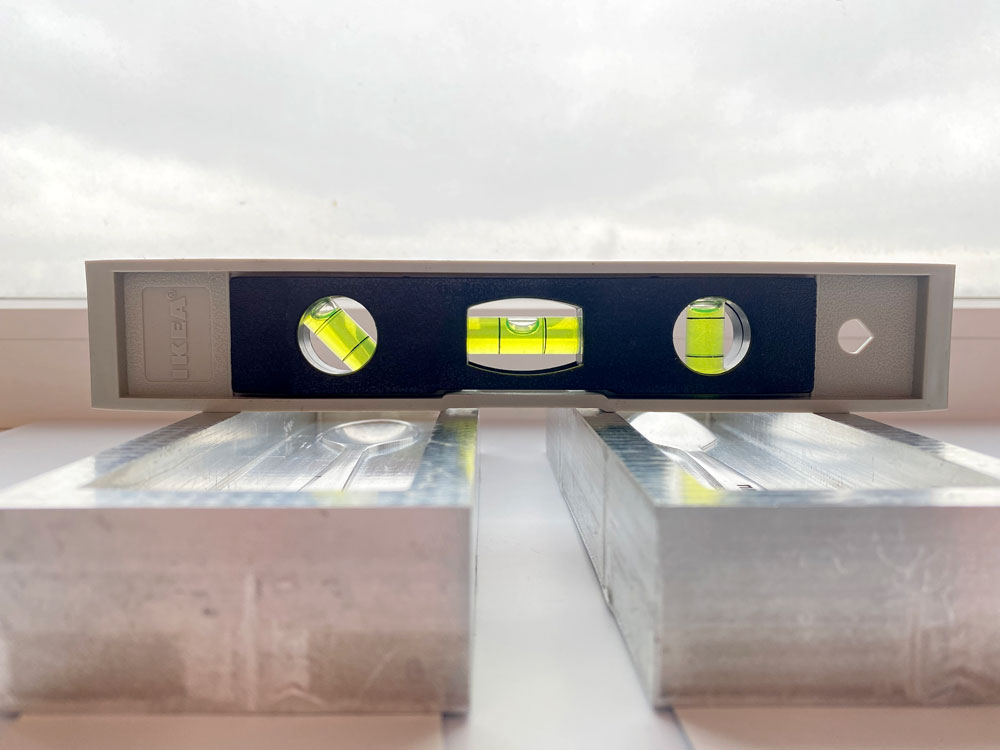
Form volume determination
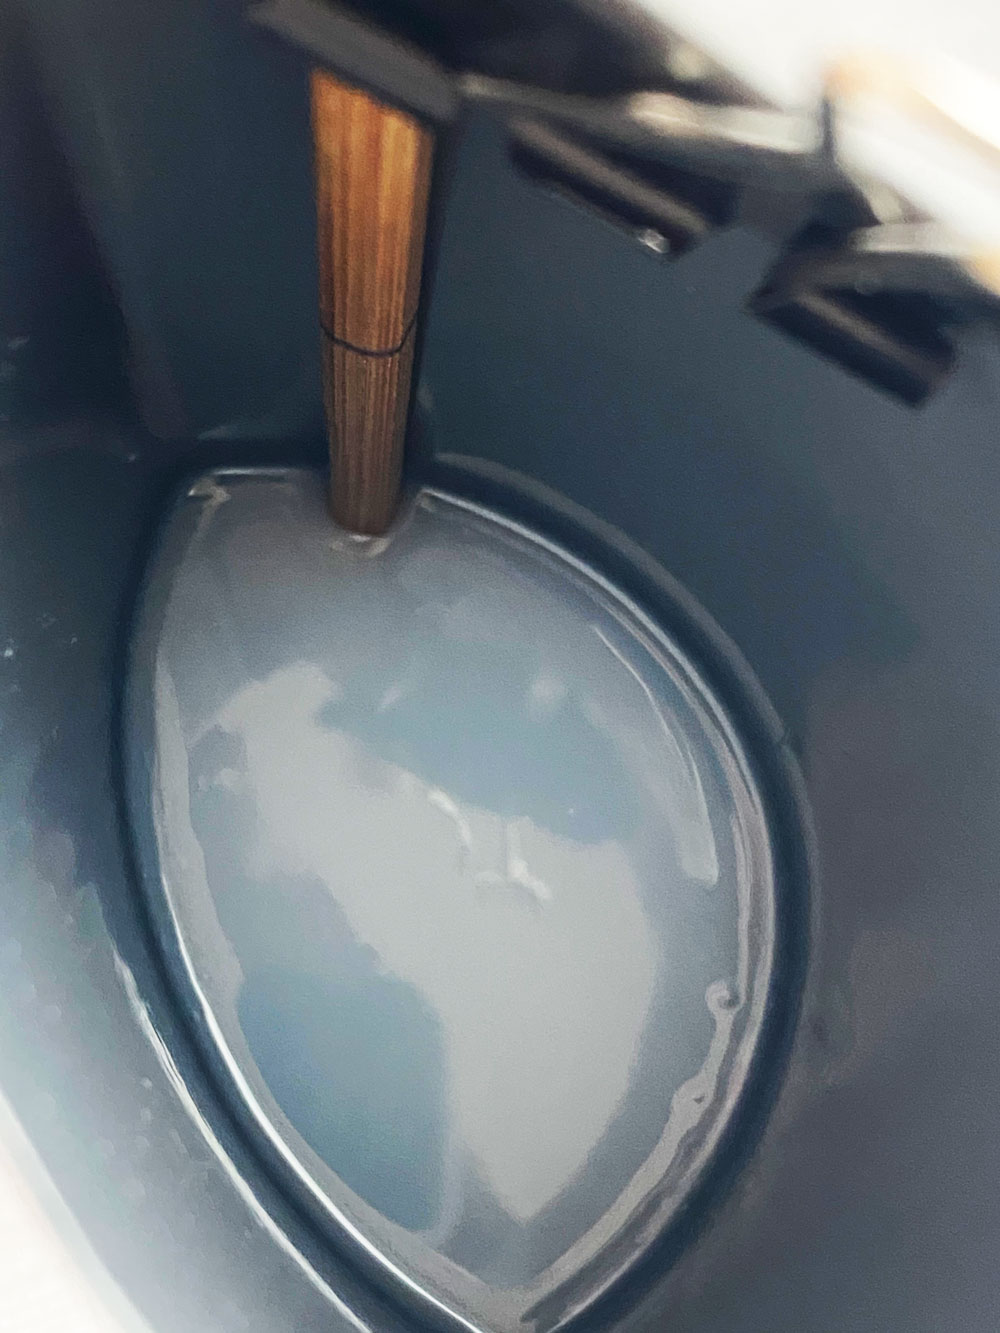
First you need to understand how much silicone is needed to make a specific mold. The easiest way to use water.We fill the form with water and pour it from the form into a measuring cup. In my case, the volume was 130 ml. The second form is almost the same. A total of 260 ml was obtained. Now about the container for mixing silicone. In fact, you need a measuring cup with two marks of 130 ml and 260 ml in order to fill in two silicone components in turn.I got out of the situation like this: I took one of two Chinese chopsticks, placed it in a container and poured 130 ml of water inside. In the place where there was a line between a dry stick and a wet one, drew a line. Then he added another 130 ml to the container and drew the second risk.
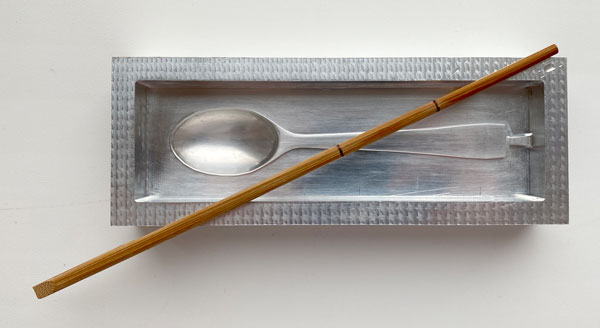
Preparation of the silicone mixture
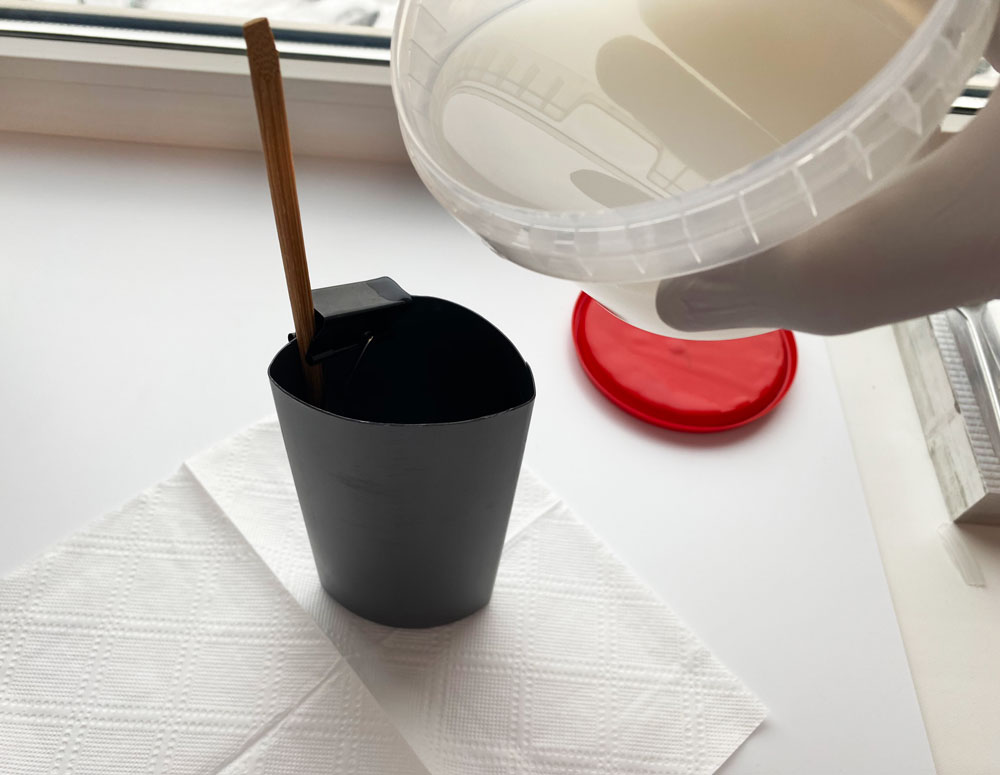
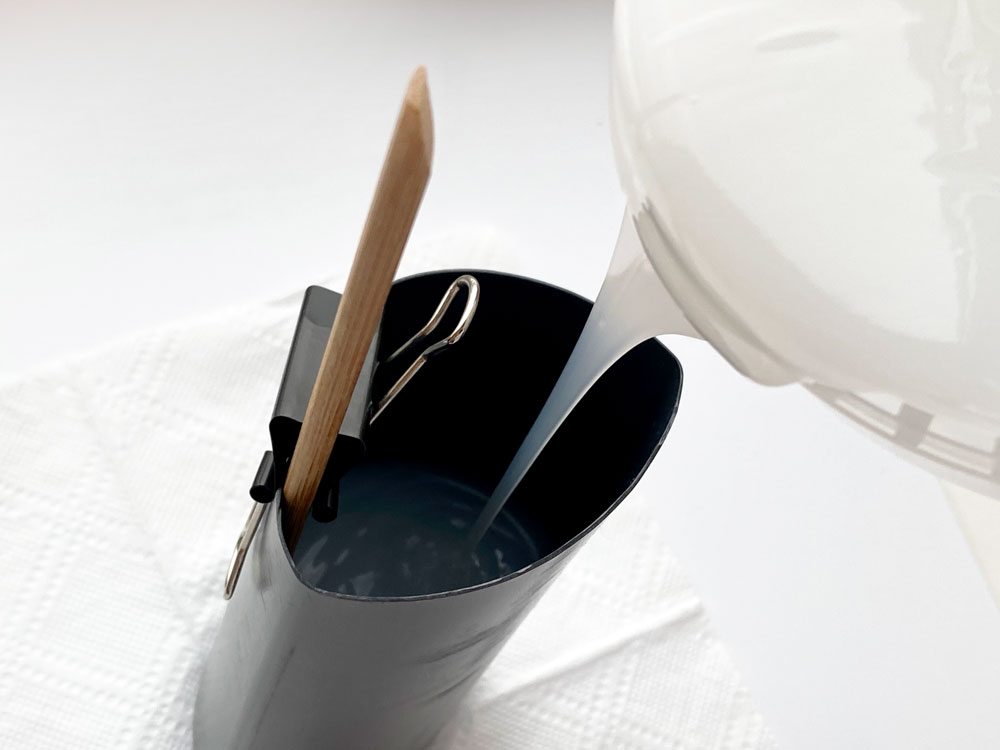
To prepare the silicone mixture, you need to mix the two components of liquid silicone in equal proportions and mix thoroughly.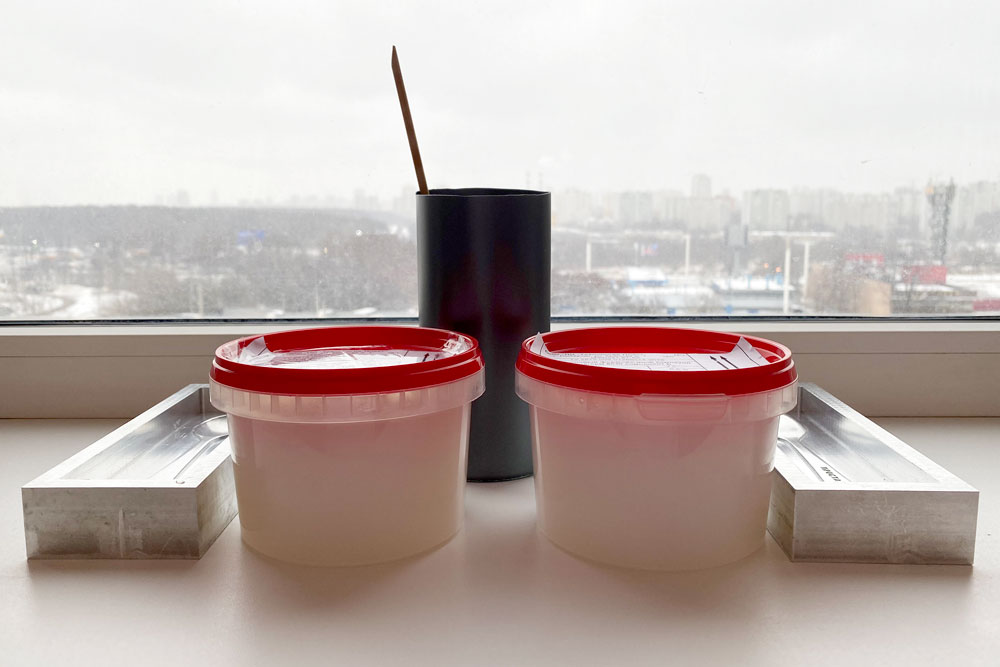
Component A
Component B:
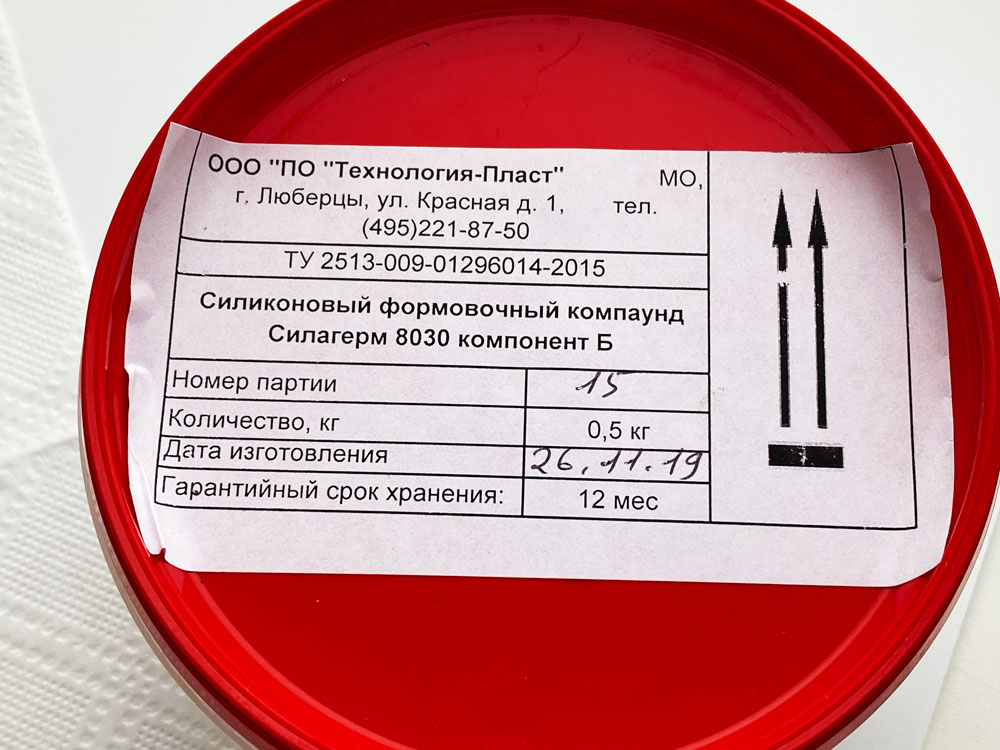
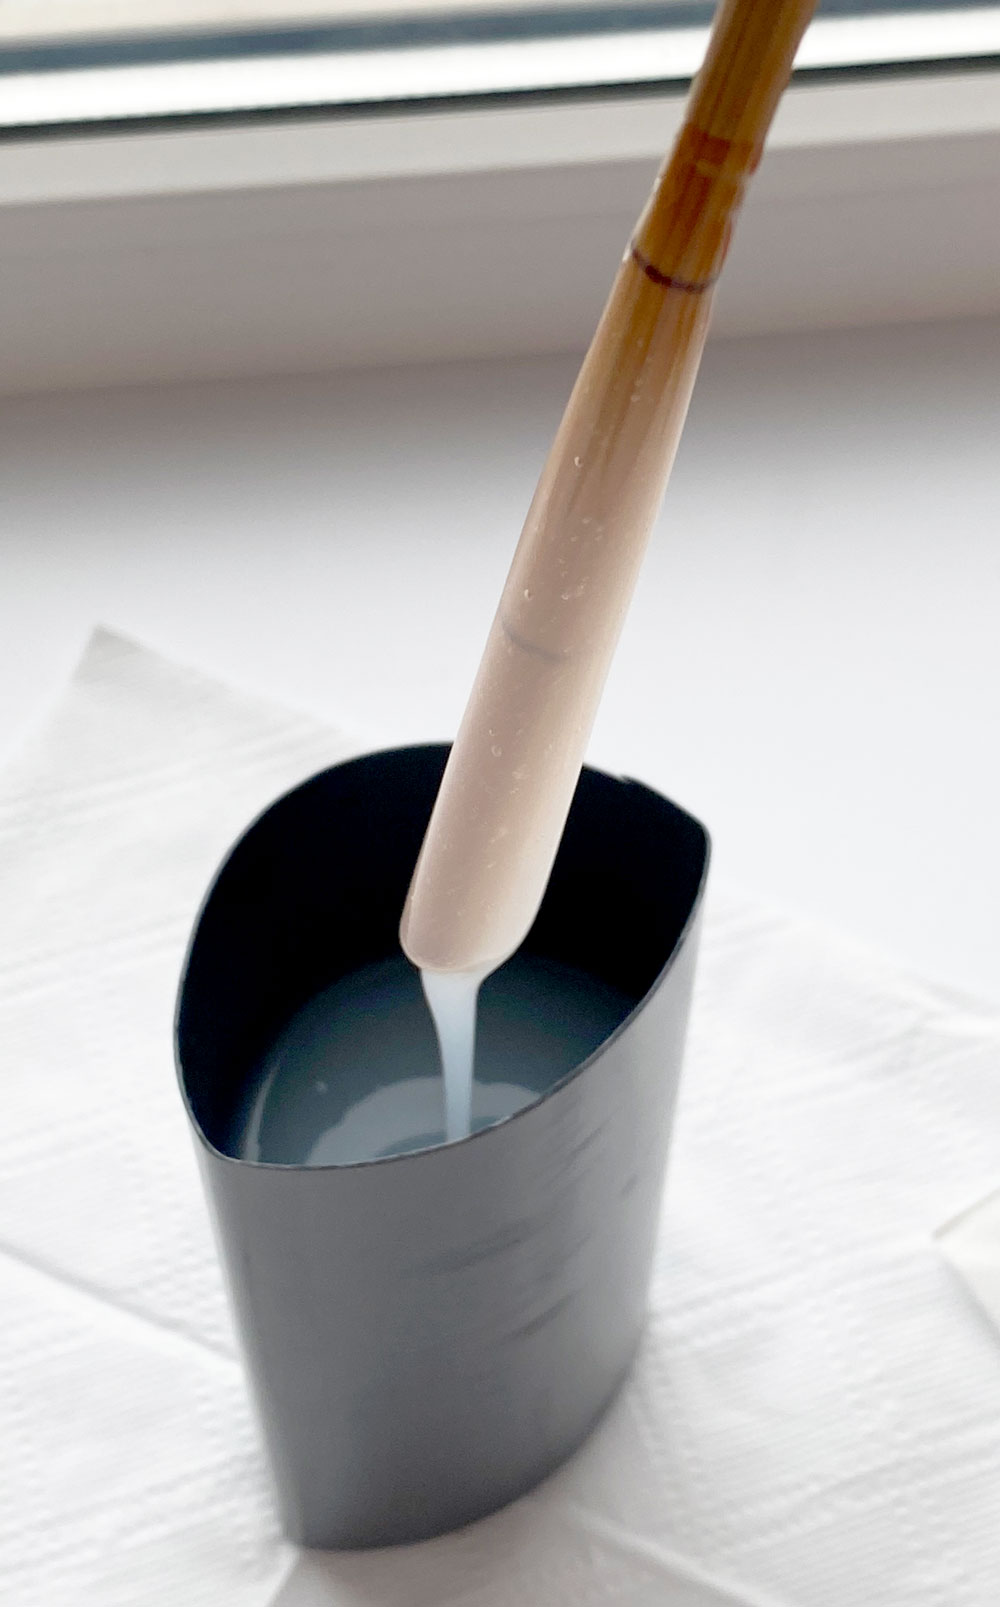 It is very important to mix well, otherwise the reaction will not occur evenly and part of the silicone will remain liquid and the form will be damaged.There is 15 minutes for everything about everything, after the silicone begins to harden and it will be impossible to pour it into the mold.
Silicone fill
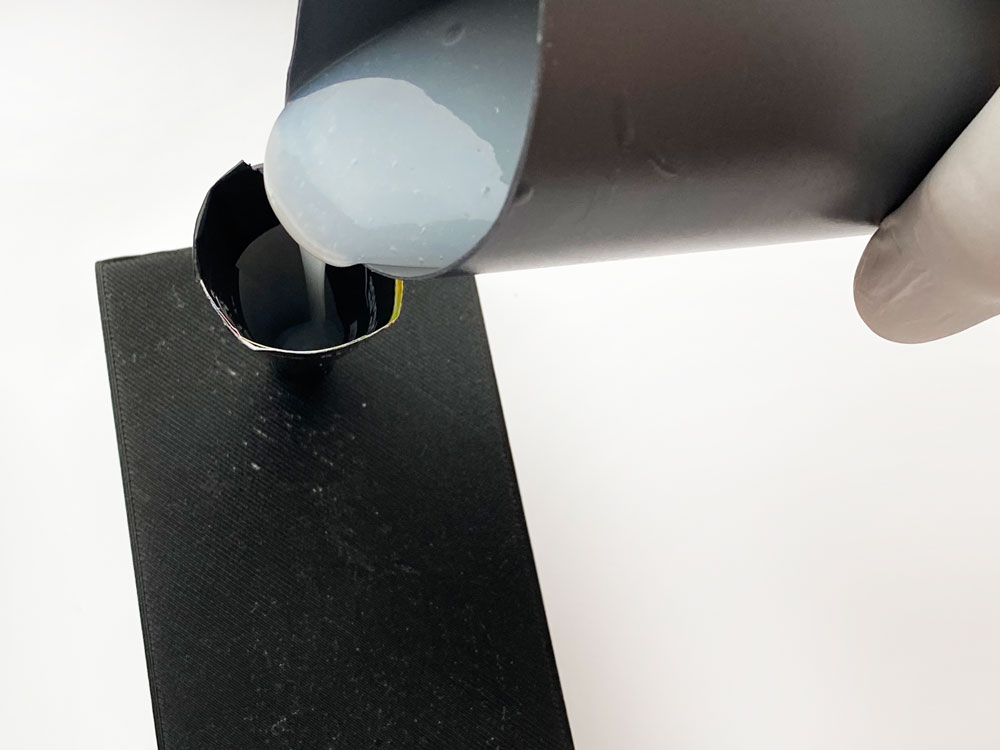
In the first form, the prepared silicone mixture began to pour slowly and at one point. It is important to pour at one point so that the silicone itself spreads in shape and expels air. If you begin to move the jet, then a cavity with an air bubble can form, and because of this, either a hole or an empty space will appear inside the silicone form.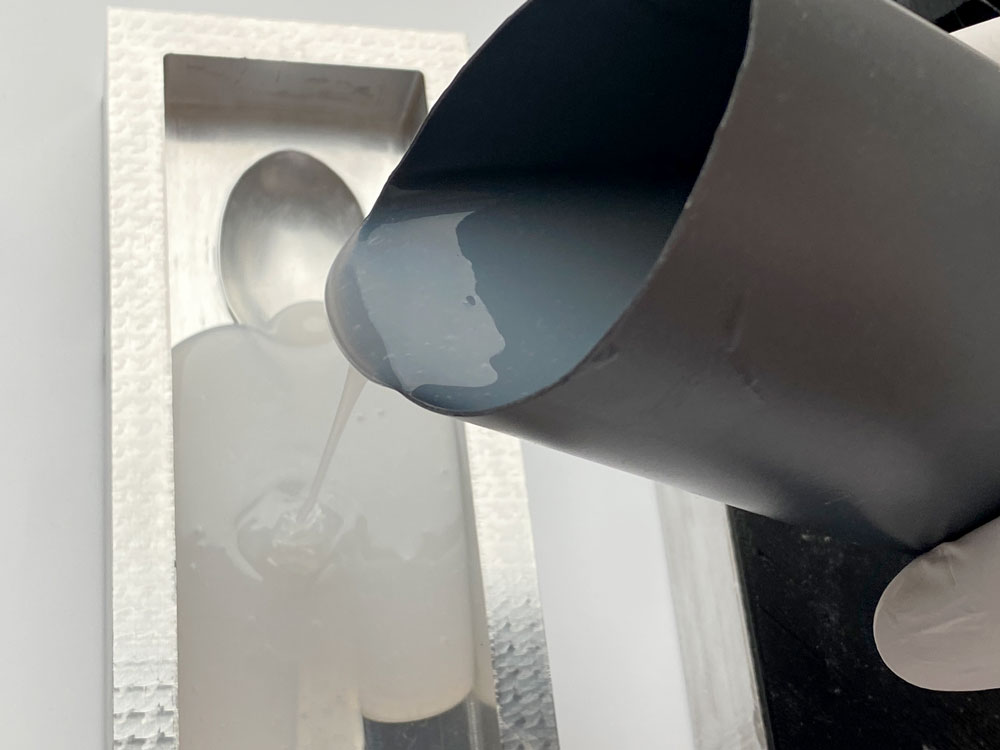 When almost the entire form was filled with silicone, I closed it with a specially prepared lid with holes. I inserted a funnel into one of them and began pouring silicone into it. The second hole is needed for air to escape.
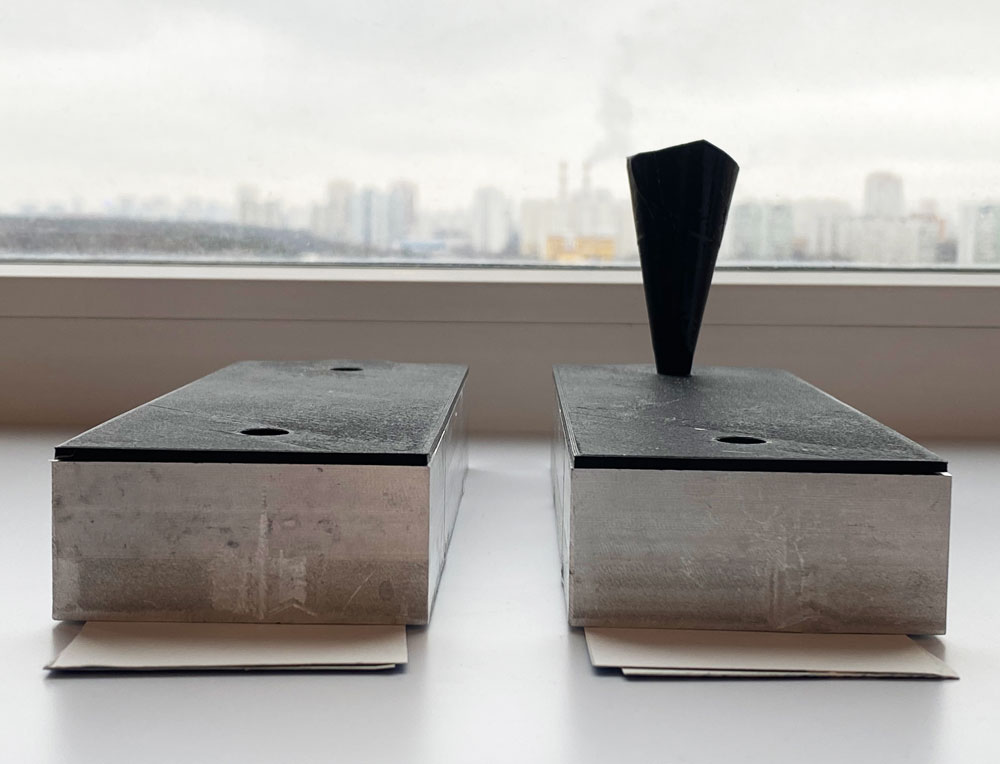
 It is important to note that the covers must be pressed tightly to the mold. I did it by hand, but it was not very convenient. For the future I will make clamps or latches.
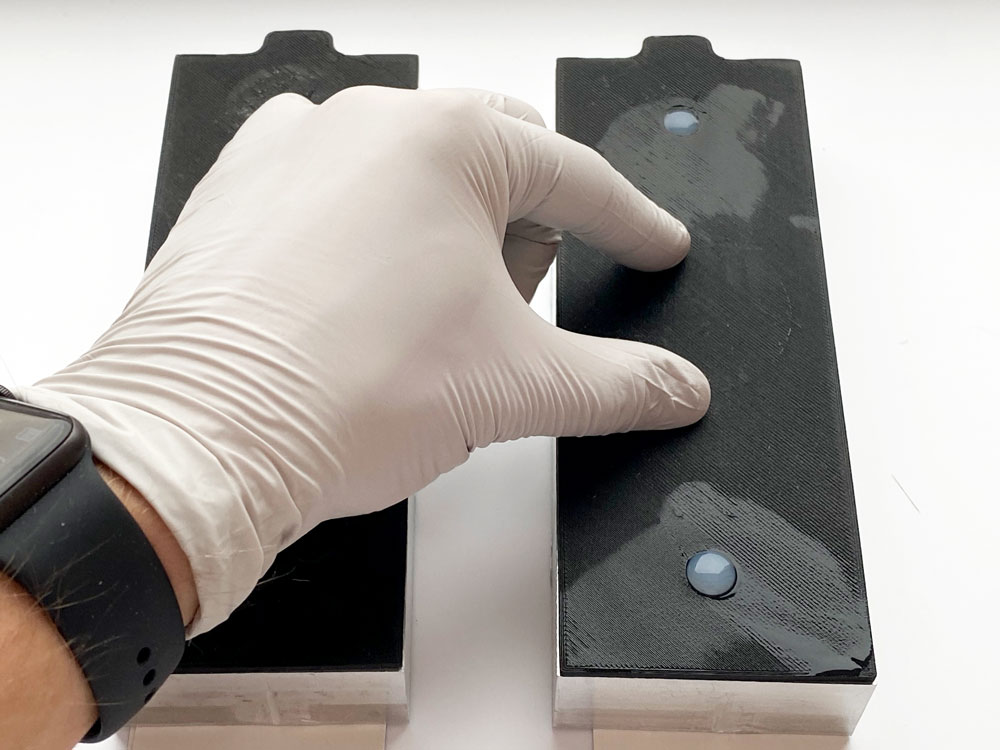 After the molds were completely filled with silicone, put the load on top. In this form will be 24 hours for complete solidification.
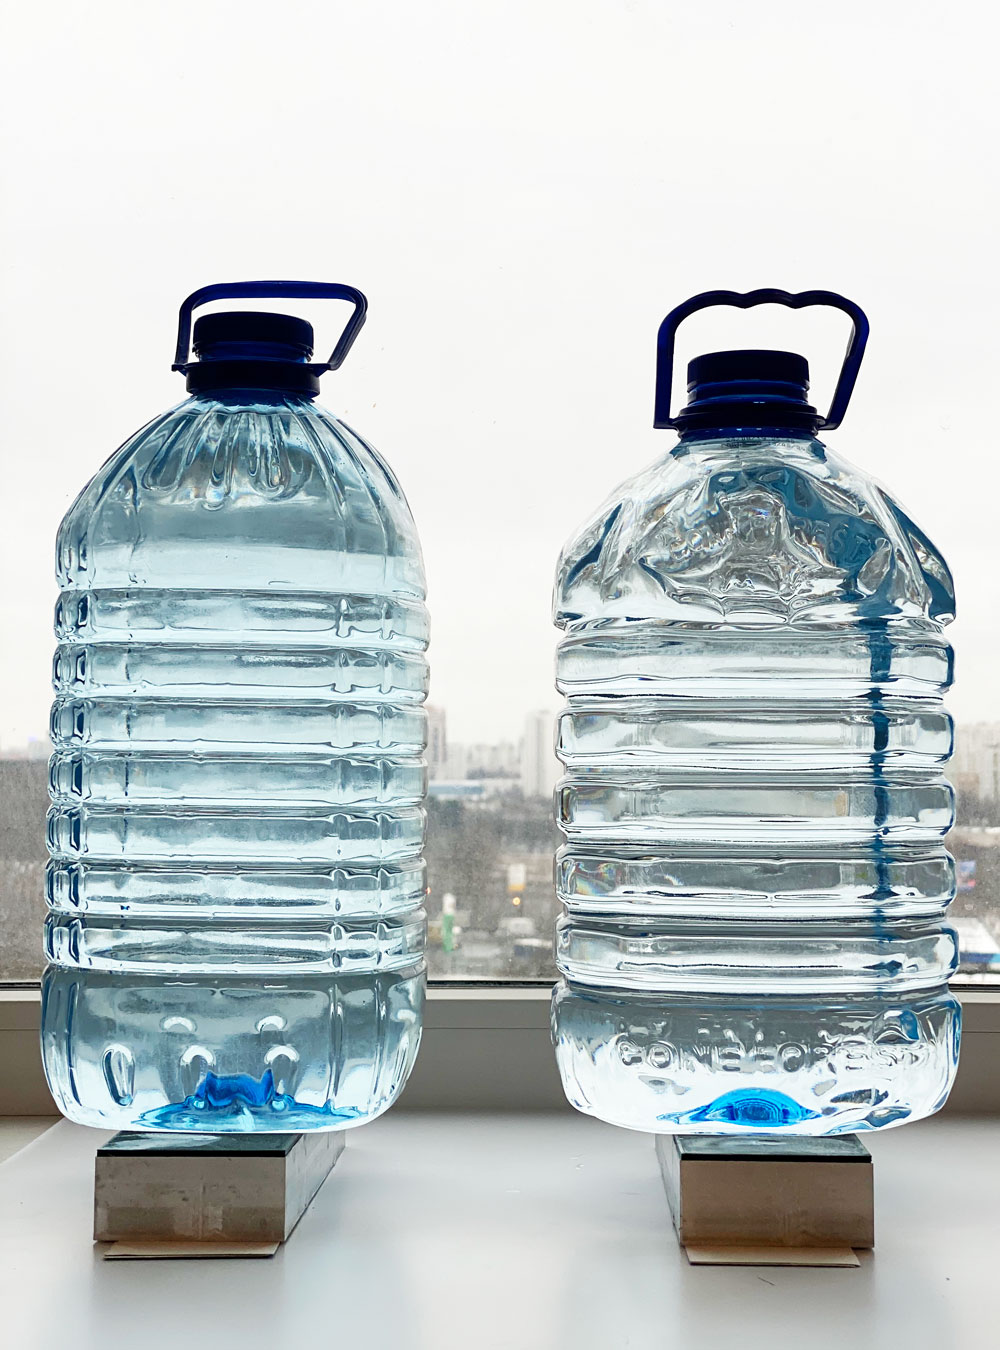
Removing the finished silicone molds
After a day, the silicone molds are ready and they can be removed from the snap. To do this, gently flat objects (I used a metal ruler) you need to pry off the edge and slowly raise it.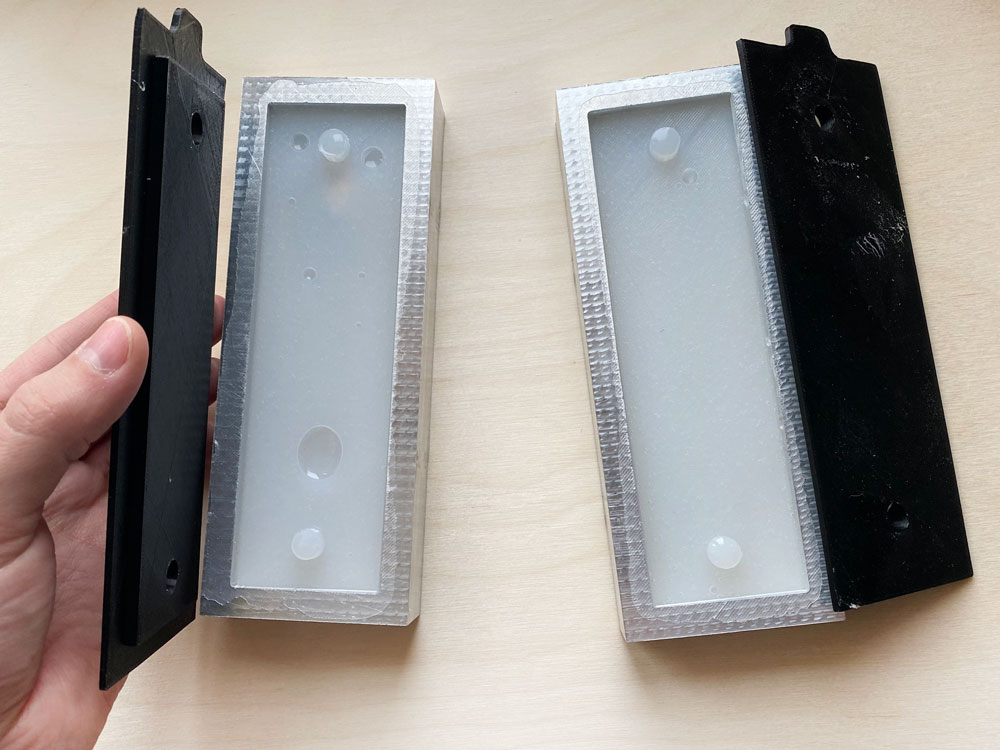
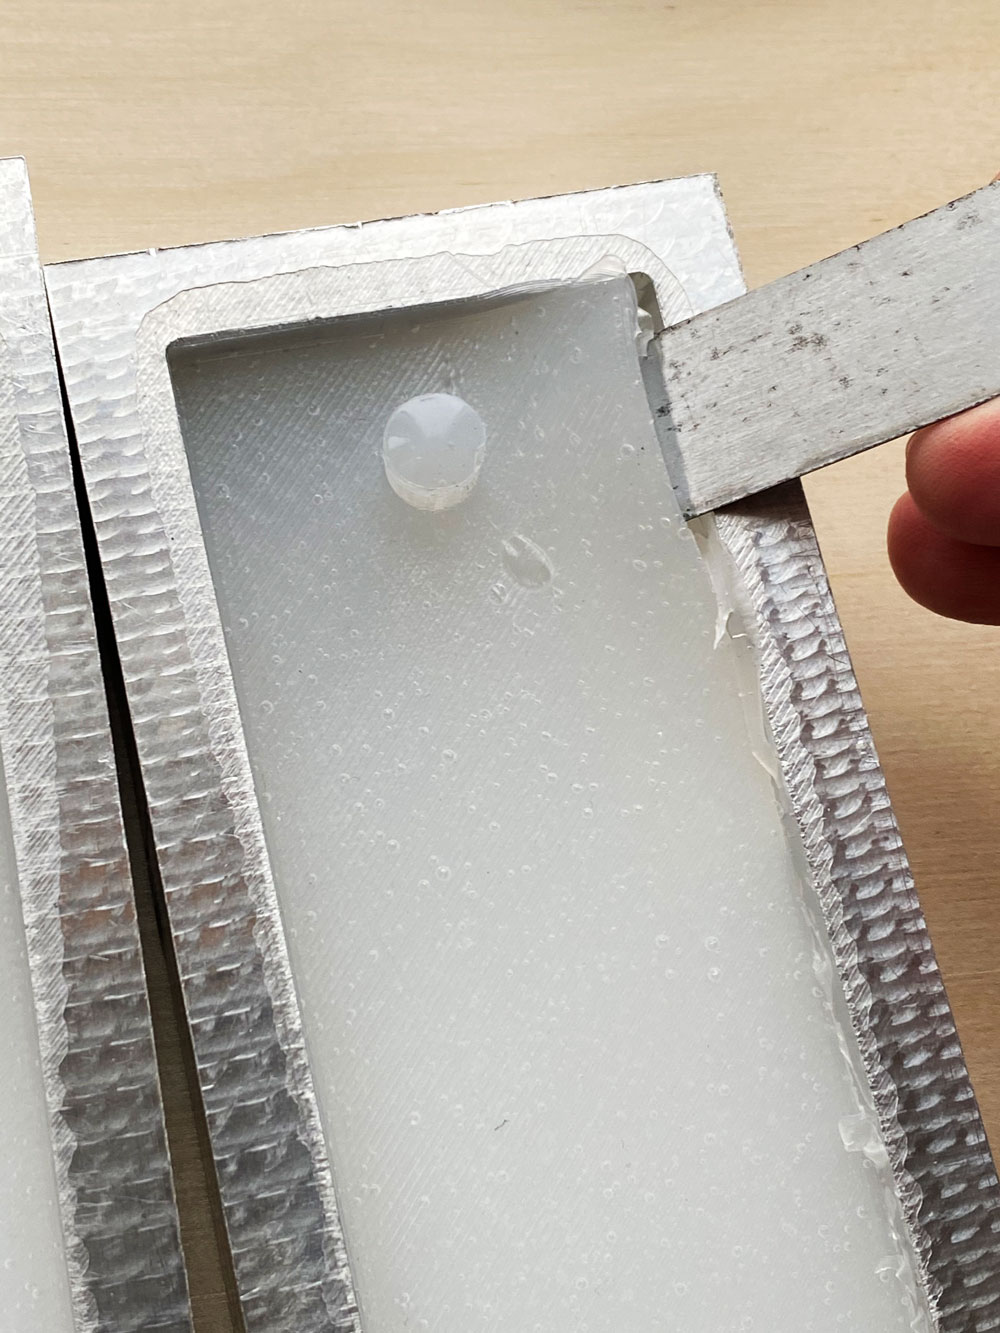
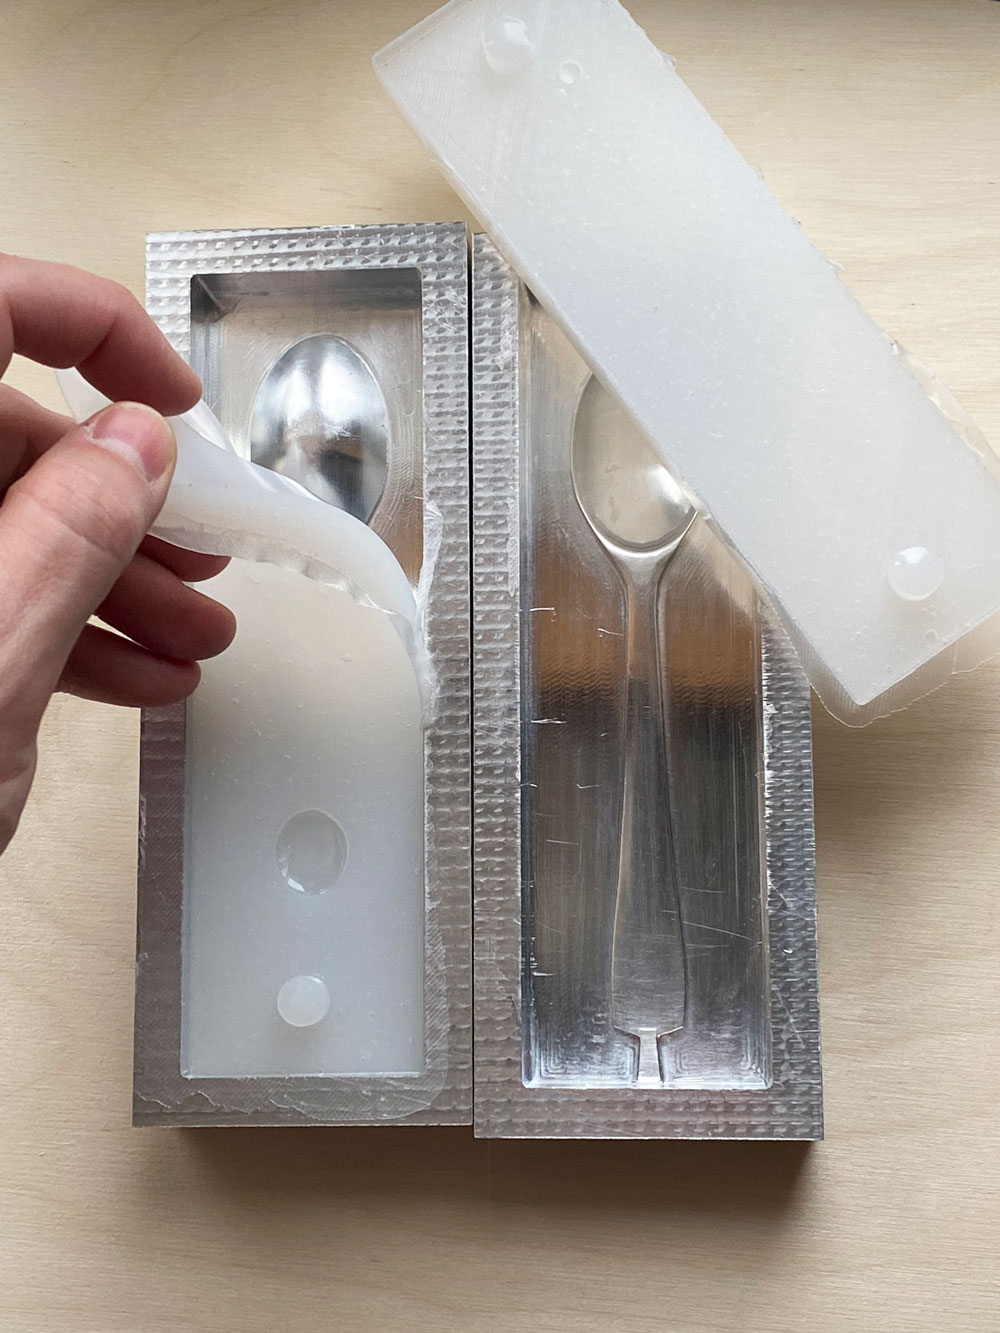 If two components of liquid silicone were well mixed and 24 hours passed after pouring, the product easily lags behind the mold. But if you mix the mixture poorly, then in some places it will remain liquid and the part will be damaged.
Defects and surplus removal
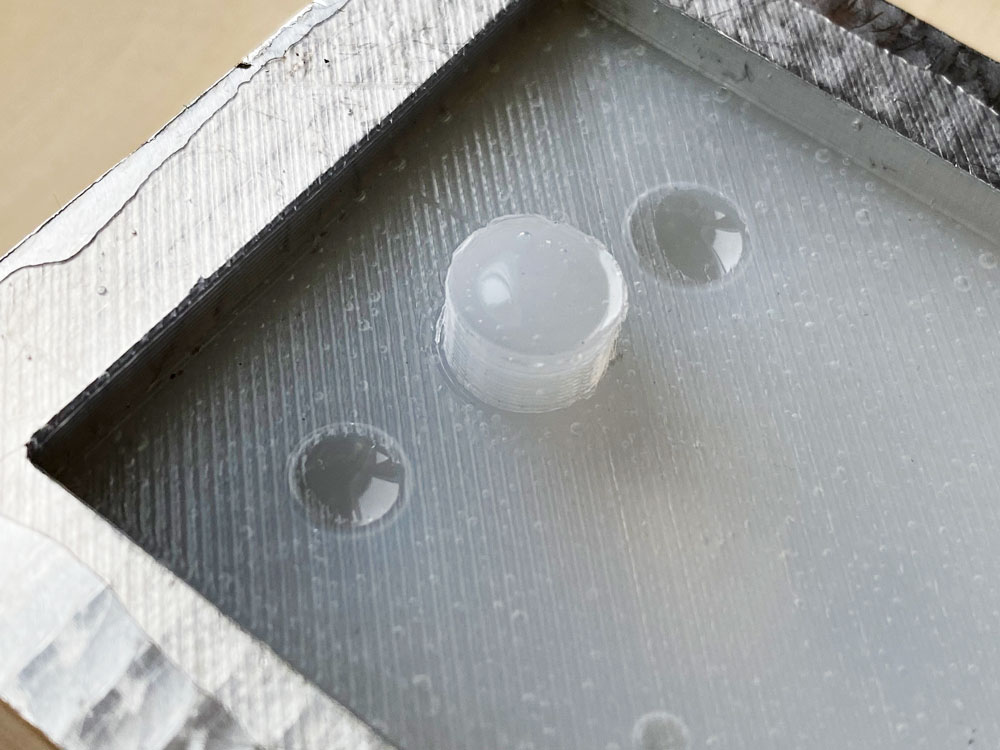
All the same, air cavities formed and now the form is a bit defective. For my task, this is not critical at all, but the presentation is suffering. Next time, I'll keep that in mind.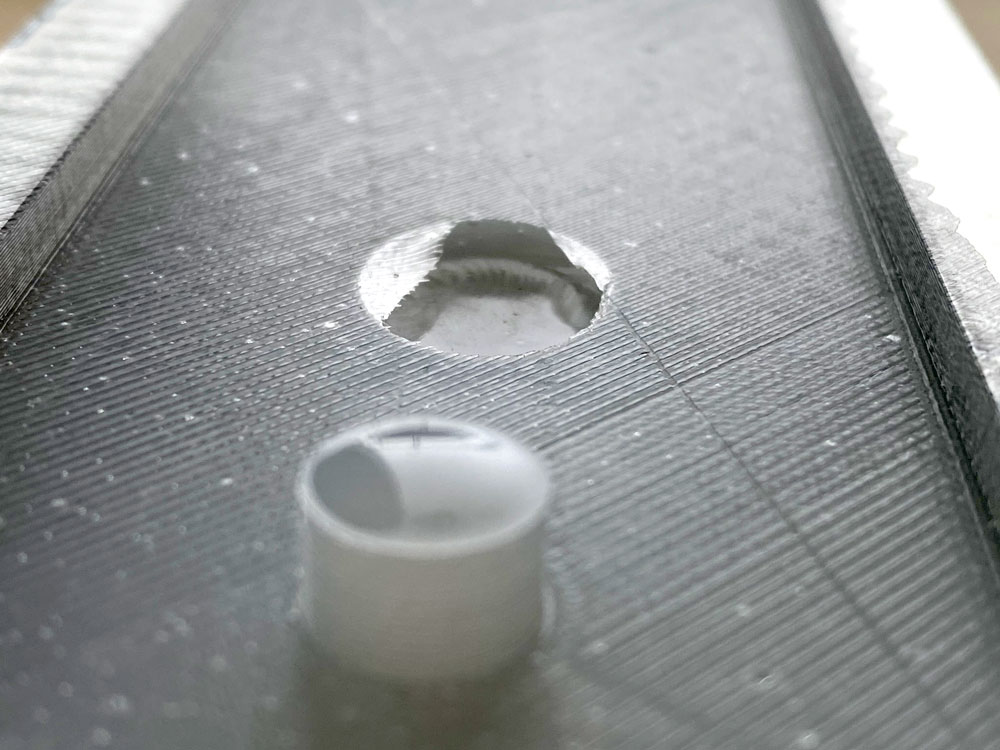
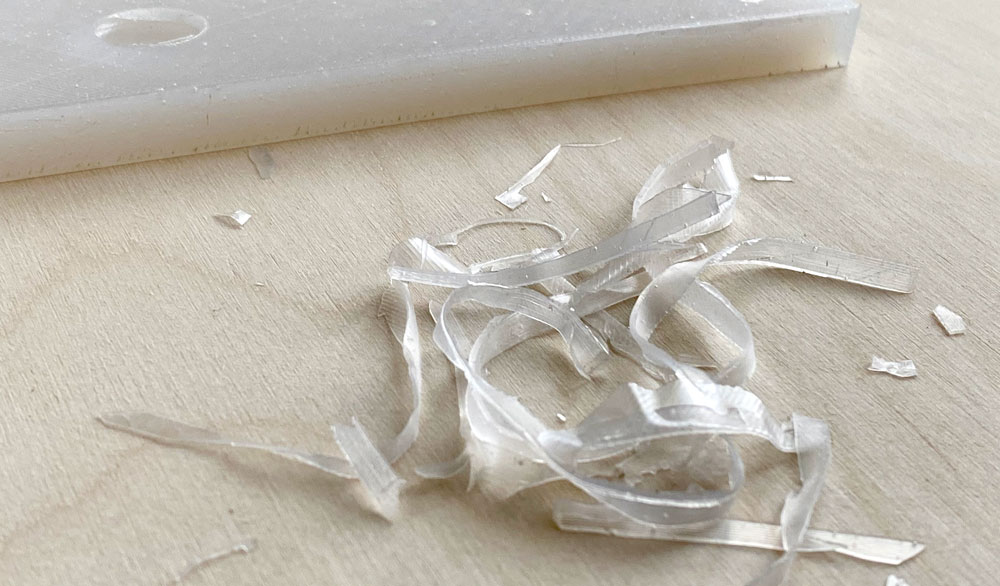
 There is a small gap between the cover and the mold, silicone penetrates into it and excess remains on the mold. And also silicone remains in the holes for pouring and outgrowths are obtained. They are easy to remove with scissors and a clerical knife.
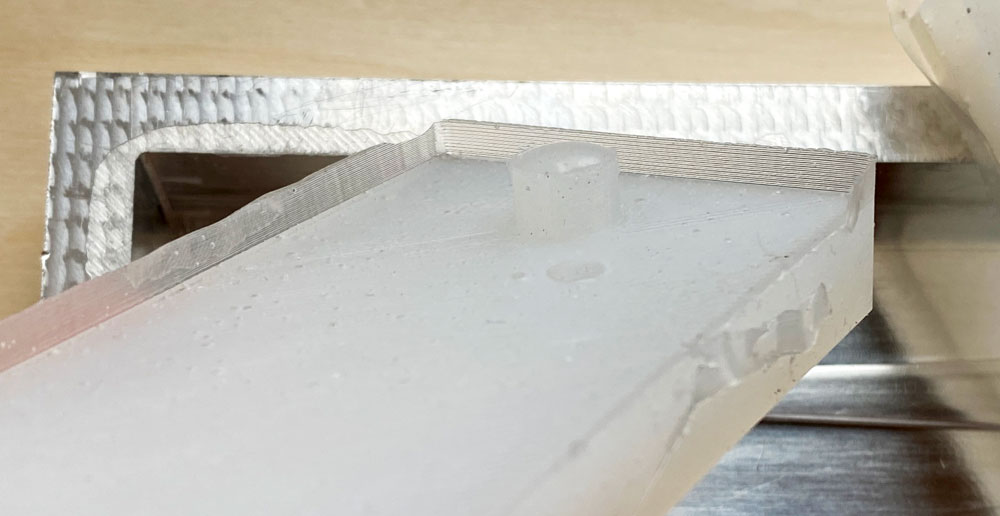
Why silicone molds may still come in handy
When choosing silicone for casting, the main limiter is the temperature, so pouring anything with a temperature above 120 ° C will not work. Specifically , gallium , a metal with a low melting point (about 30 degrees), will be poured into these silicone forms , so there will be no problems.Why else can molds molded from liquid silicone be used:- for the manufacture of silicone baits;
- for the production of decorative stone and tile;
- for casting from plaster;
- for molding soap in the manufacture;
- use when molding chocolate and jelly;
- for casting parts from two-component liquid plastic;
- in the manufacture of decorative figurines and crafts;
If anyone has experience in casting silicone parts and molds, it will be great to complement this story with useful life hacks and techniques.Source: https://habr.com/ru/post/undefined/
All Articles