 In November 2019, we announced .NET content for Jupyter notebooks with the availability of C # and F #. Today, we are pleased to announce the release of Preview 2 .NET Notebook. In this article you can find all the major new features of this release. Join now!
What's new
New name - meet .NET interactive
Today we announce the official name change to .NET Interactive..NET interactive is a set of CLI tools and APIs that allow users to create interactive features in web, markdown and notebooks.Change .NET Interactivedotnet interactive
global tool : For .NET Notebooks (Jupyter and interact)dotnet try
global tool : For seminars and documents. Interactive markdown with supporting project.trydotnet.js
API ( not yet publicly available ): online documentation. For example, on the page in the documentation and the .NET page . Currently unavailable.
We decided to combine the tools dotnet try and dotnet interactive in one repository.New Global Tool - dotnet interactive
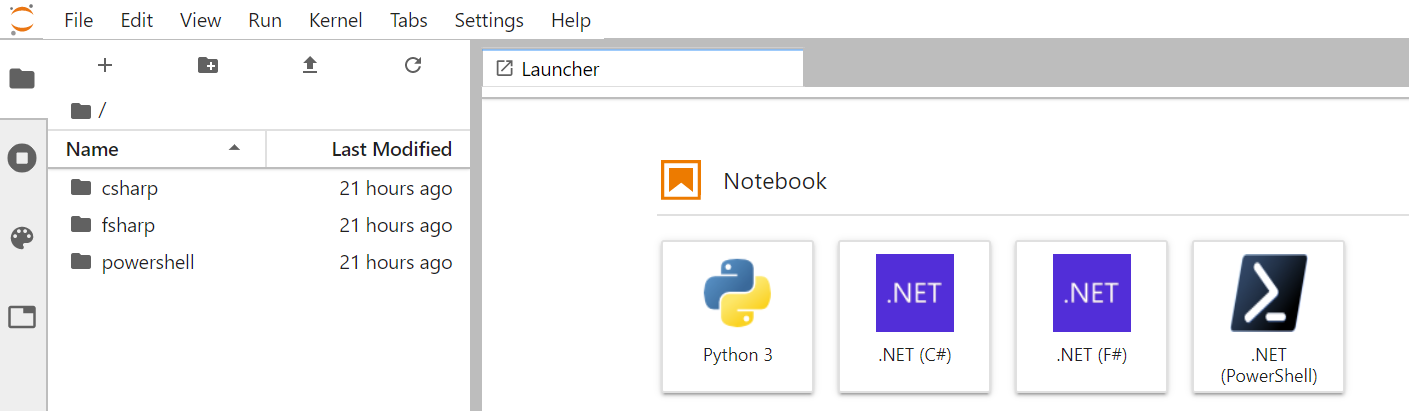
How to install .NET Interactive
First, make sure you have the following installed:- .NET 3.0 SDK .
- Jupyter. Jupyter can be installed using Anaconda .
- Open Anaconda Prompt (Windows) or Terminal (macOS) and make sure Jupyter is installed:
> jupyter kernelspec list
  python3        ~\jupyter\kernels\python3
- Next, in the regular console, install the
dotnet interactive global tool:
> dotnet tool install --global Microsoft.dotnet-interactive
- Install the .NET kernel by running the following in Anaconda Prompt:
> dotnet interactive jupyter install
[InstallKernelSpec] Installed kernelspec .net-csharp in ~\jupyter\kernels\.net-csharp
.NET kernel installation succeeded

[InstallKernelSpec] Installed kernelspec .net-fsharp in ~\jupyter\kernels\.net-fsharp
.NET kernel installation succeeded

[InstallKernelSpec] Installed kernelspec .net-powershell in ~\jupyter\kernels\.net-powershell
.NET kernel installation succeeded
- You can verify the installation by running the following command in Anaconda Prompt:
> jupyter kernelspec list
  .net-csharp    ~\jupyter\kernels\.net-csharp
  .net-fsharp    ~\jupyter\kernels\.net-fsharp
  .net-powershell ~\jupyter\kernels\.net-powershell
  python3        ~\jupyter\kernels\python3
Note: if you are looking for more information dotnet try visit dotnet / try .New Language Support - PowerShell
PowerShell Notebooks
 PowerShell Notebooks combine PowerShell management capabilities with notebooks' rich visual experience. Integrating PowerShell executable experience with wide text and visualization opens up scenarios for PowerShell users to integrate and improve their training and document support. As an example, this demonstration of the new PowerShell feature has been easily transformed into a collaborative online tutorial.
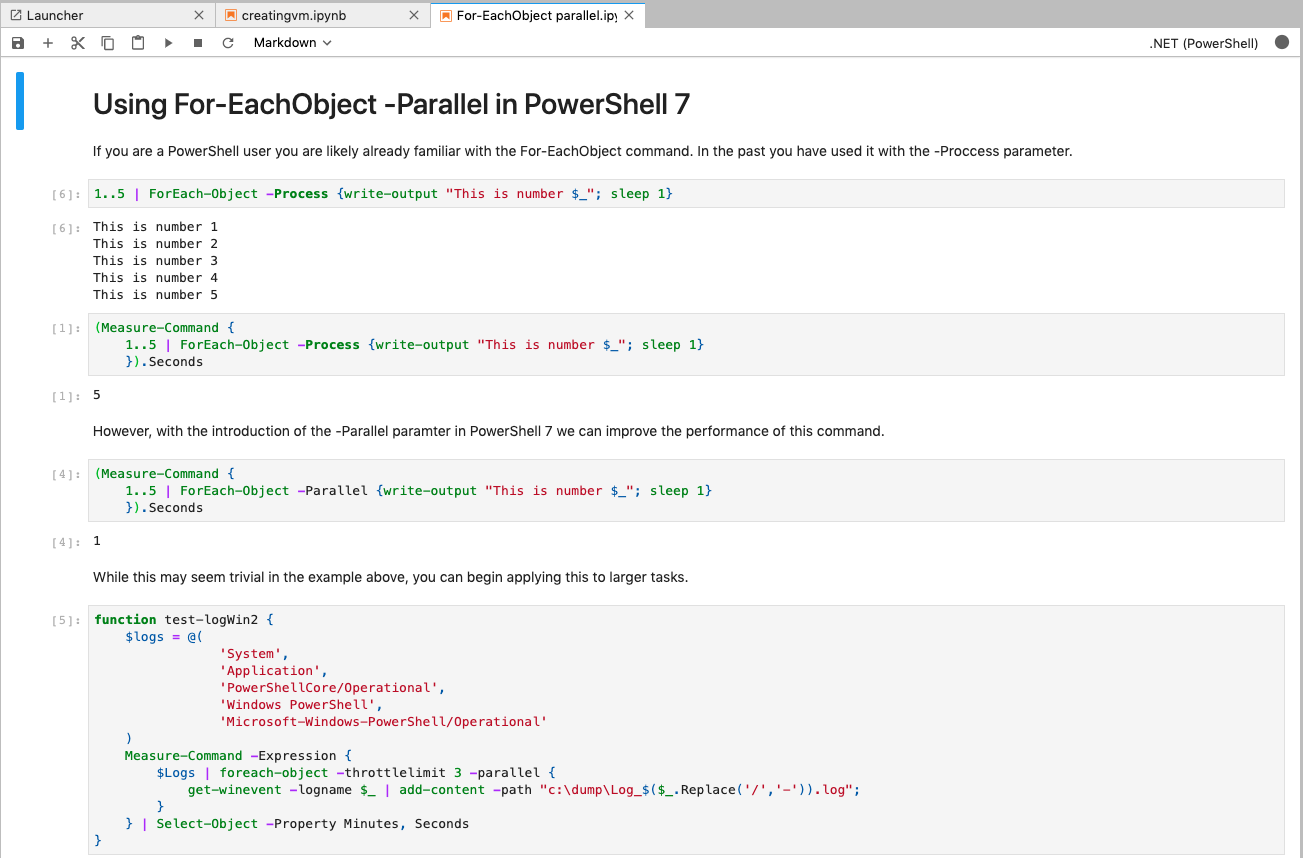 Thanks to the multi-core interaction provided by the interactive .NET core, a single notebook, now with PowerShell support, can efficiently target both the control plane and the data plane.Database administrators, system administrators, and support experts find PowerShell notebooks useful for managing resources. For example, this notebook will teach the user how to create an Azure virtual machine in PowerShell.
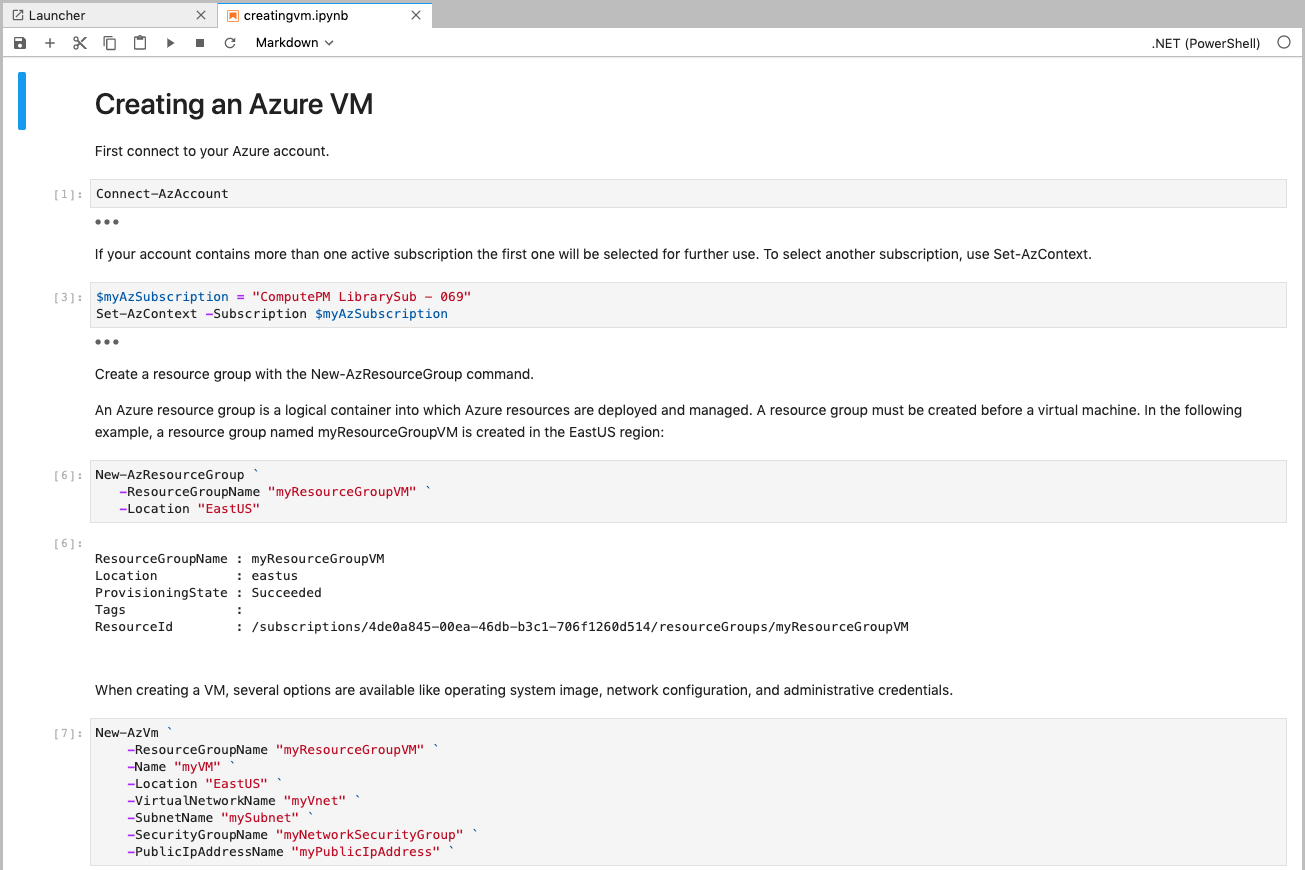
Running .NET Code in nteract.io
 In addition to working with .NET Code in Jupyter Notebooks, users can now write their code interactively. Interact is an open source tool that creates SDKs, applications, and libraries that help people make the most of interactive notebooks and REPL. We are delighted that our .NET users take full advantage of the interactive REPL, including the interactive desktop application.
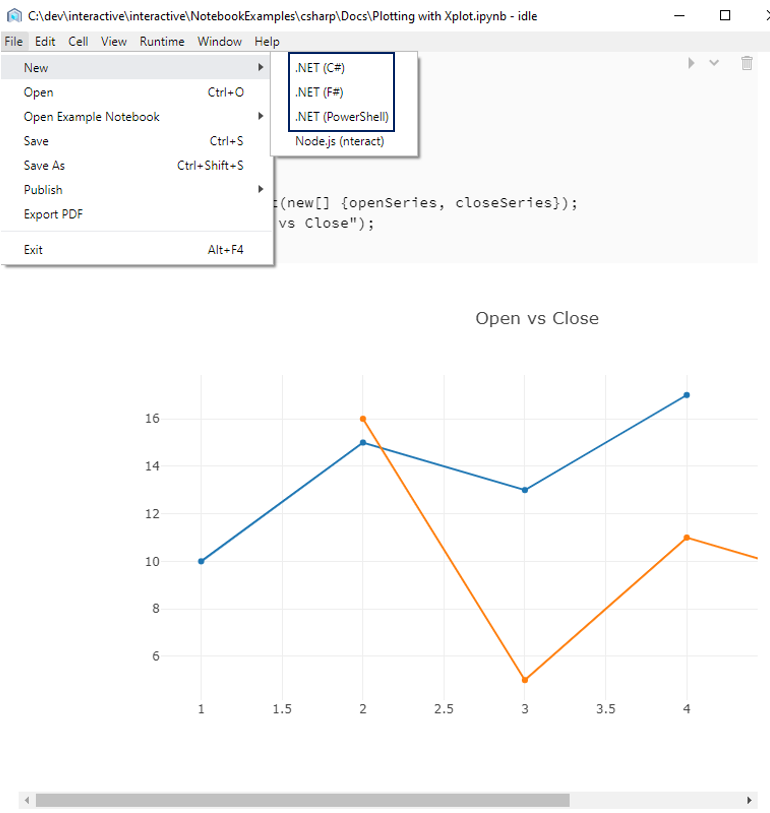 To get started with .NET Interactive interactively, download the Interact desktop application and install .NET kernels .
Resources