DIY laser machine
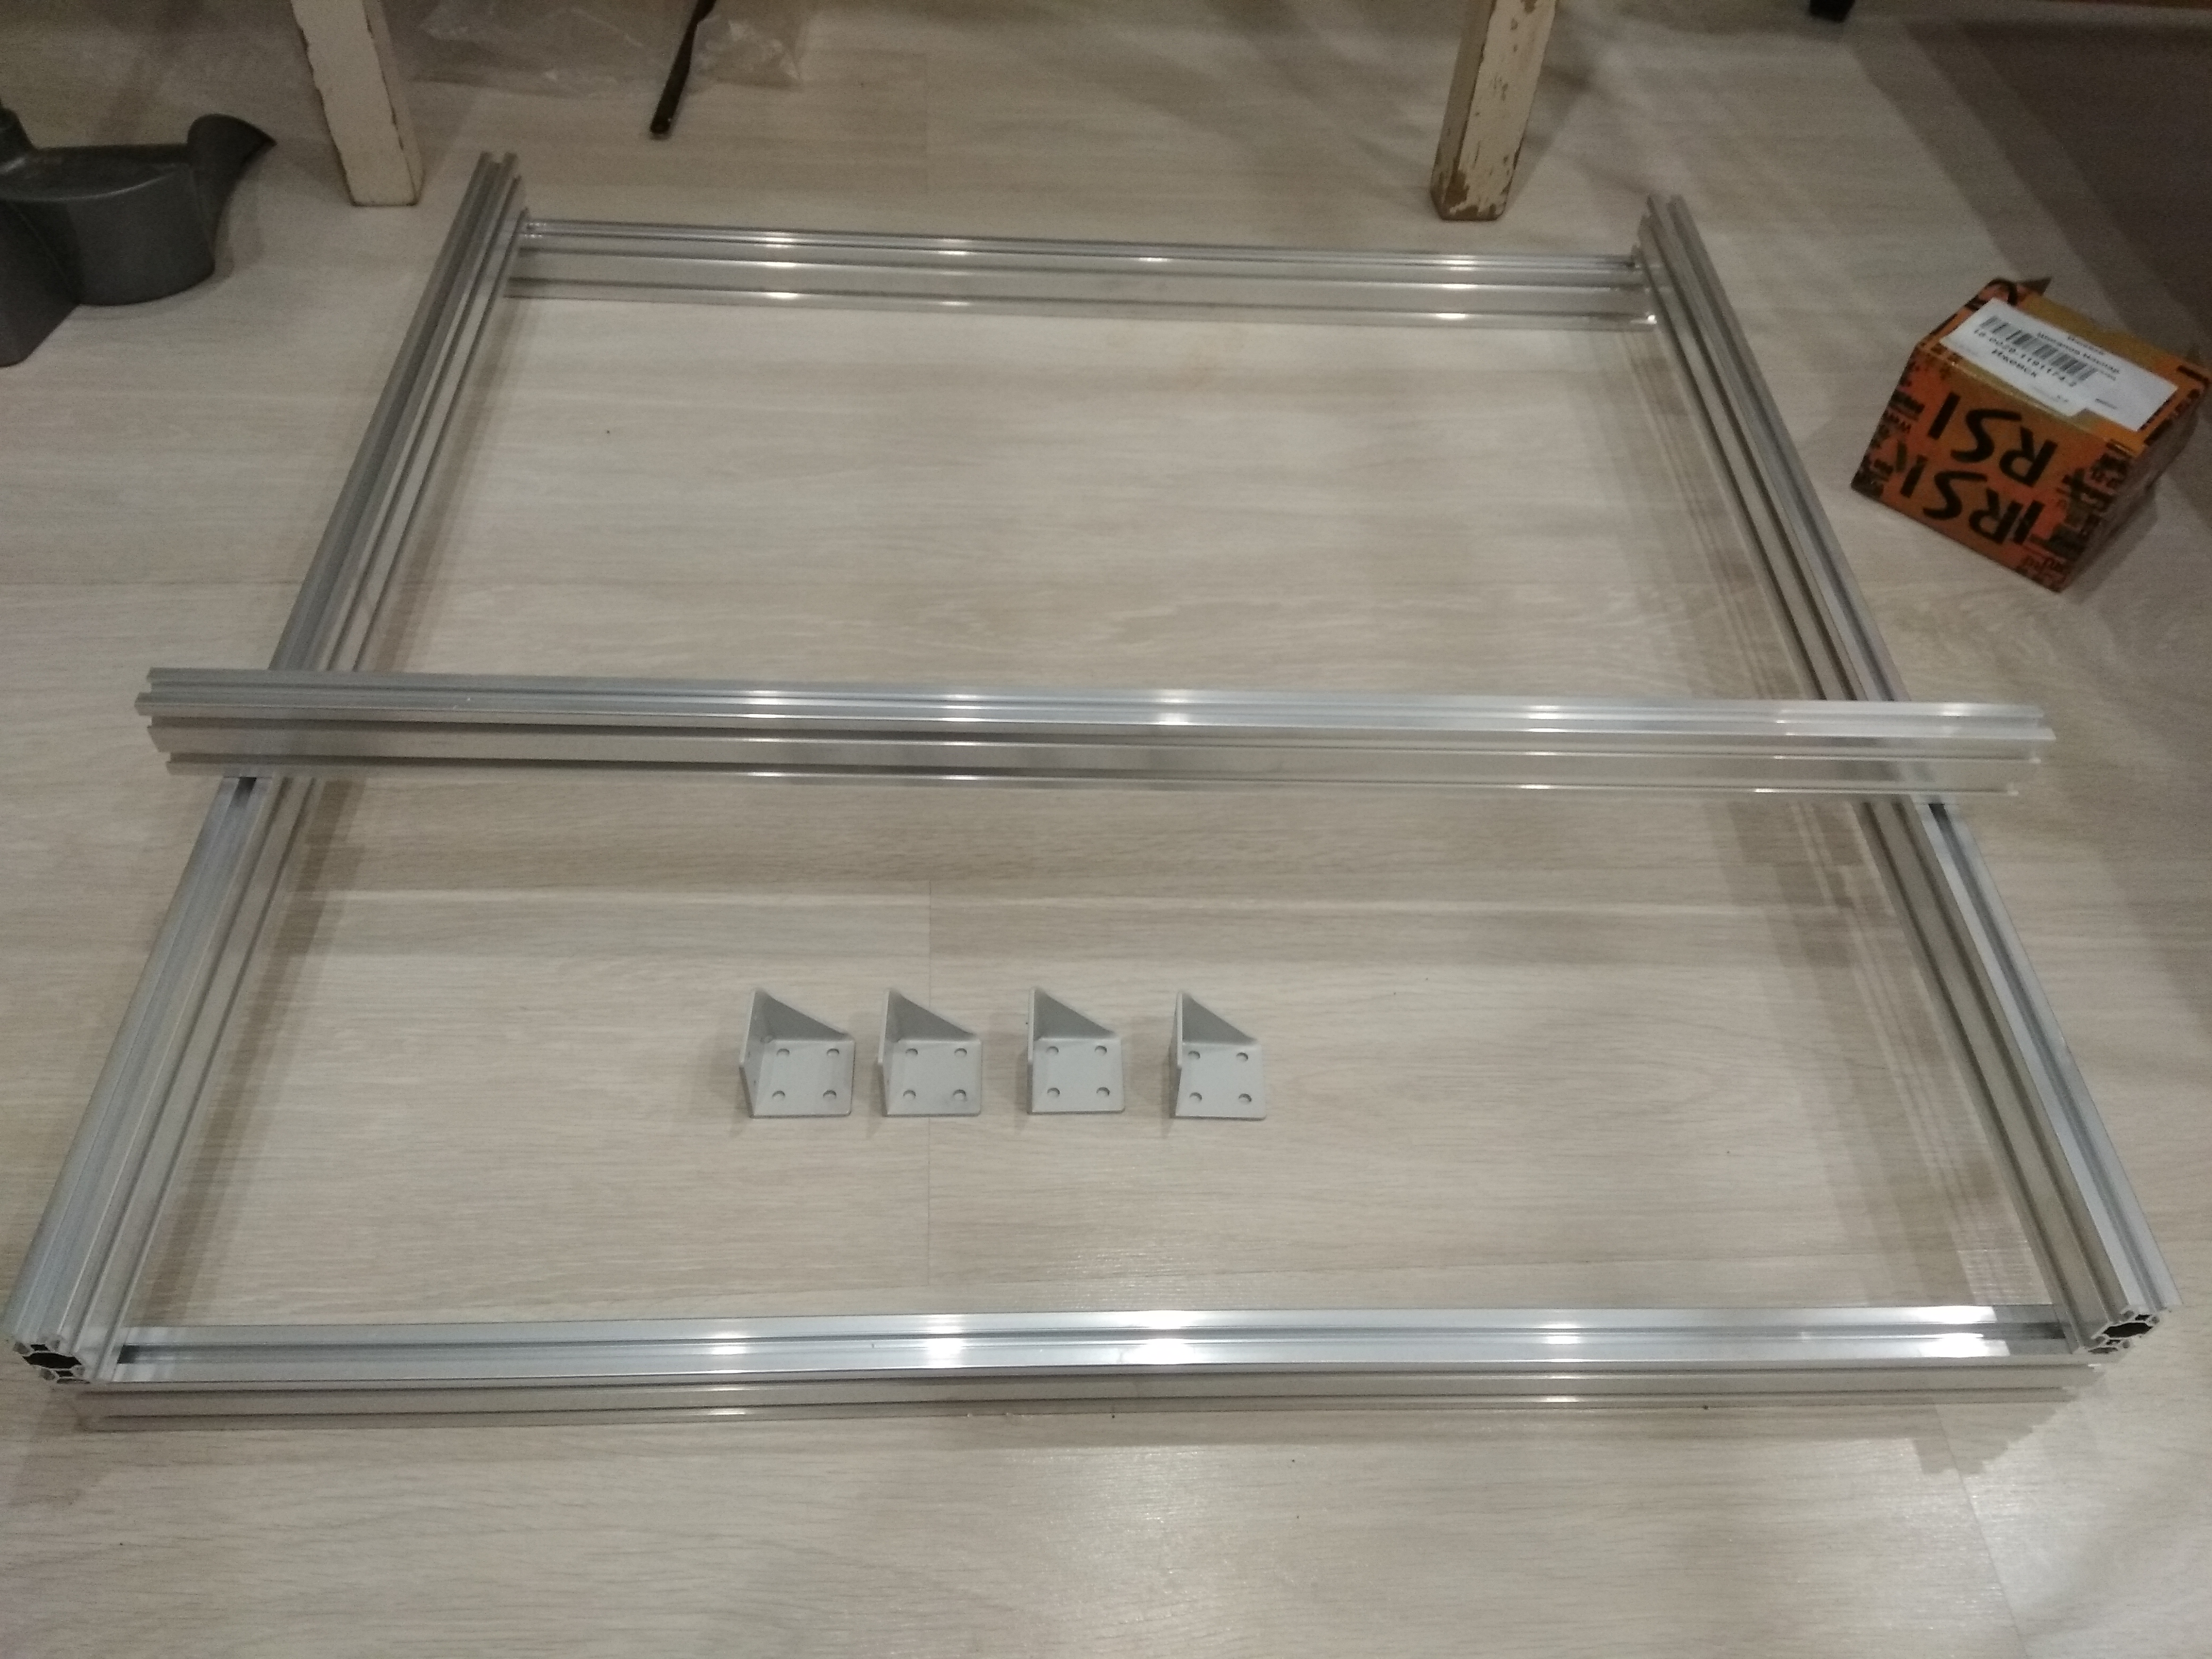
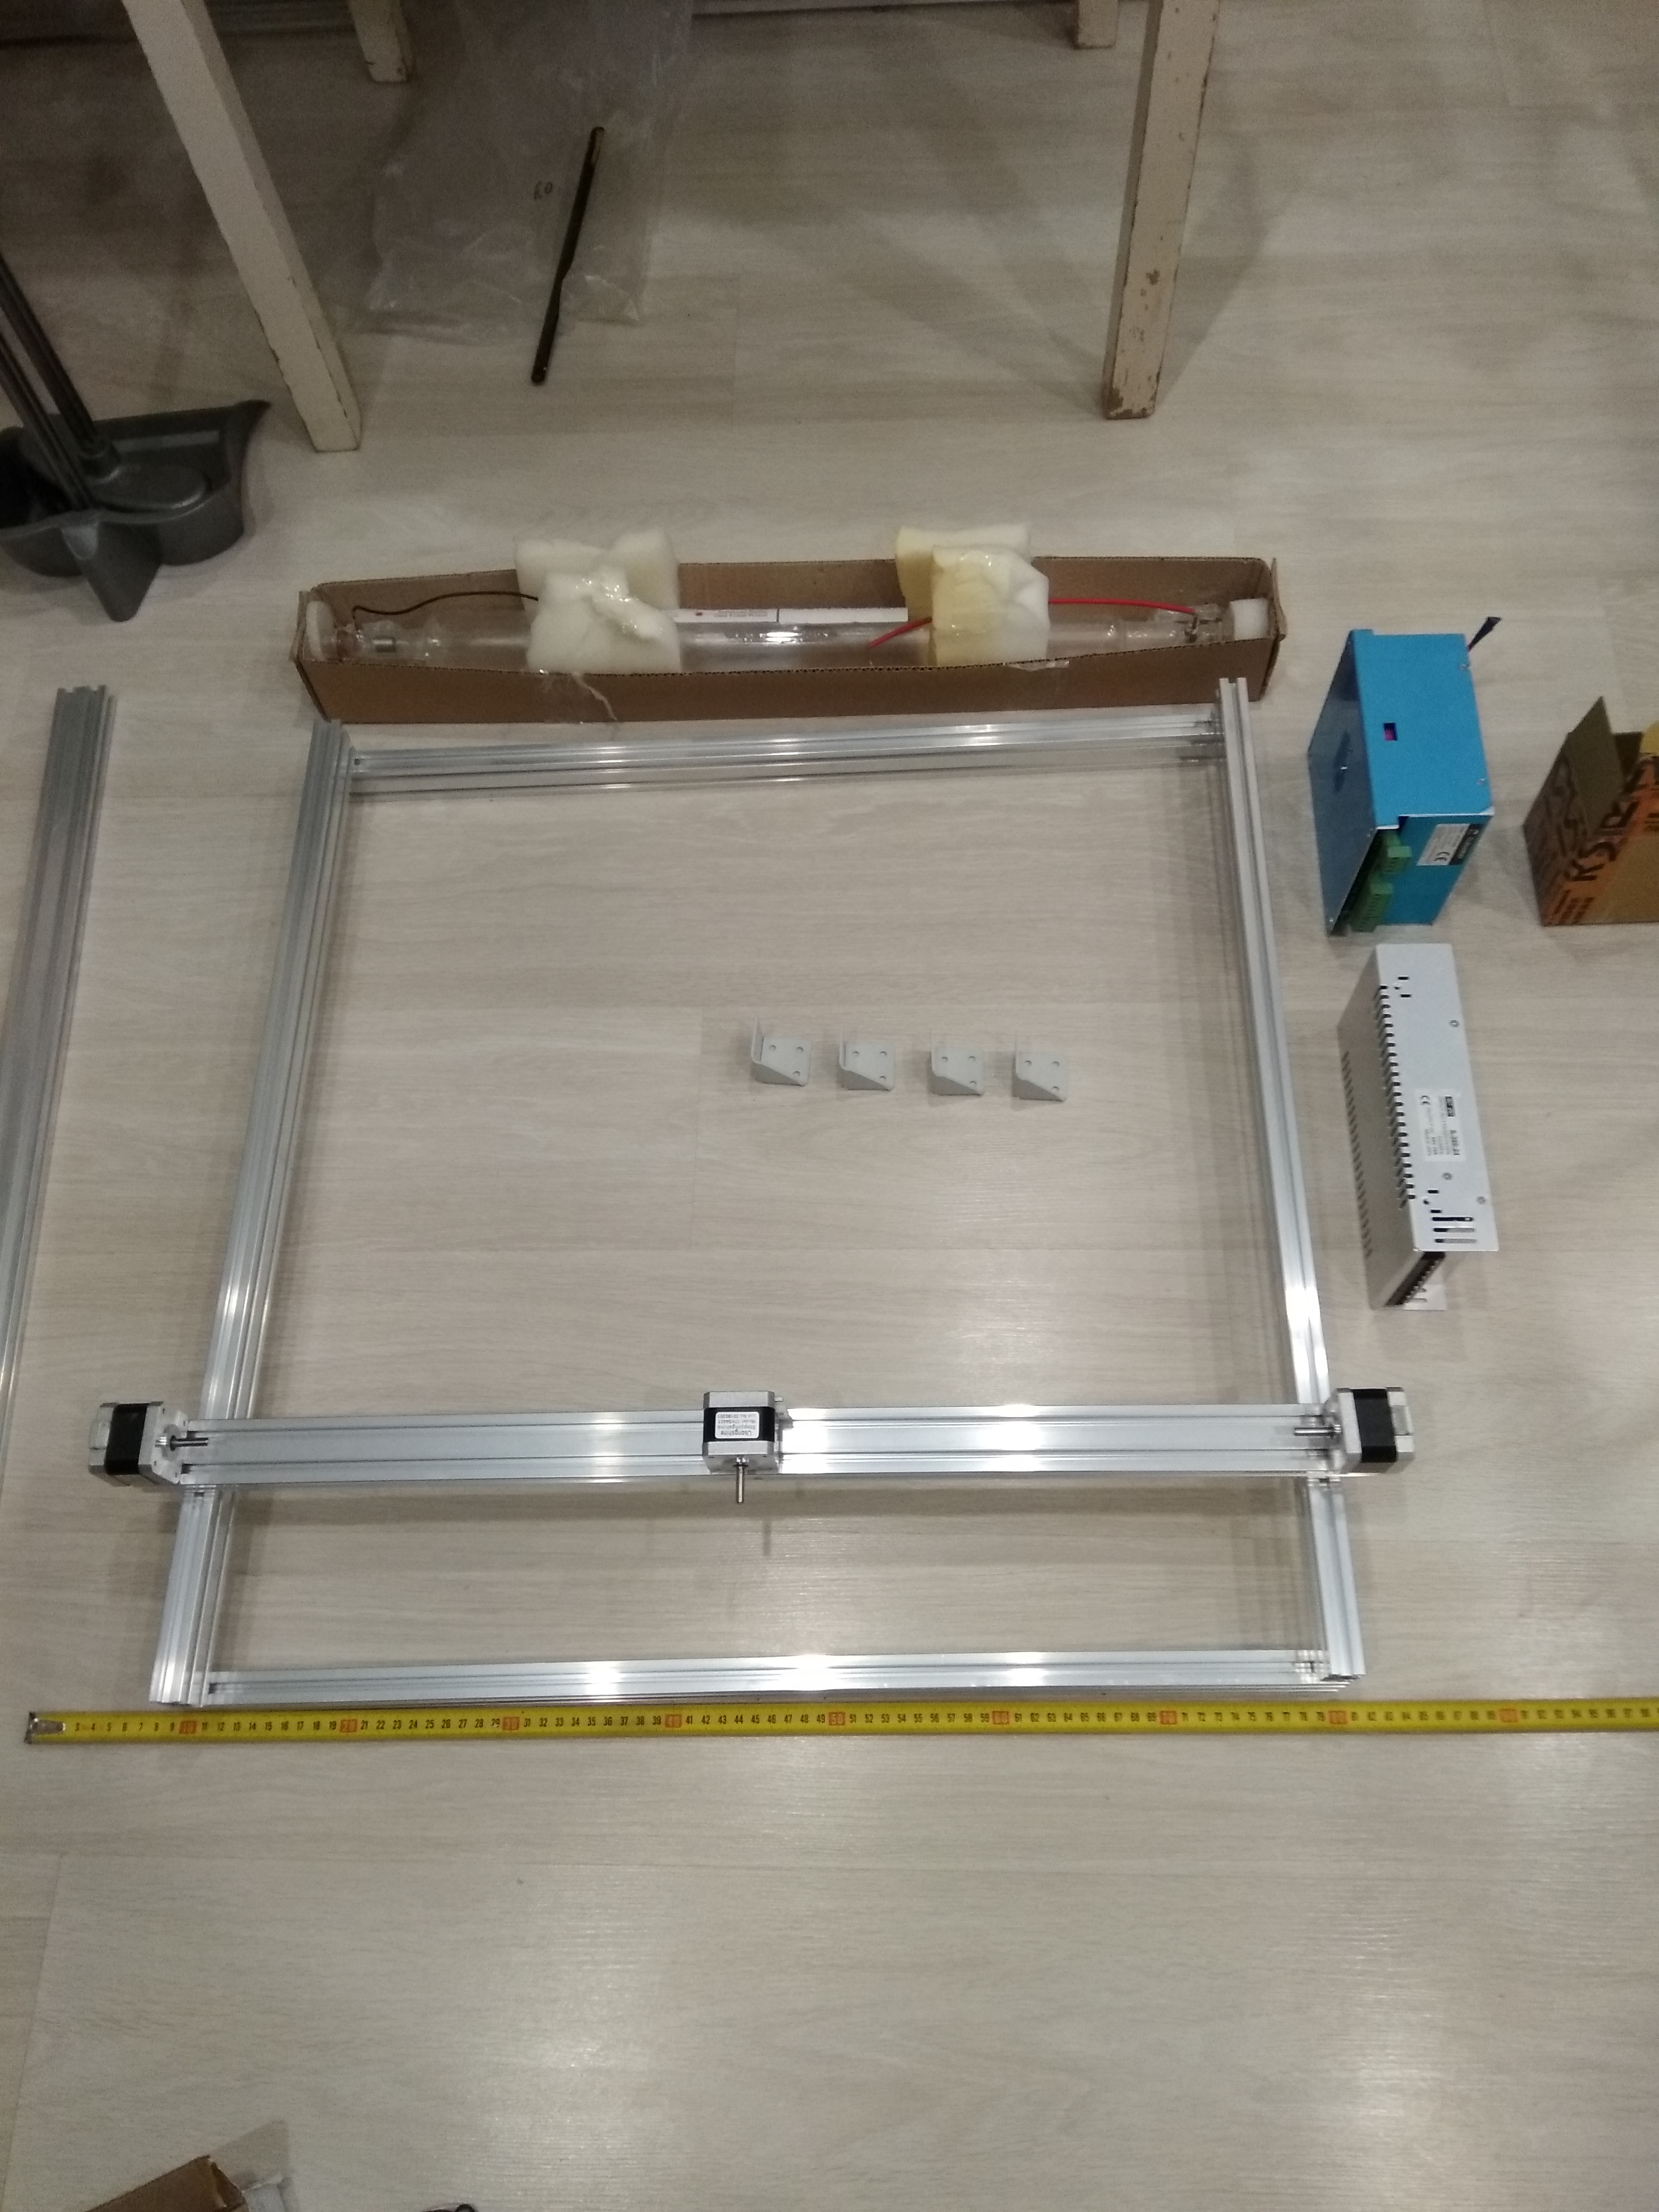
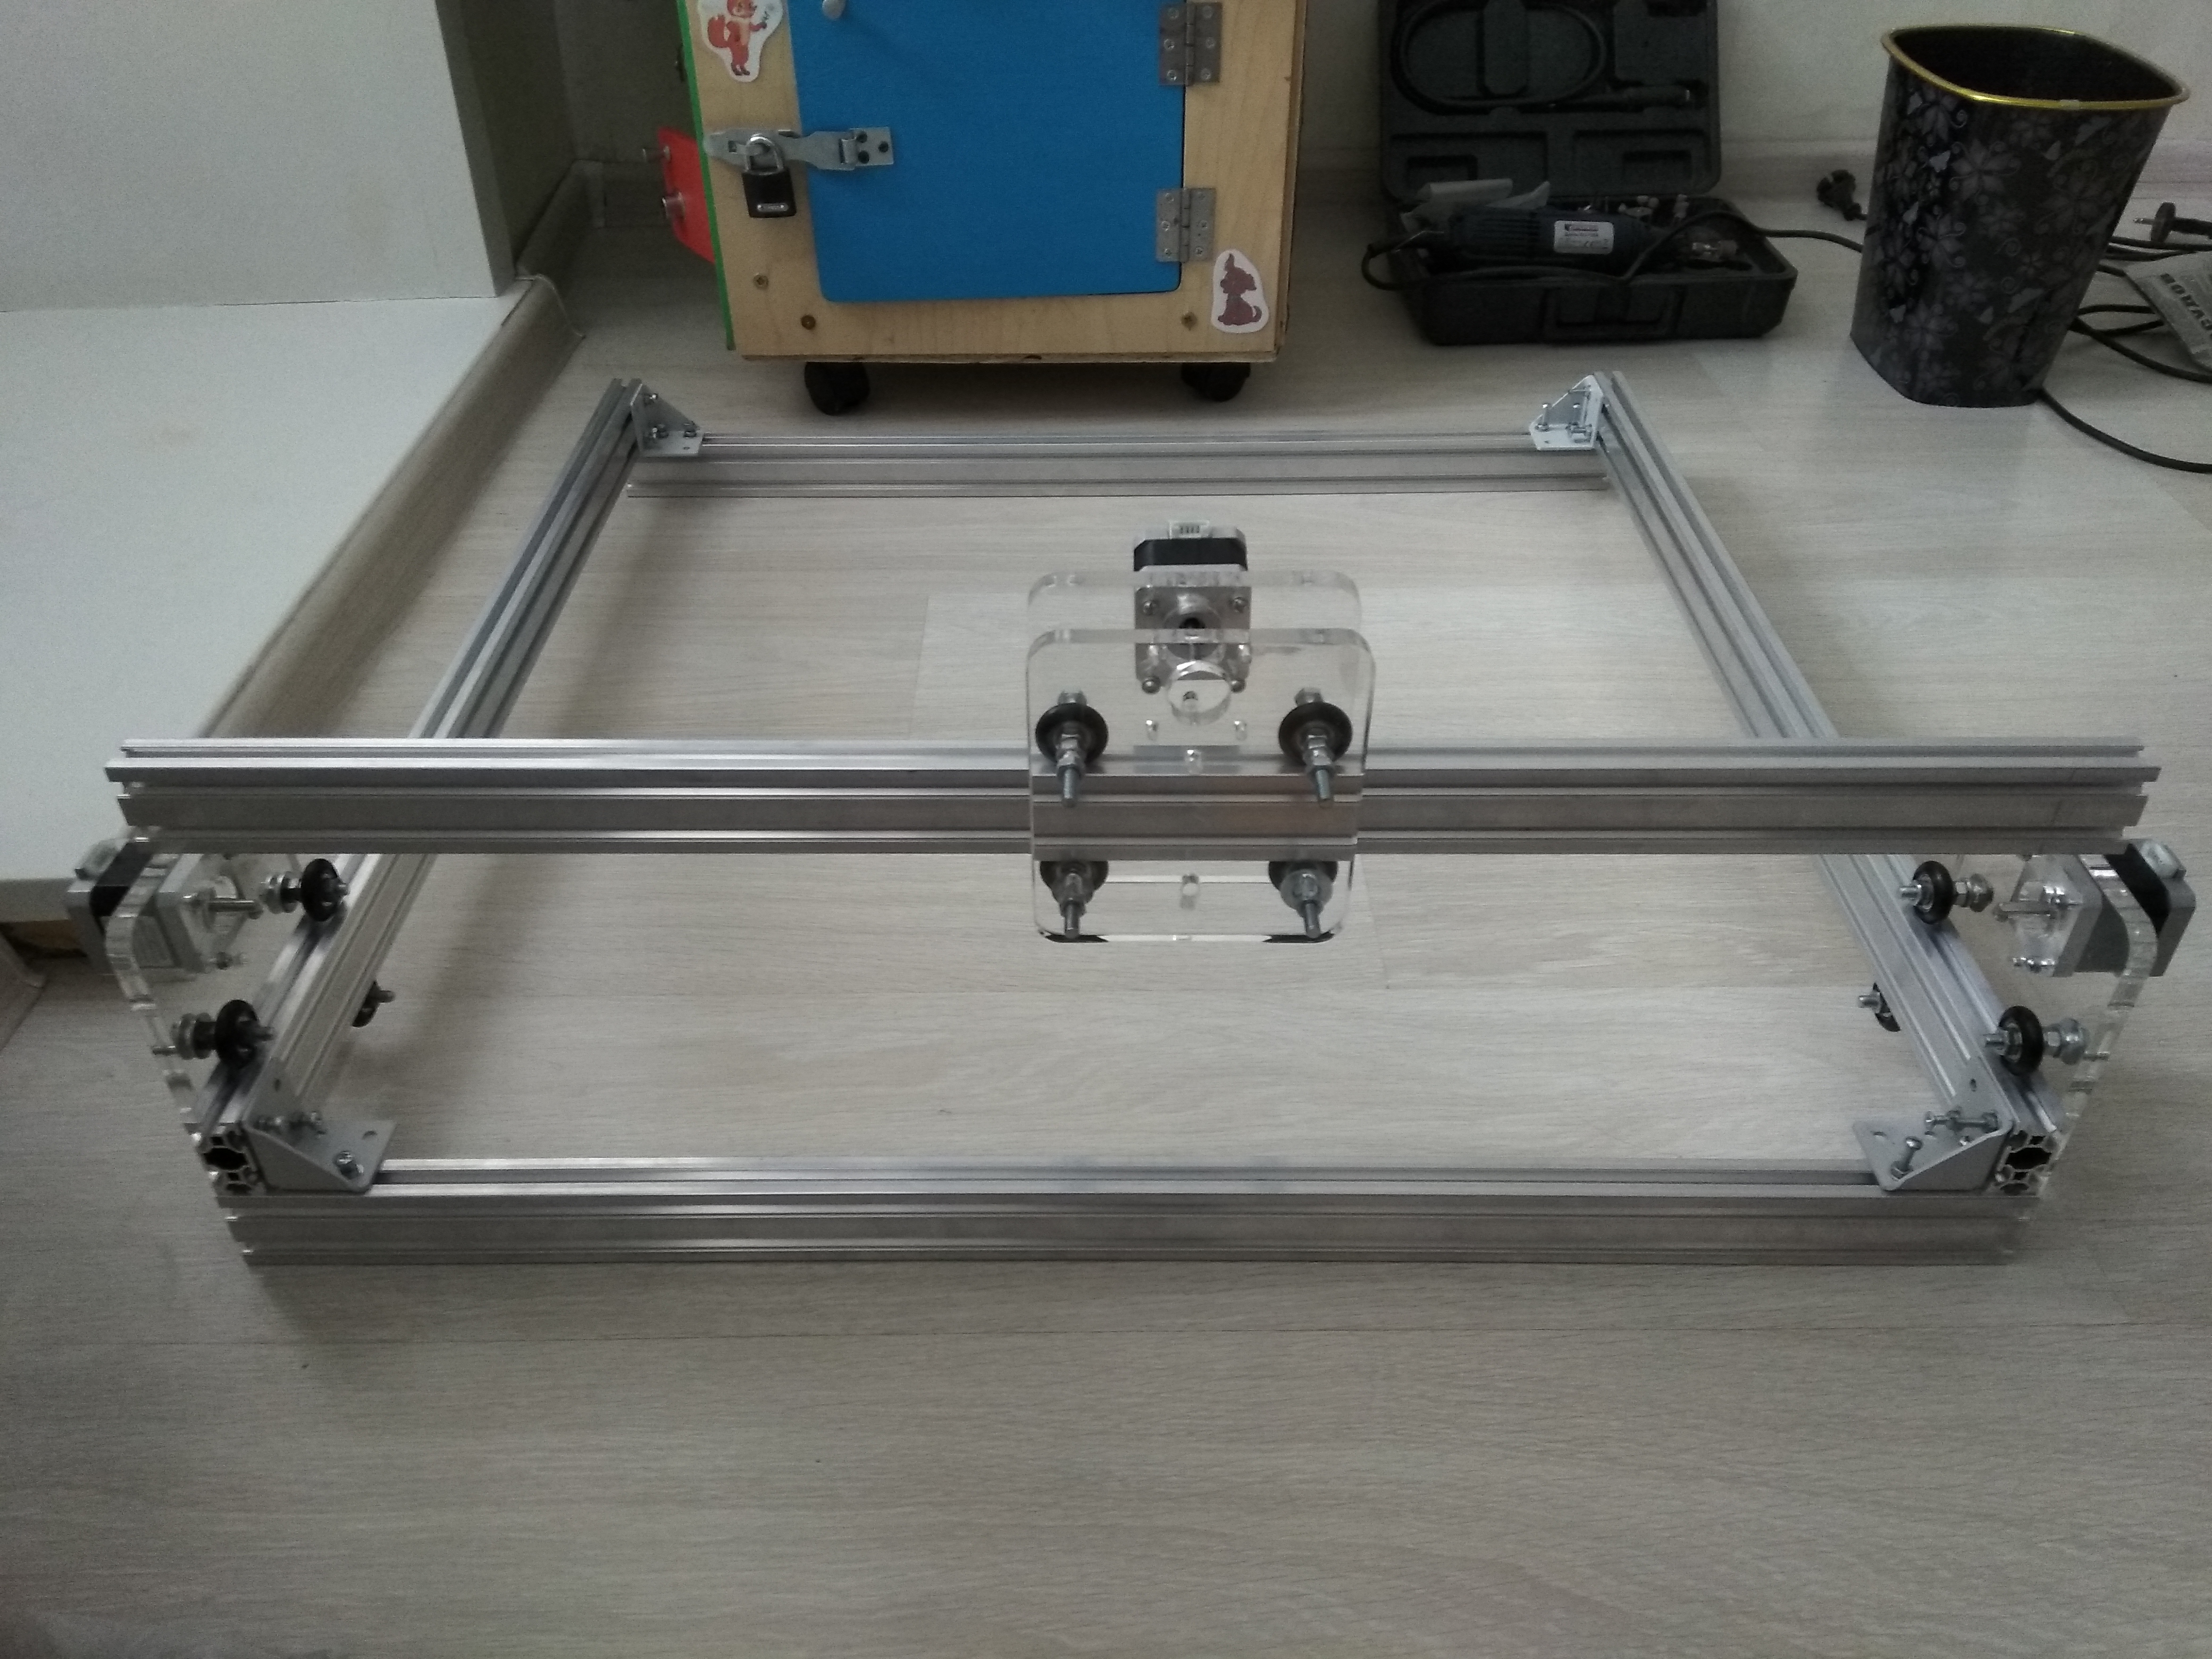
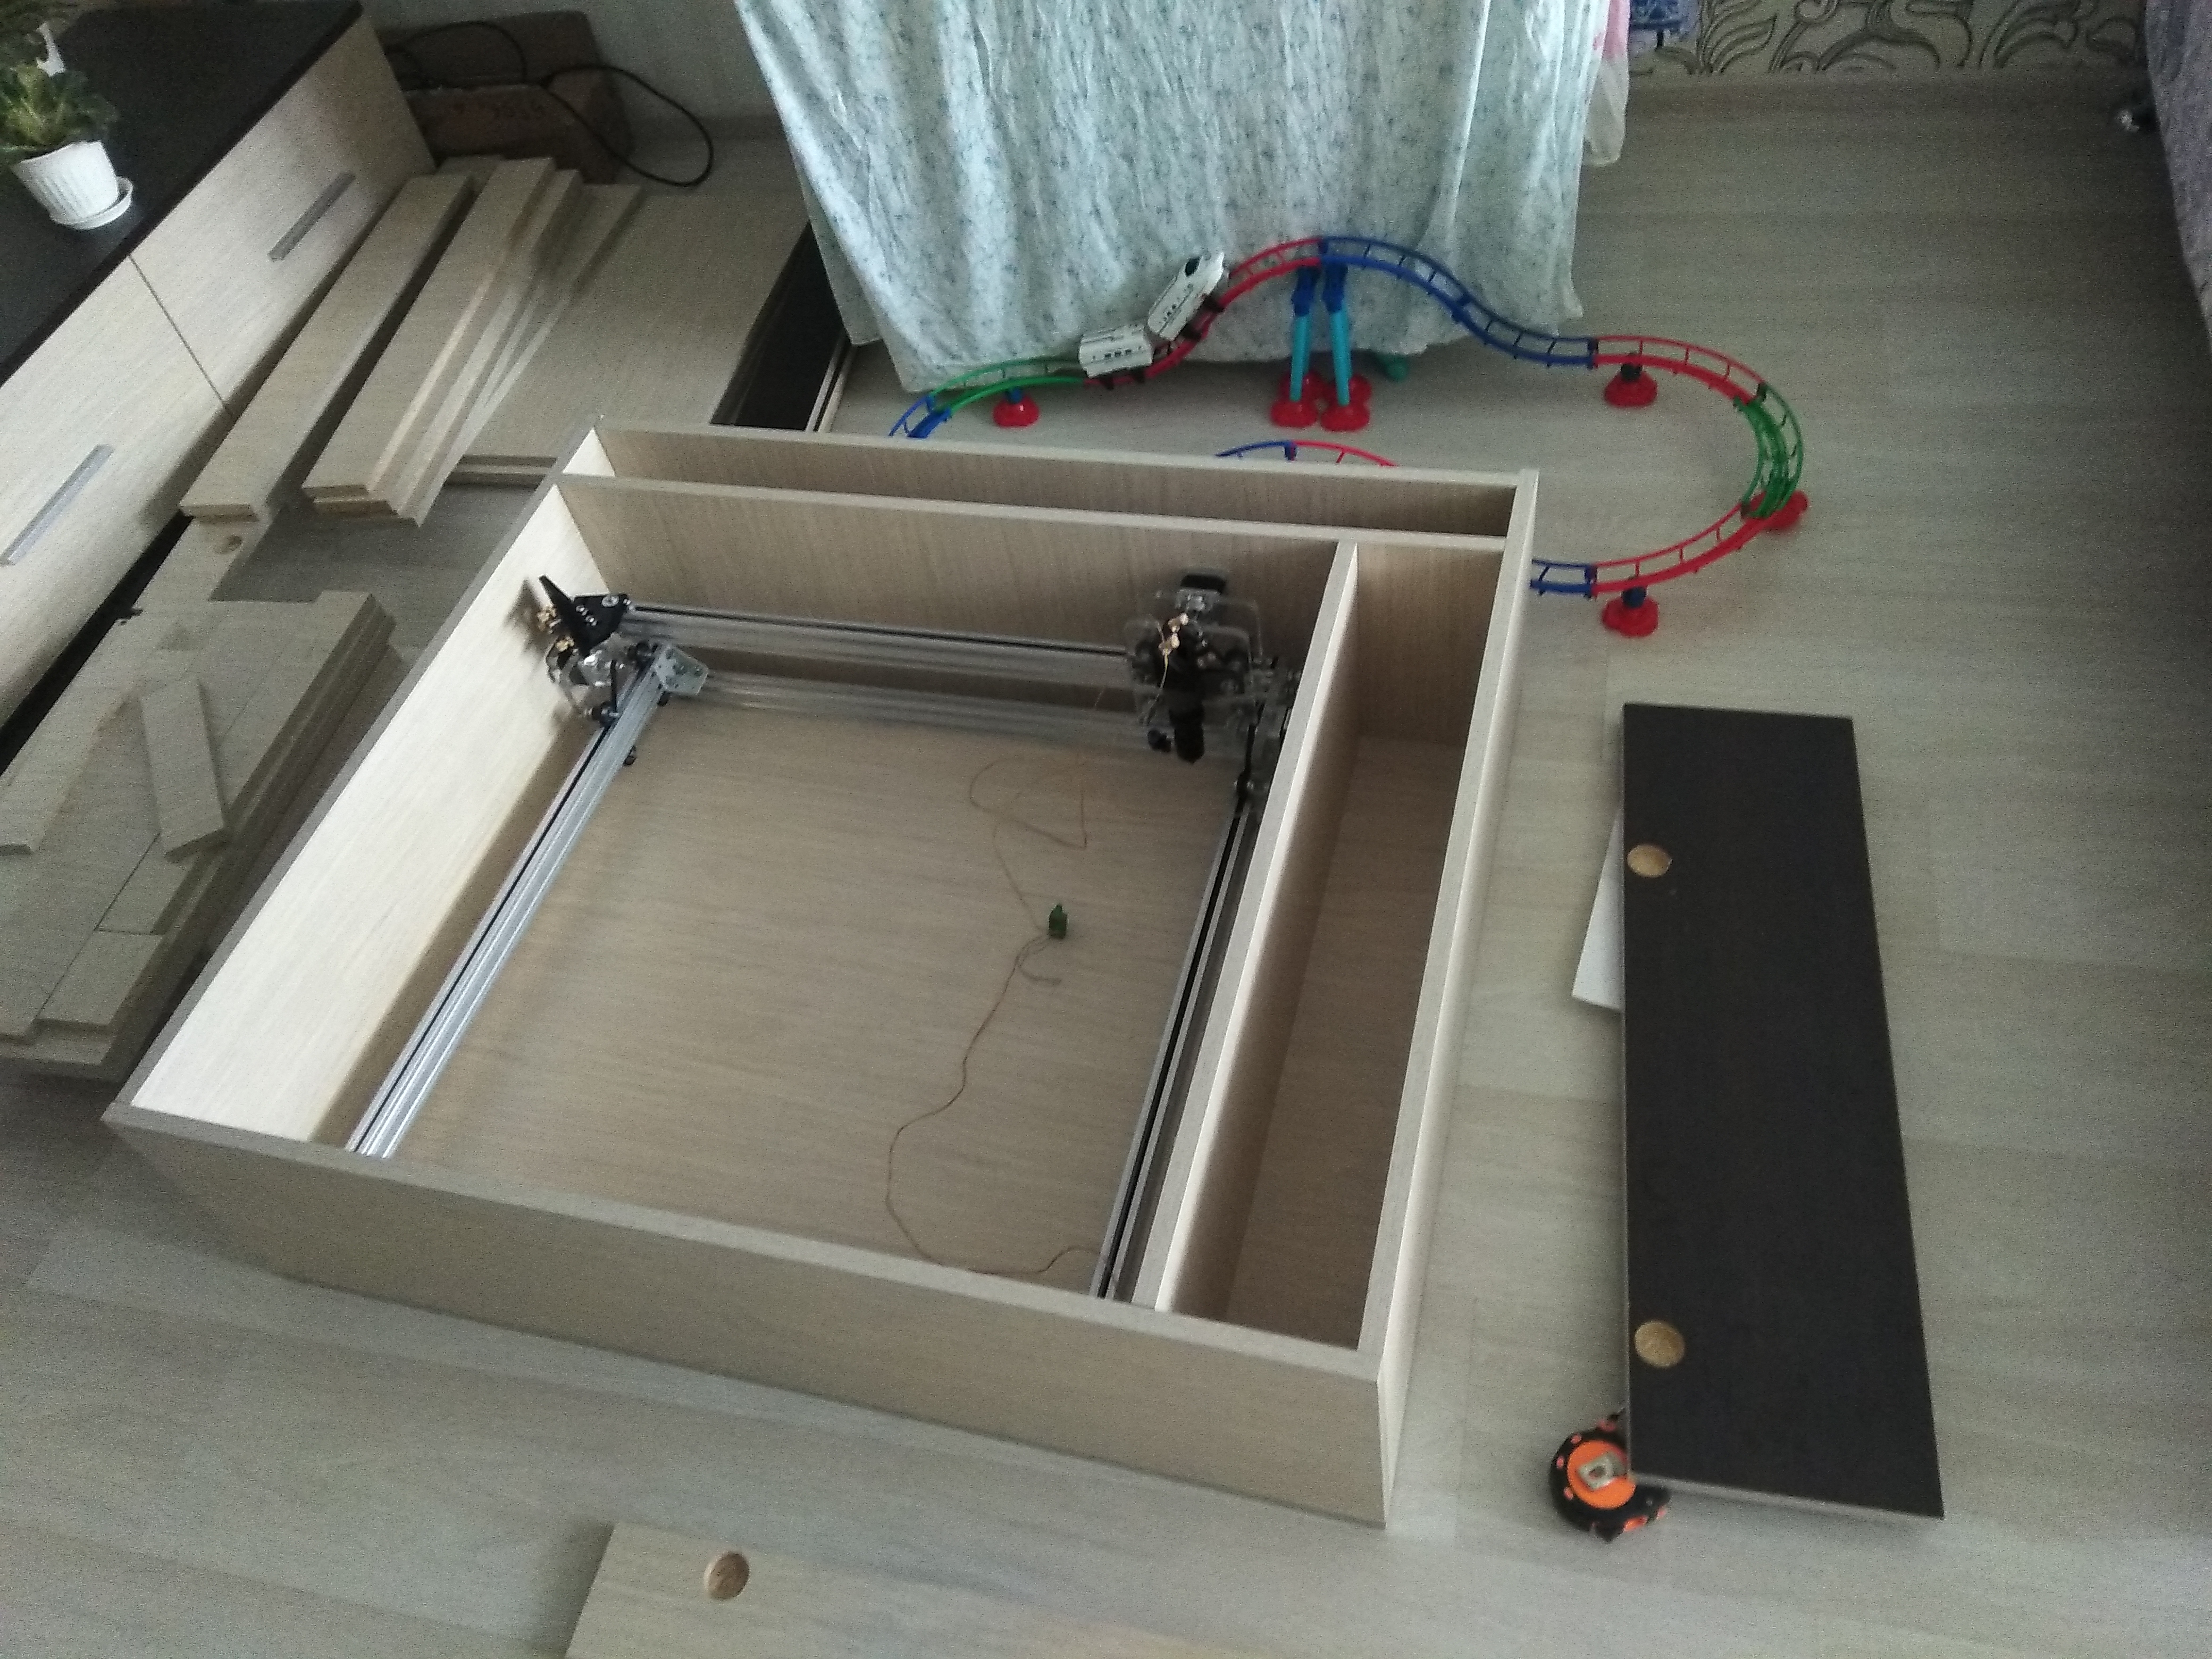
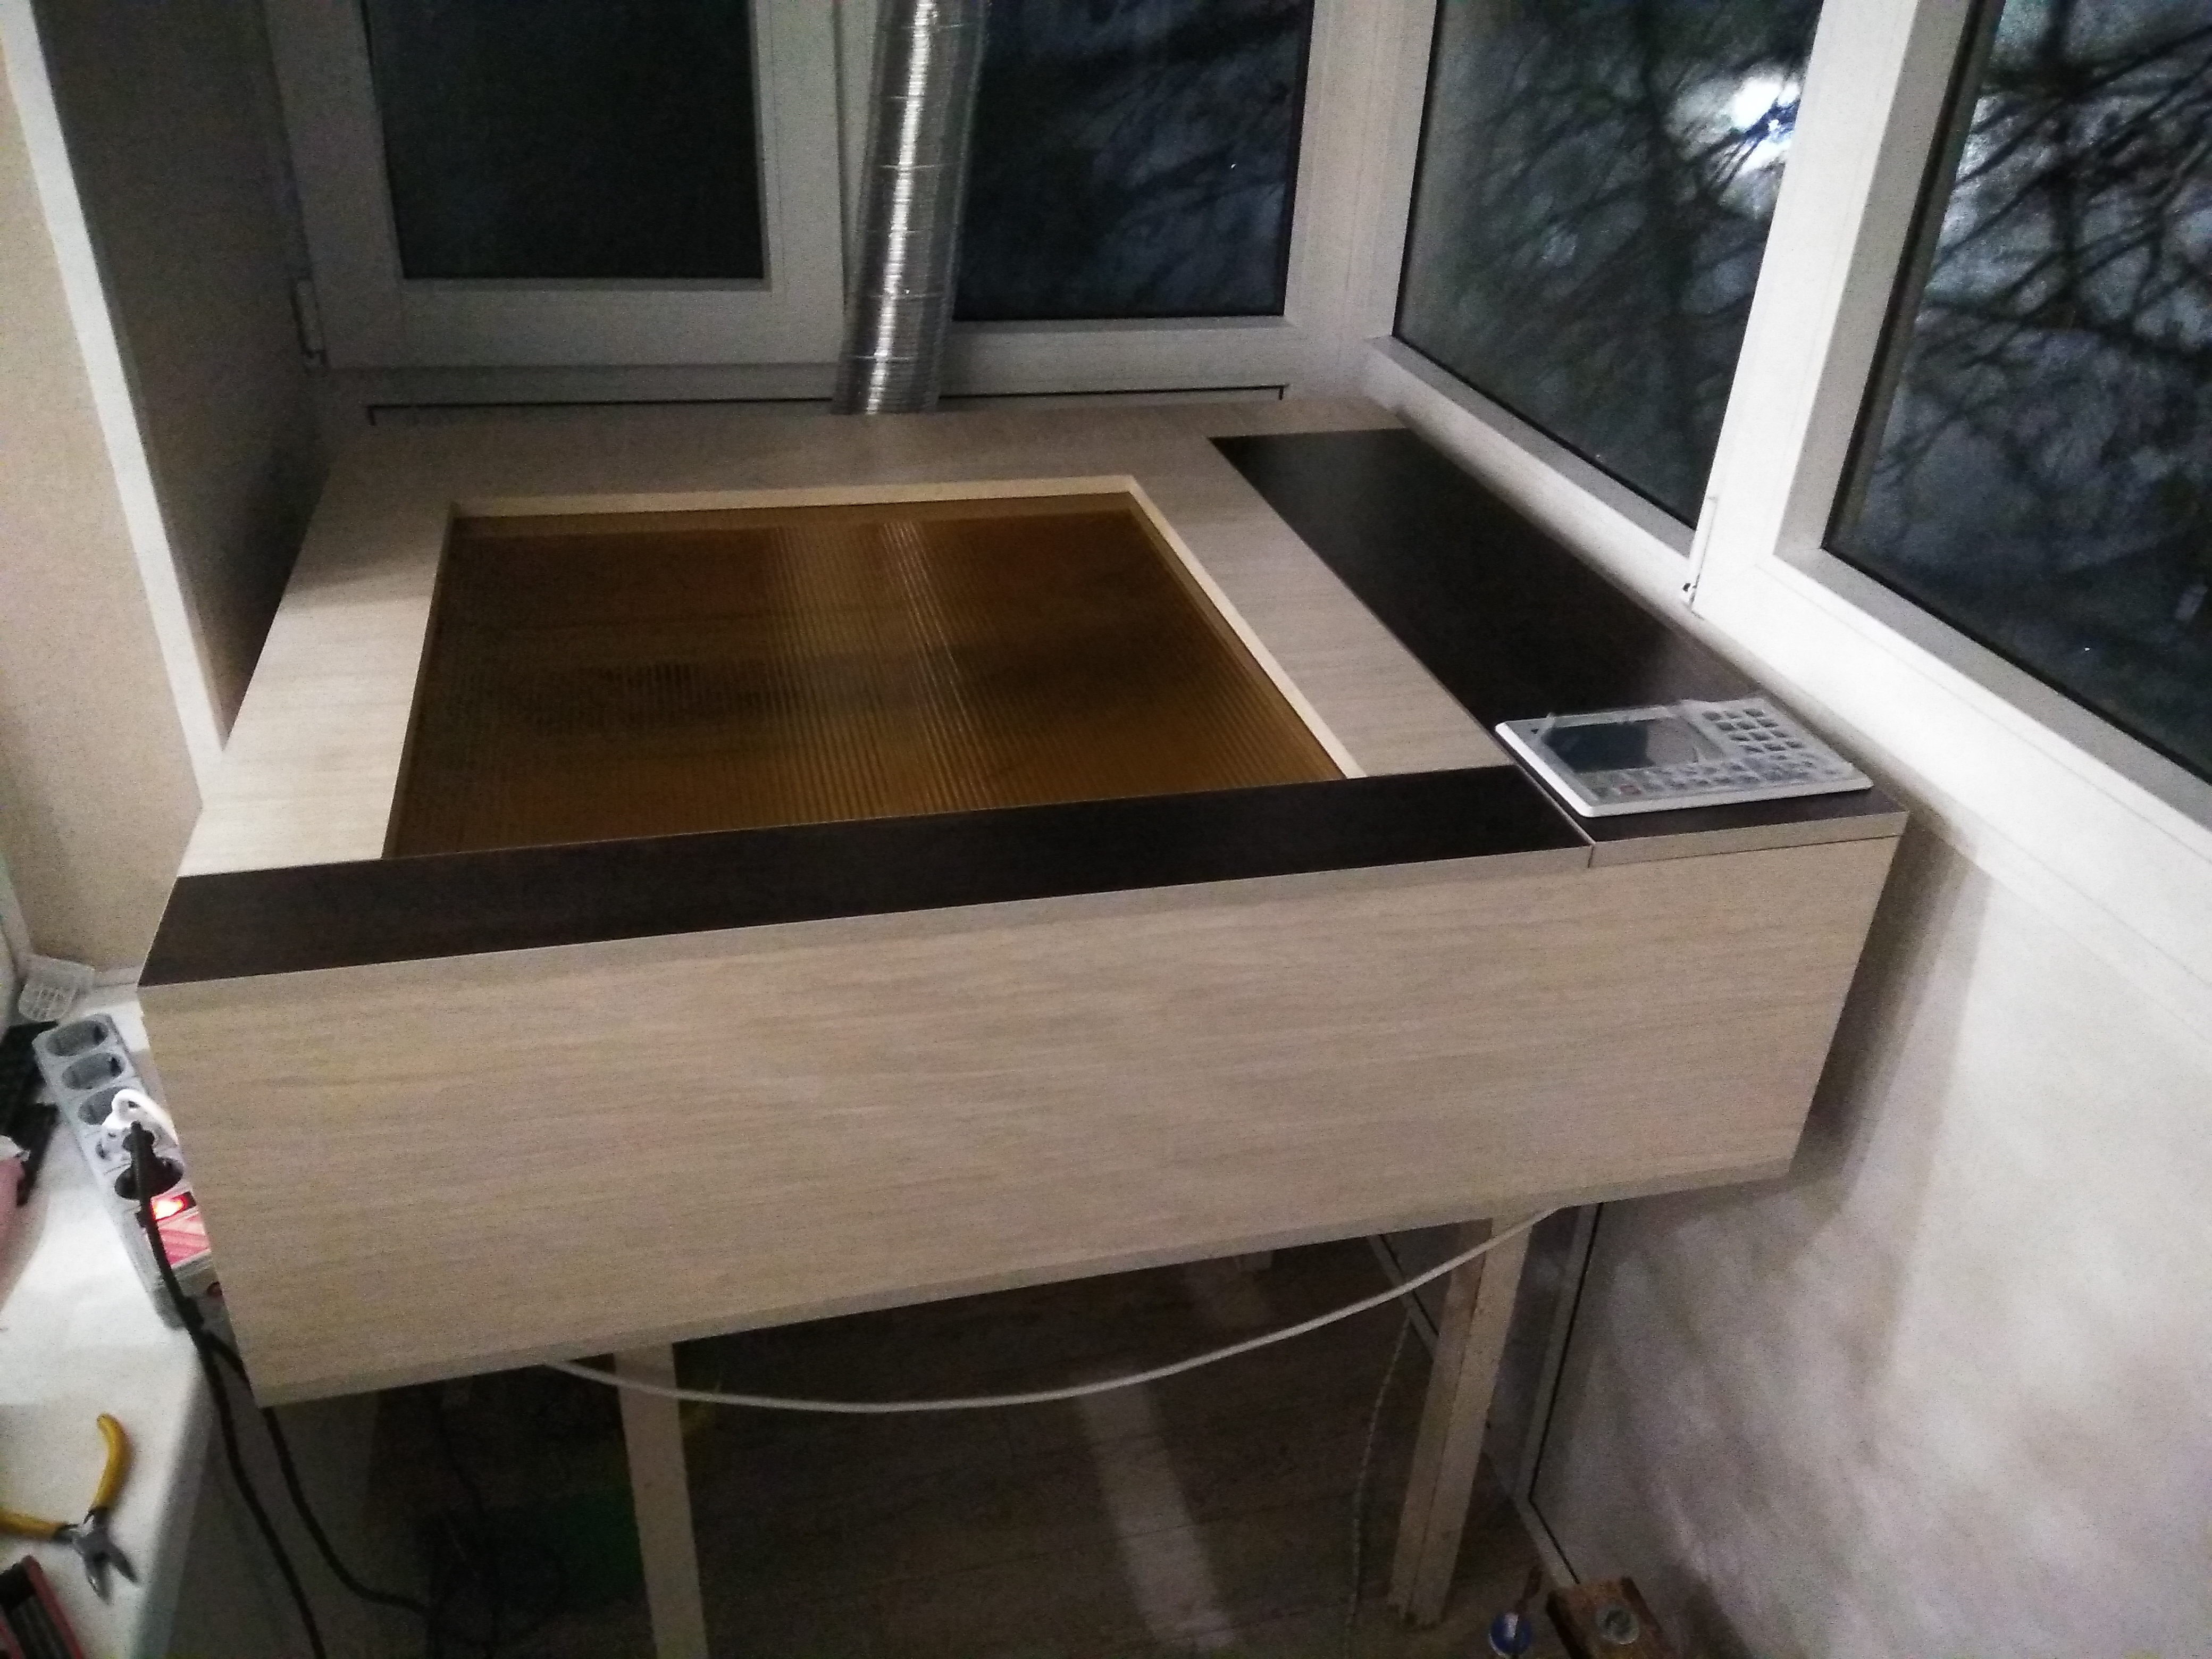 Hello, Habr! Today I will talk about my laser machine for cutting plywood and engraving the skin. The goal was, as always - maximum functionality for a minimum of money).Despite the cost savings, it was decided not to save on the controller - firstly, Ruida is multitasking compared to any M2 and other control cards, which means a minimum of dancing with a tambourine when preparing a file for processing. Secondly, Ruida is autonomous, it allows you to work without a computer, transferring files only on a USB flash drive and allowing you to change the processing modes by the controller itself. What is important when working on the balcony).Thirdly, if I suddenly decide to assemble a more serious machine with a huge and powerful tube, I will already have an adult controller. There is a very detailed datasheet on this controller, and it is not difficult to assemble a machine around it for specific tasks.A 40-watt tube, which is enough slowly, but with an acceptable quality, cut 3-4 mm plywood. More powerful pipes are longer, and simply will not fit on the balcony). At the assembly and commissioning stage, even 3 mm plywood could not be cut through. As a result, a high-voltage discharge pierced the rear mirror of the resonator, the beam mode bifurcated, and the tube went to the garage for experiments. As it turned out later, the output nozzle of the head shielded part of the beam, and decided to drill the nozzle. Now there is already a second tube, also 40 watts, and with 30 percent power it is guaranteed to cut through 4 mm plywood at a speed of 10 mm / s.The cheeks of the carriages are made of 10 mm Plexiglas, cut out at work using a 100 W laser, and rigid plastic wheels with ball bearings are fixed between them. Nema 17 stepping motors for the Y axis are located at both ends of the “portal” and connected in series to synchronize their movements, controlled by one common driver.The machine case is made of chipboard, ordered in the form of shields from furniture makers and assembled with the help of furniture fittings. The case was originally designed in the Pro100 furniture program.A duct fan with a diameter of 100 mm was originally used for the hood, but its performance was not enough when cutting plywood - unlike engraving, this is a very smoky process, and the fan power was not enough for normal air movement through the cutting zone. Therefore, this fan was replaced by a snail from the front-wheel drive Lada stove. To power it in the design, an additional 12 volt ATX power supply appeared. Also, this snail was connected through a speed regulator and turns on and off regardless of the machine - this is necessary so that it is possible to change the hood performance depending on the work performed and not to waste hot air from the balcony, working in the winter. Sometimes after finishing work, smoke remains in the housing,then I leave the snail to work for a while after the machine completes the job.The gazelle electric pump works as a pump, it is powered from the same 12 volt power supply as the hood. The cooling system is a 15l bucket in which the pump intake pipe is immersed, and the return from the tube is also brought here. To monitor the temperature, a thermometer sensor is immersed in a bucket. In summer, cooling is carried out with the help of frozen one and a half tins with water, in winter, heating is carried out with the help of an aquarium heater. Both heating and cooling must be turned on in advance, but because Since the cooling system has a capacity of about 10 liters, on average in an hour the coolant gains the temperature necessary for operation in winter and summer. For the same reason, turning the pump on and off is independent of the machine.Instead of a cell table, I used a nailboard from a building shop. The air circulation inside the machine is made so that the air moves through the duct from the front wall to the back, blowing the part from below and above. The photo shows the air inlets at the bottom of the case, it is convenient to sweep small scraps of plywood after work through them.The compressor - from a Soviet refrigerator, without a receiver, is controlled via a relay, a 220v socket for an external load controlled by the machine is brought to the side of the case. Voltage appears in it only when the controller requires it. Cons - the pressure is not regulated, the pros - quiet, unkillable. There is an idea to pair two such compressors on a common receiver, with a manometer, a pressure switch, all the necessary fittings. It will turn out to be a completely productive and almost silent unit.In total, about 45 thousand rubles were spent on the construction, for this money we got a machine with a working field of 50x50 cm, a power of 40 watts and equipped with a multi-tasking industrial laser controller.Photos from the stages of construction:
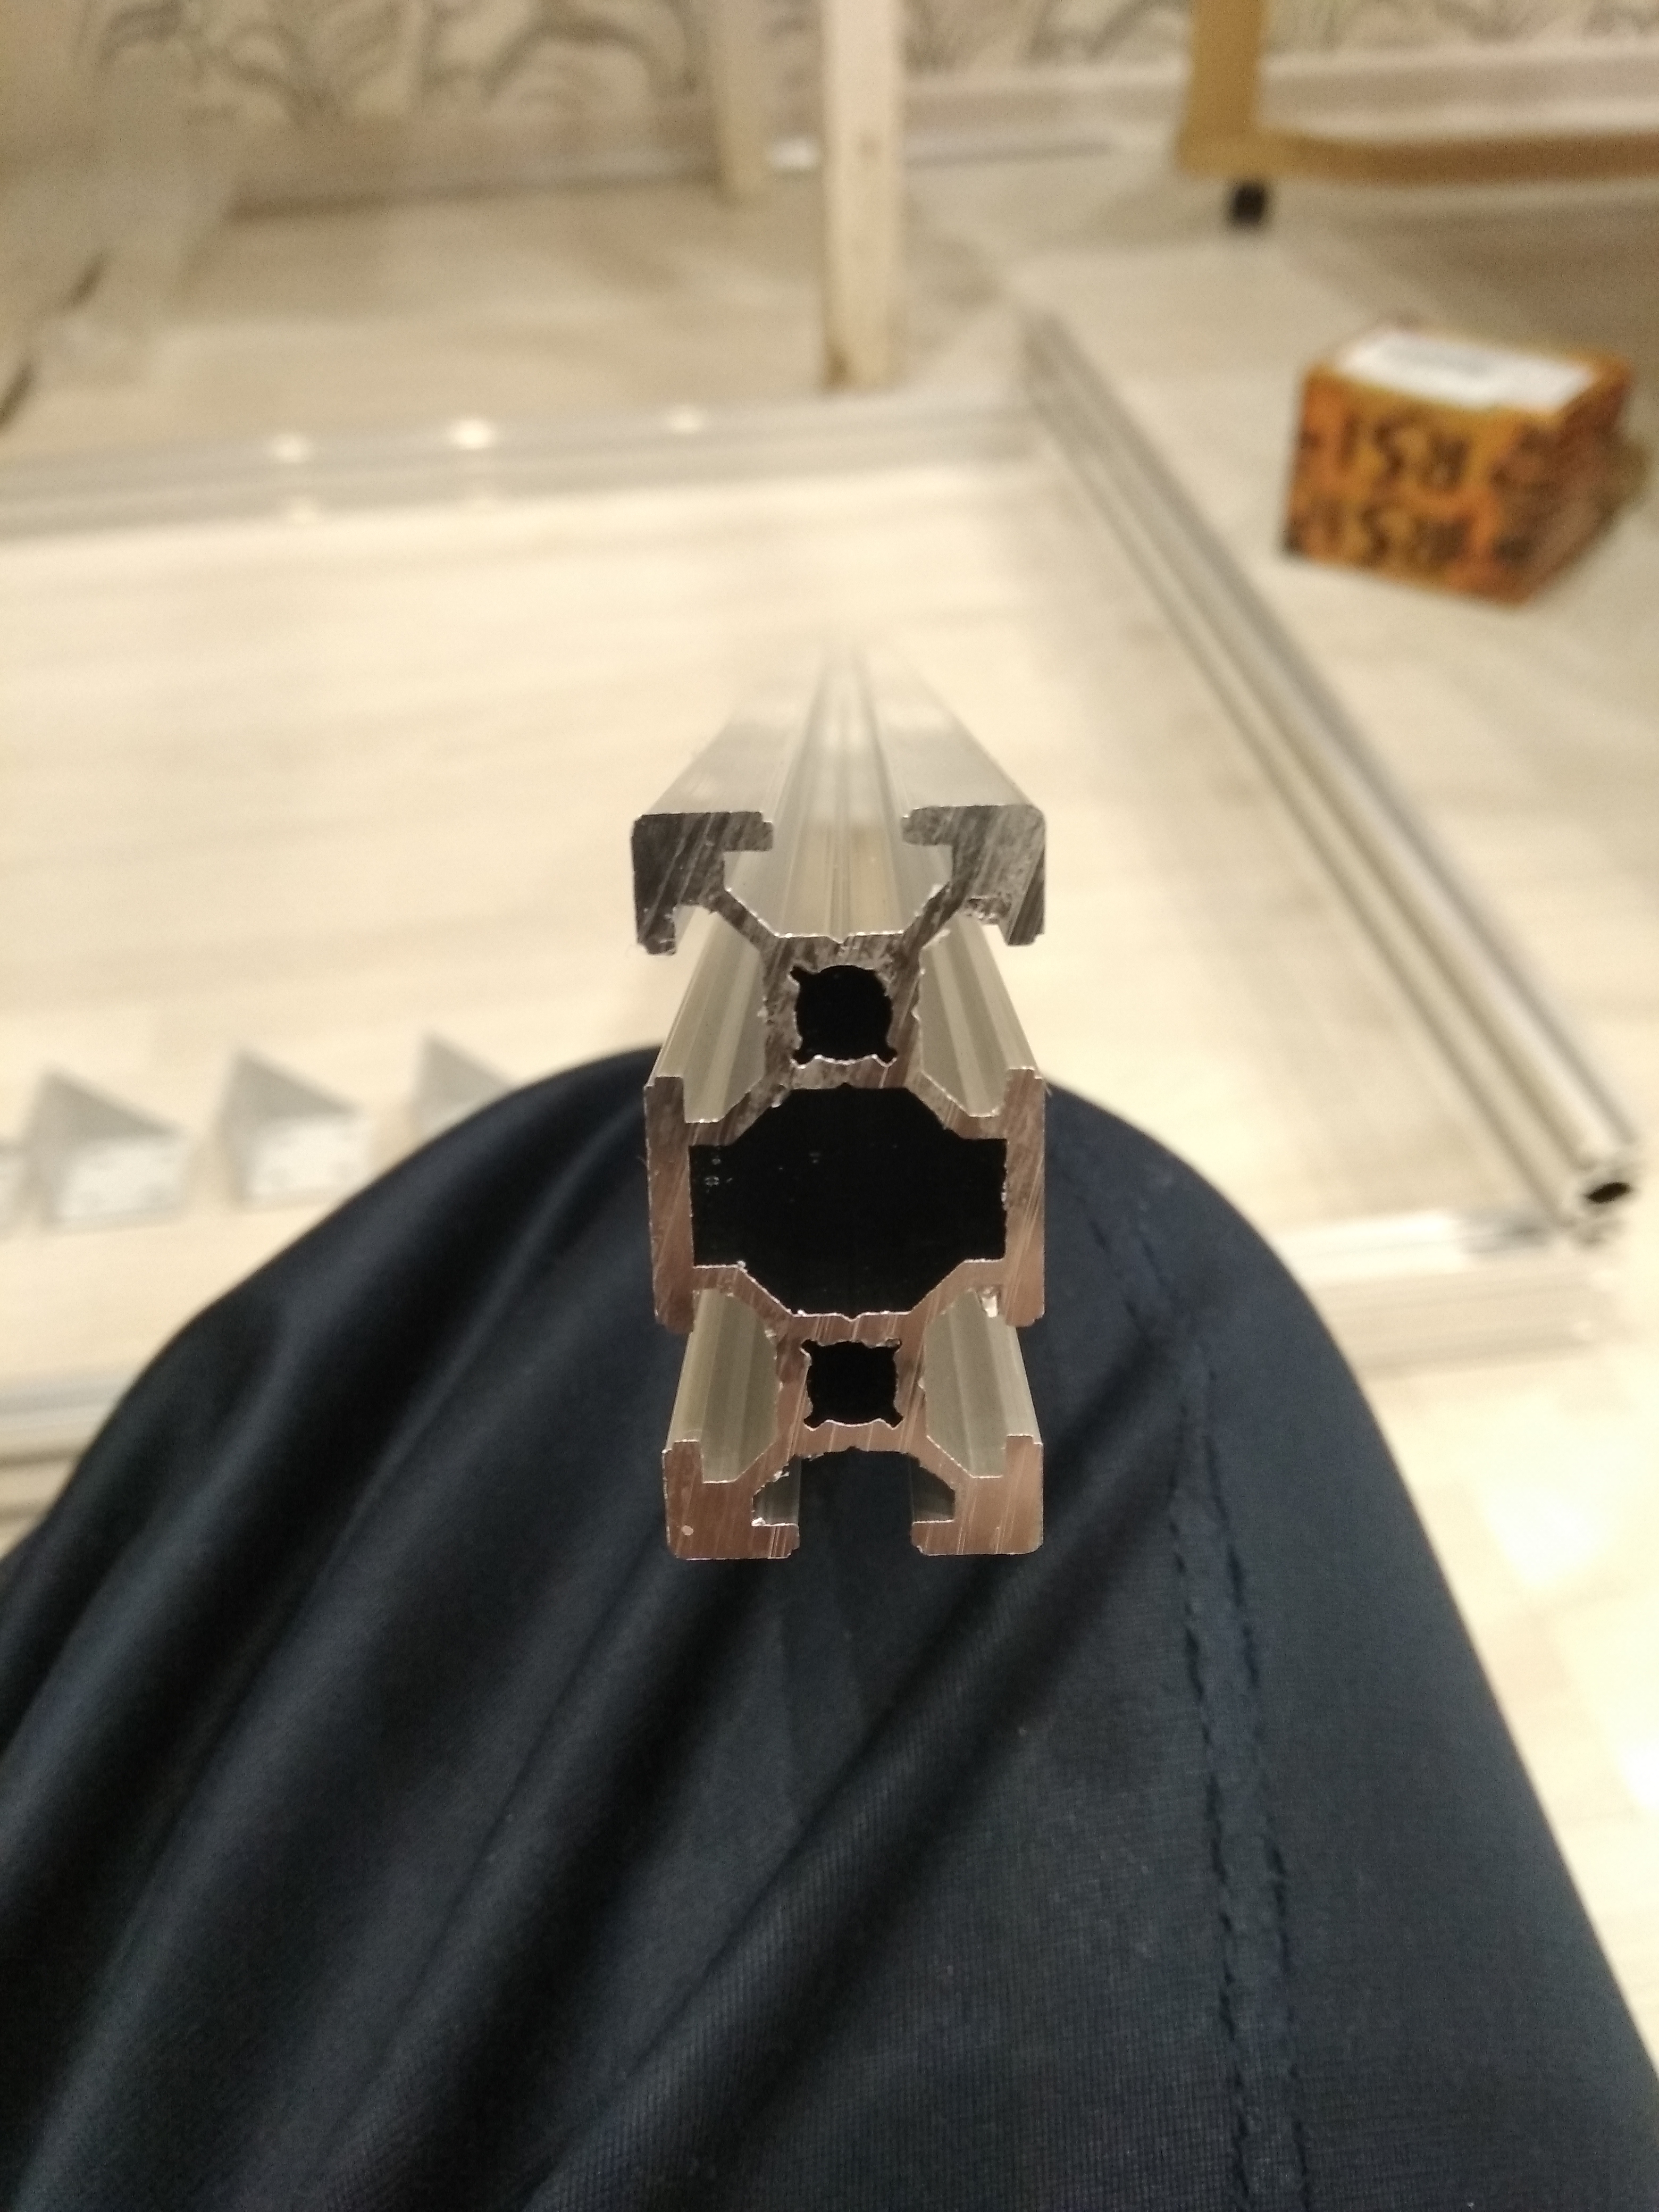


 Compressor from the refrigerator:
 Bottle at the exit - oil separator.Close-up carriage:
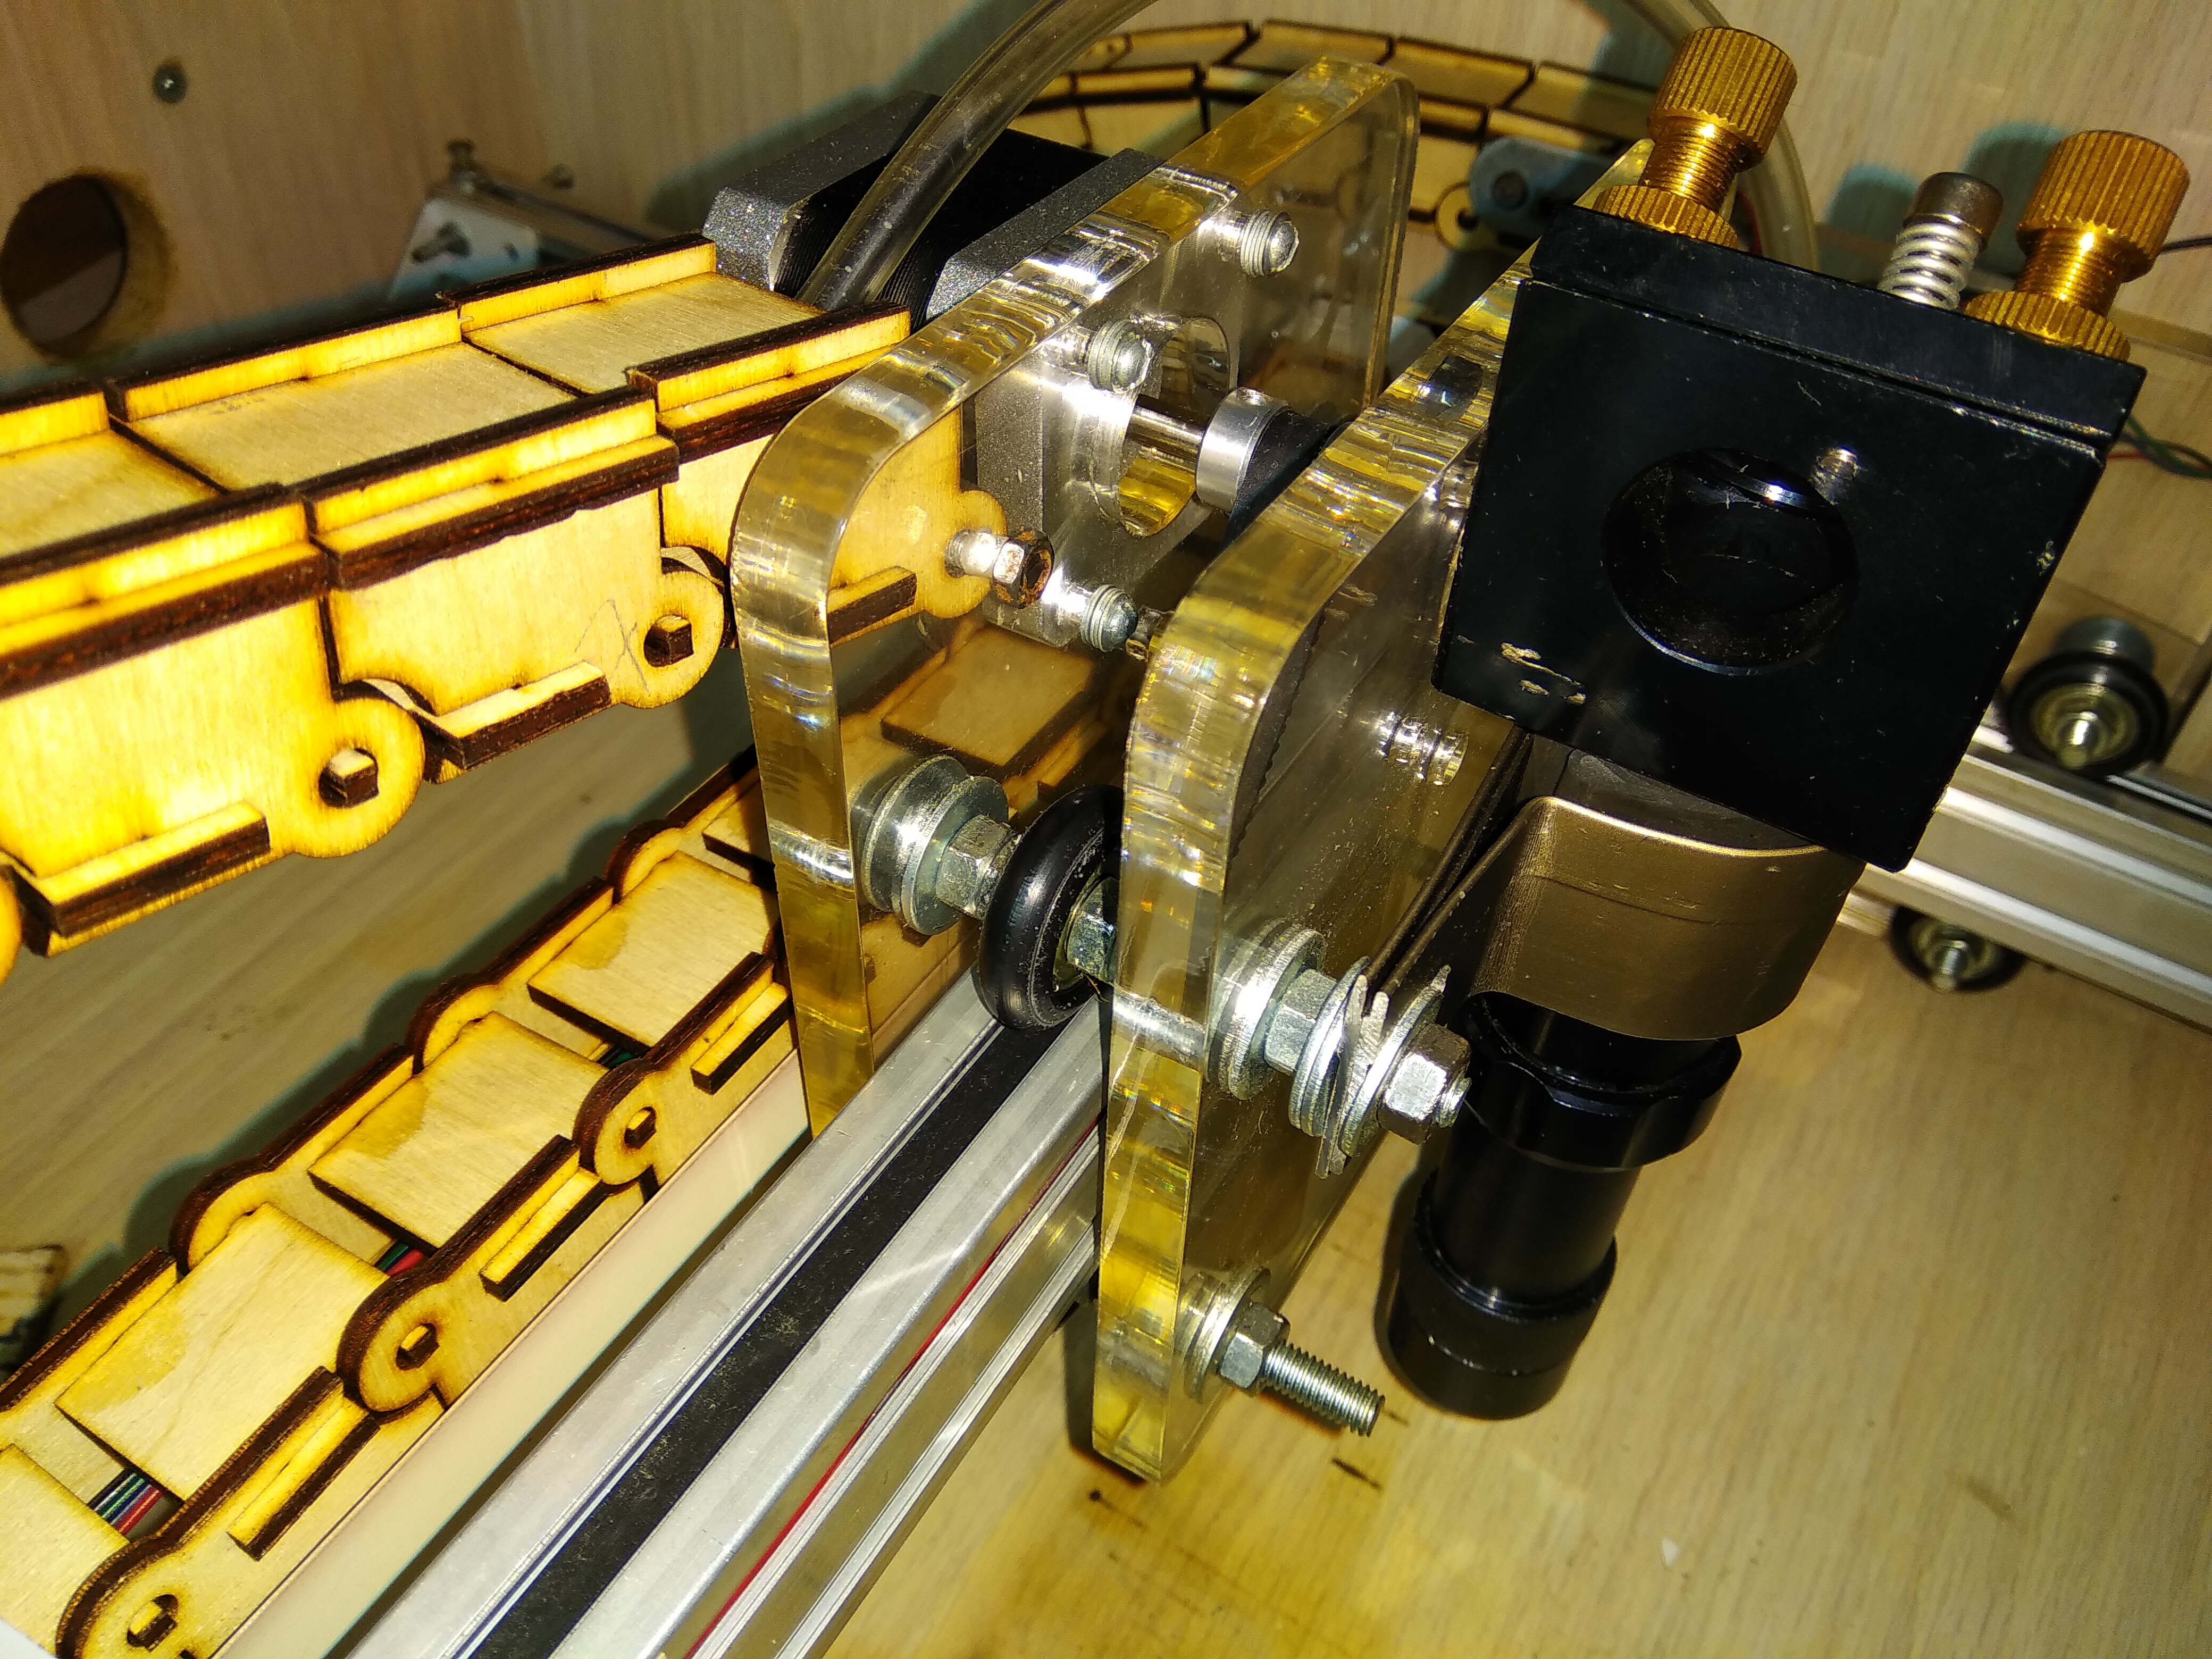 Portal drive, left side with mirror holder:
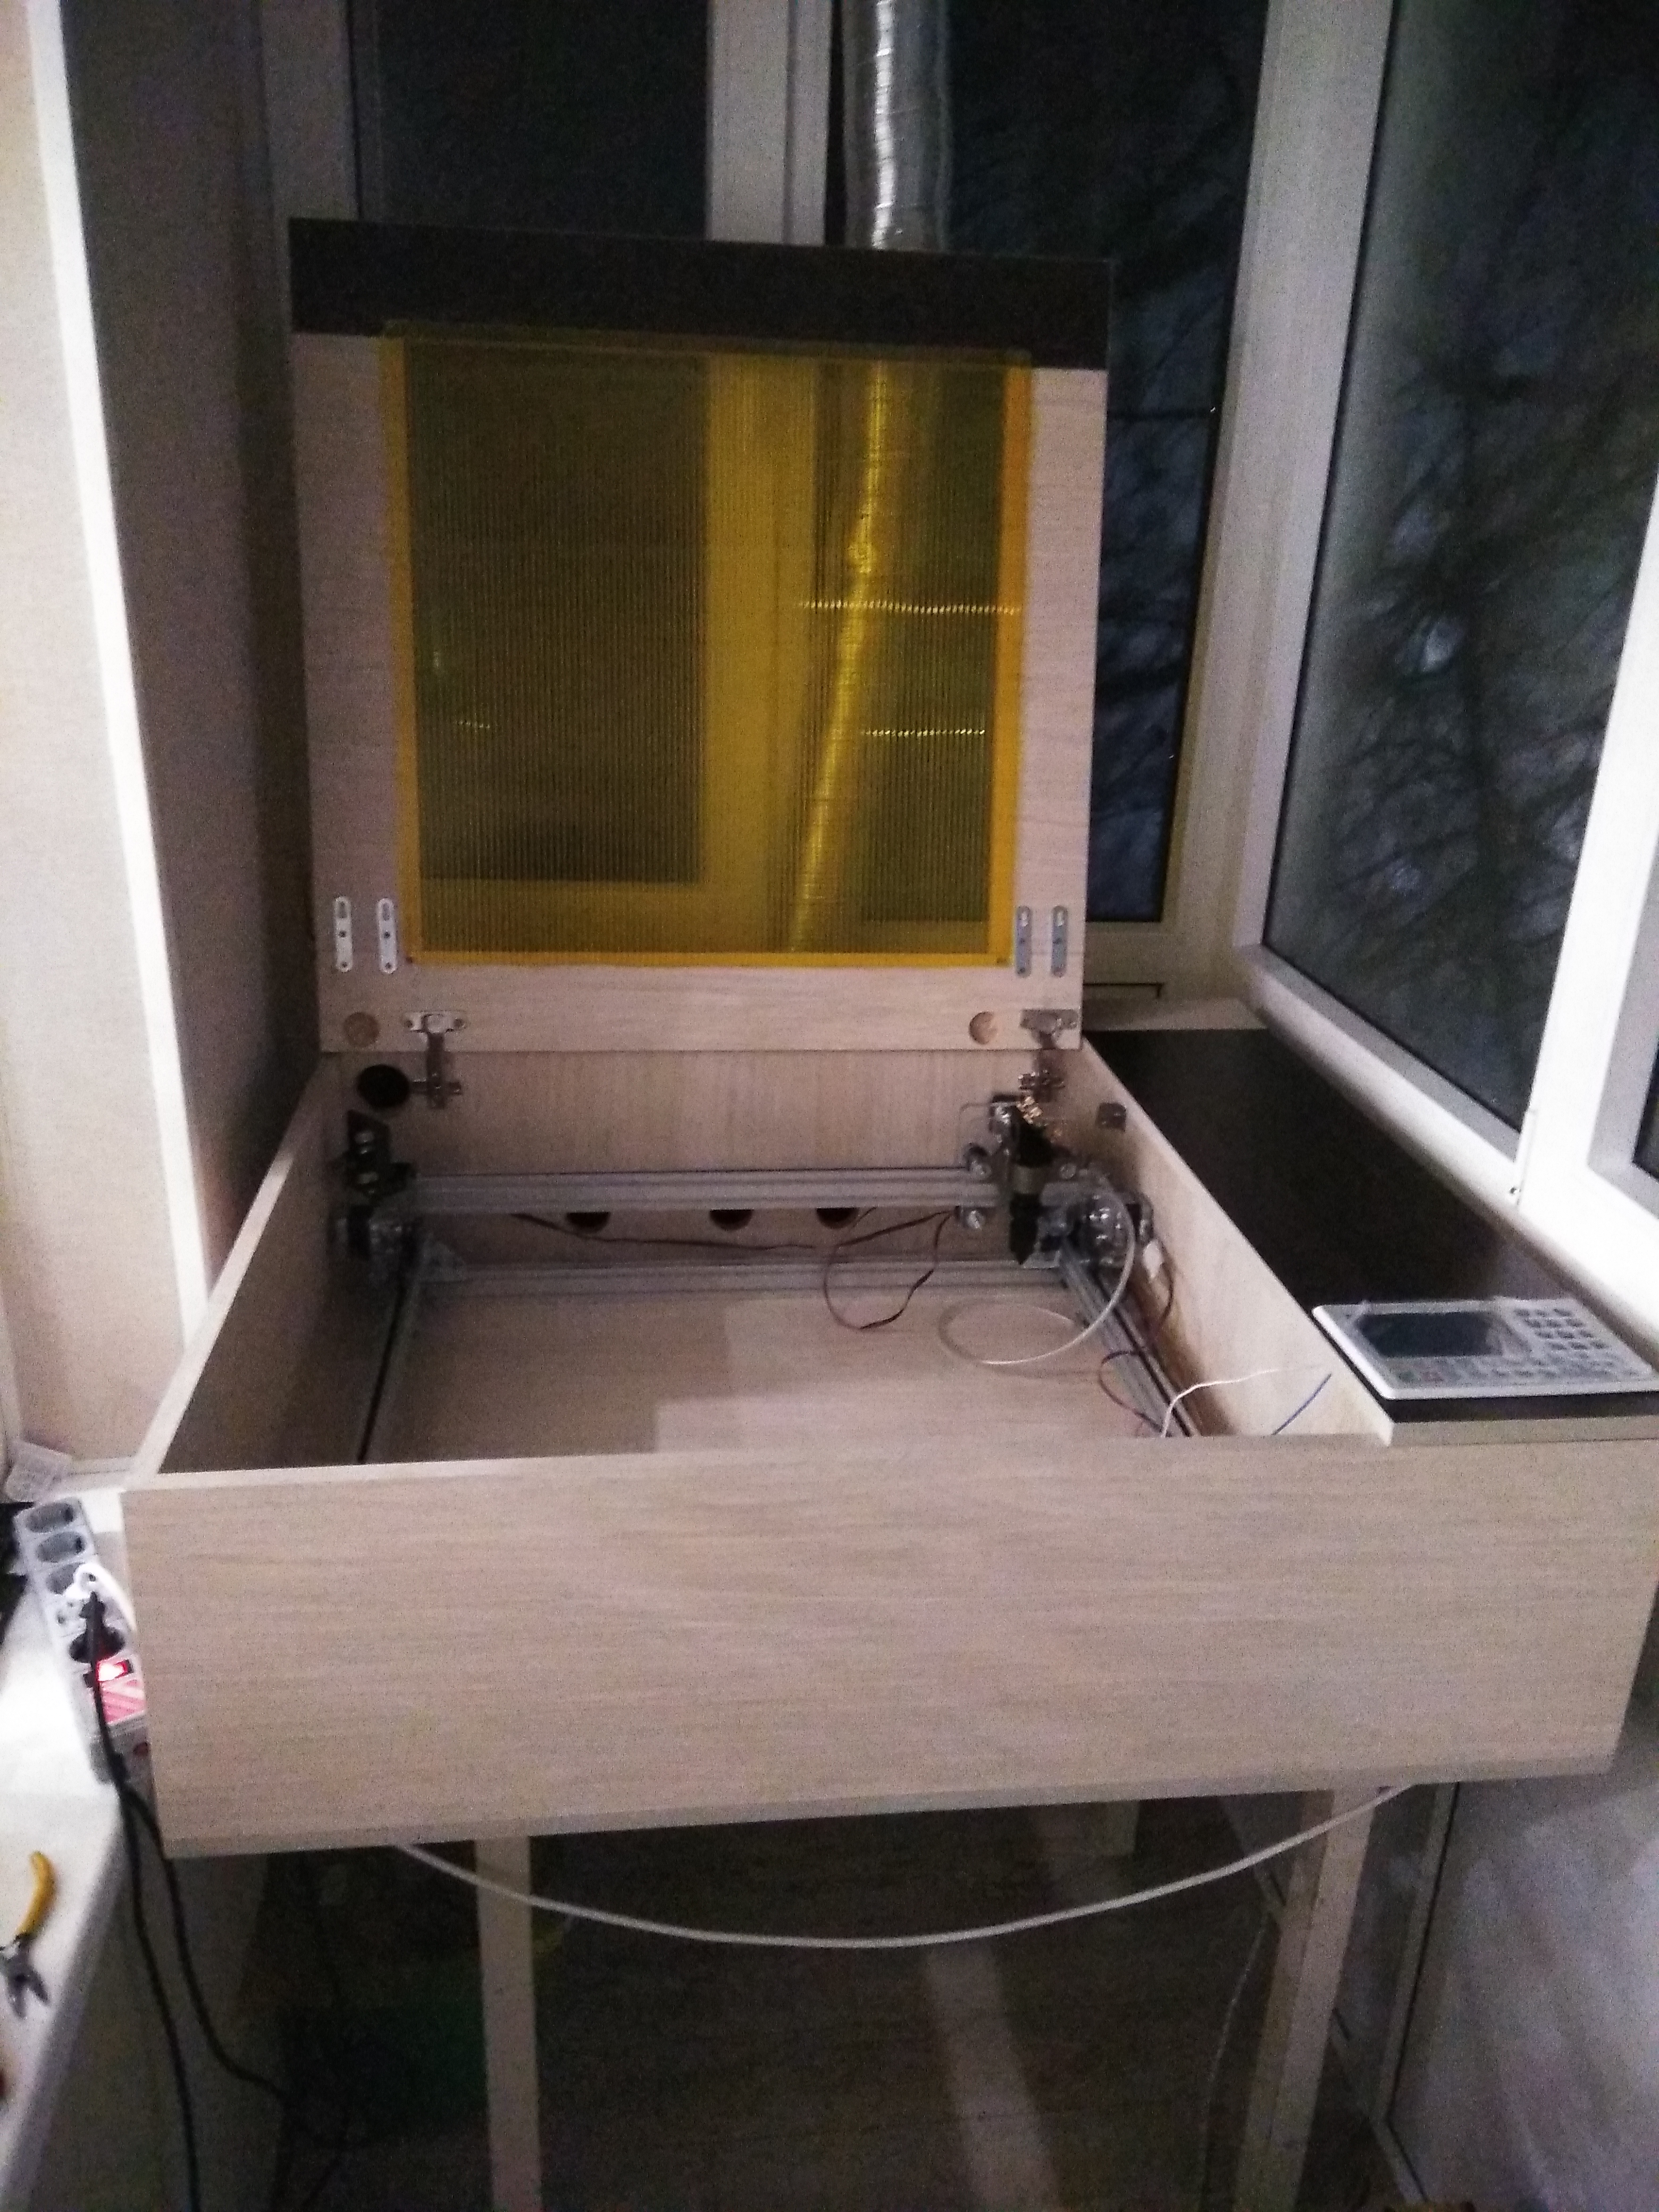
 With hinged lids:
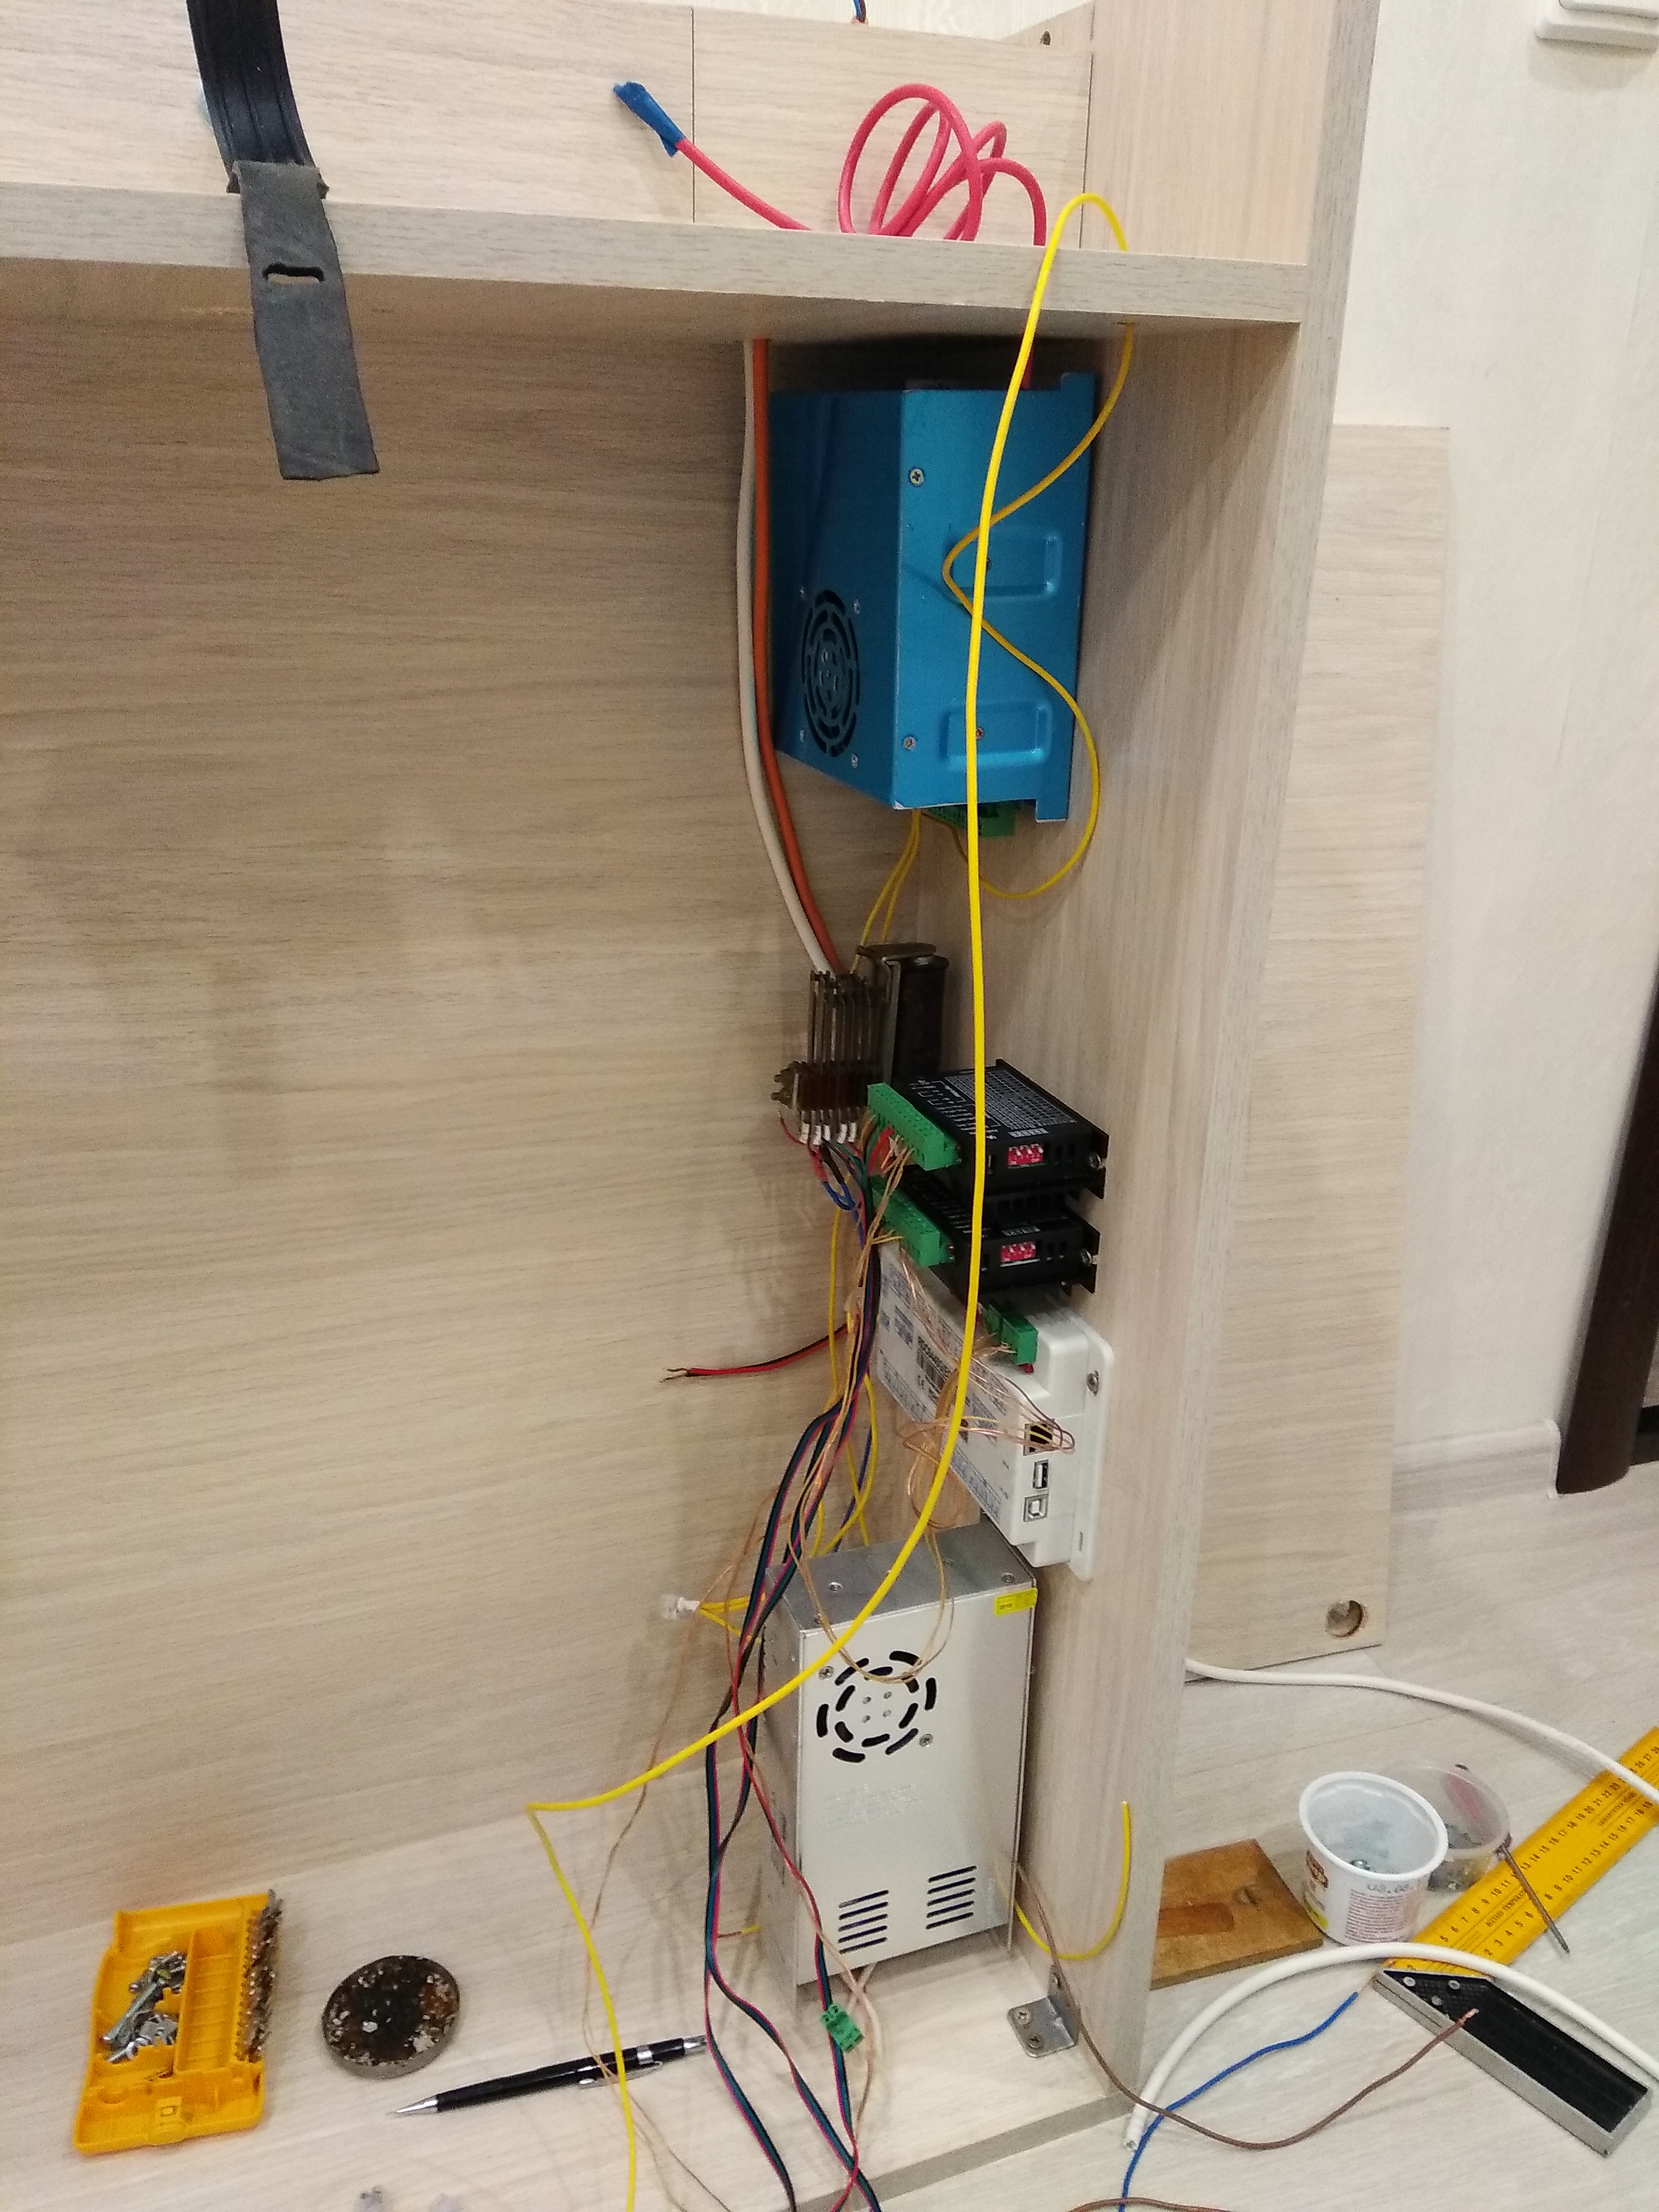
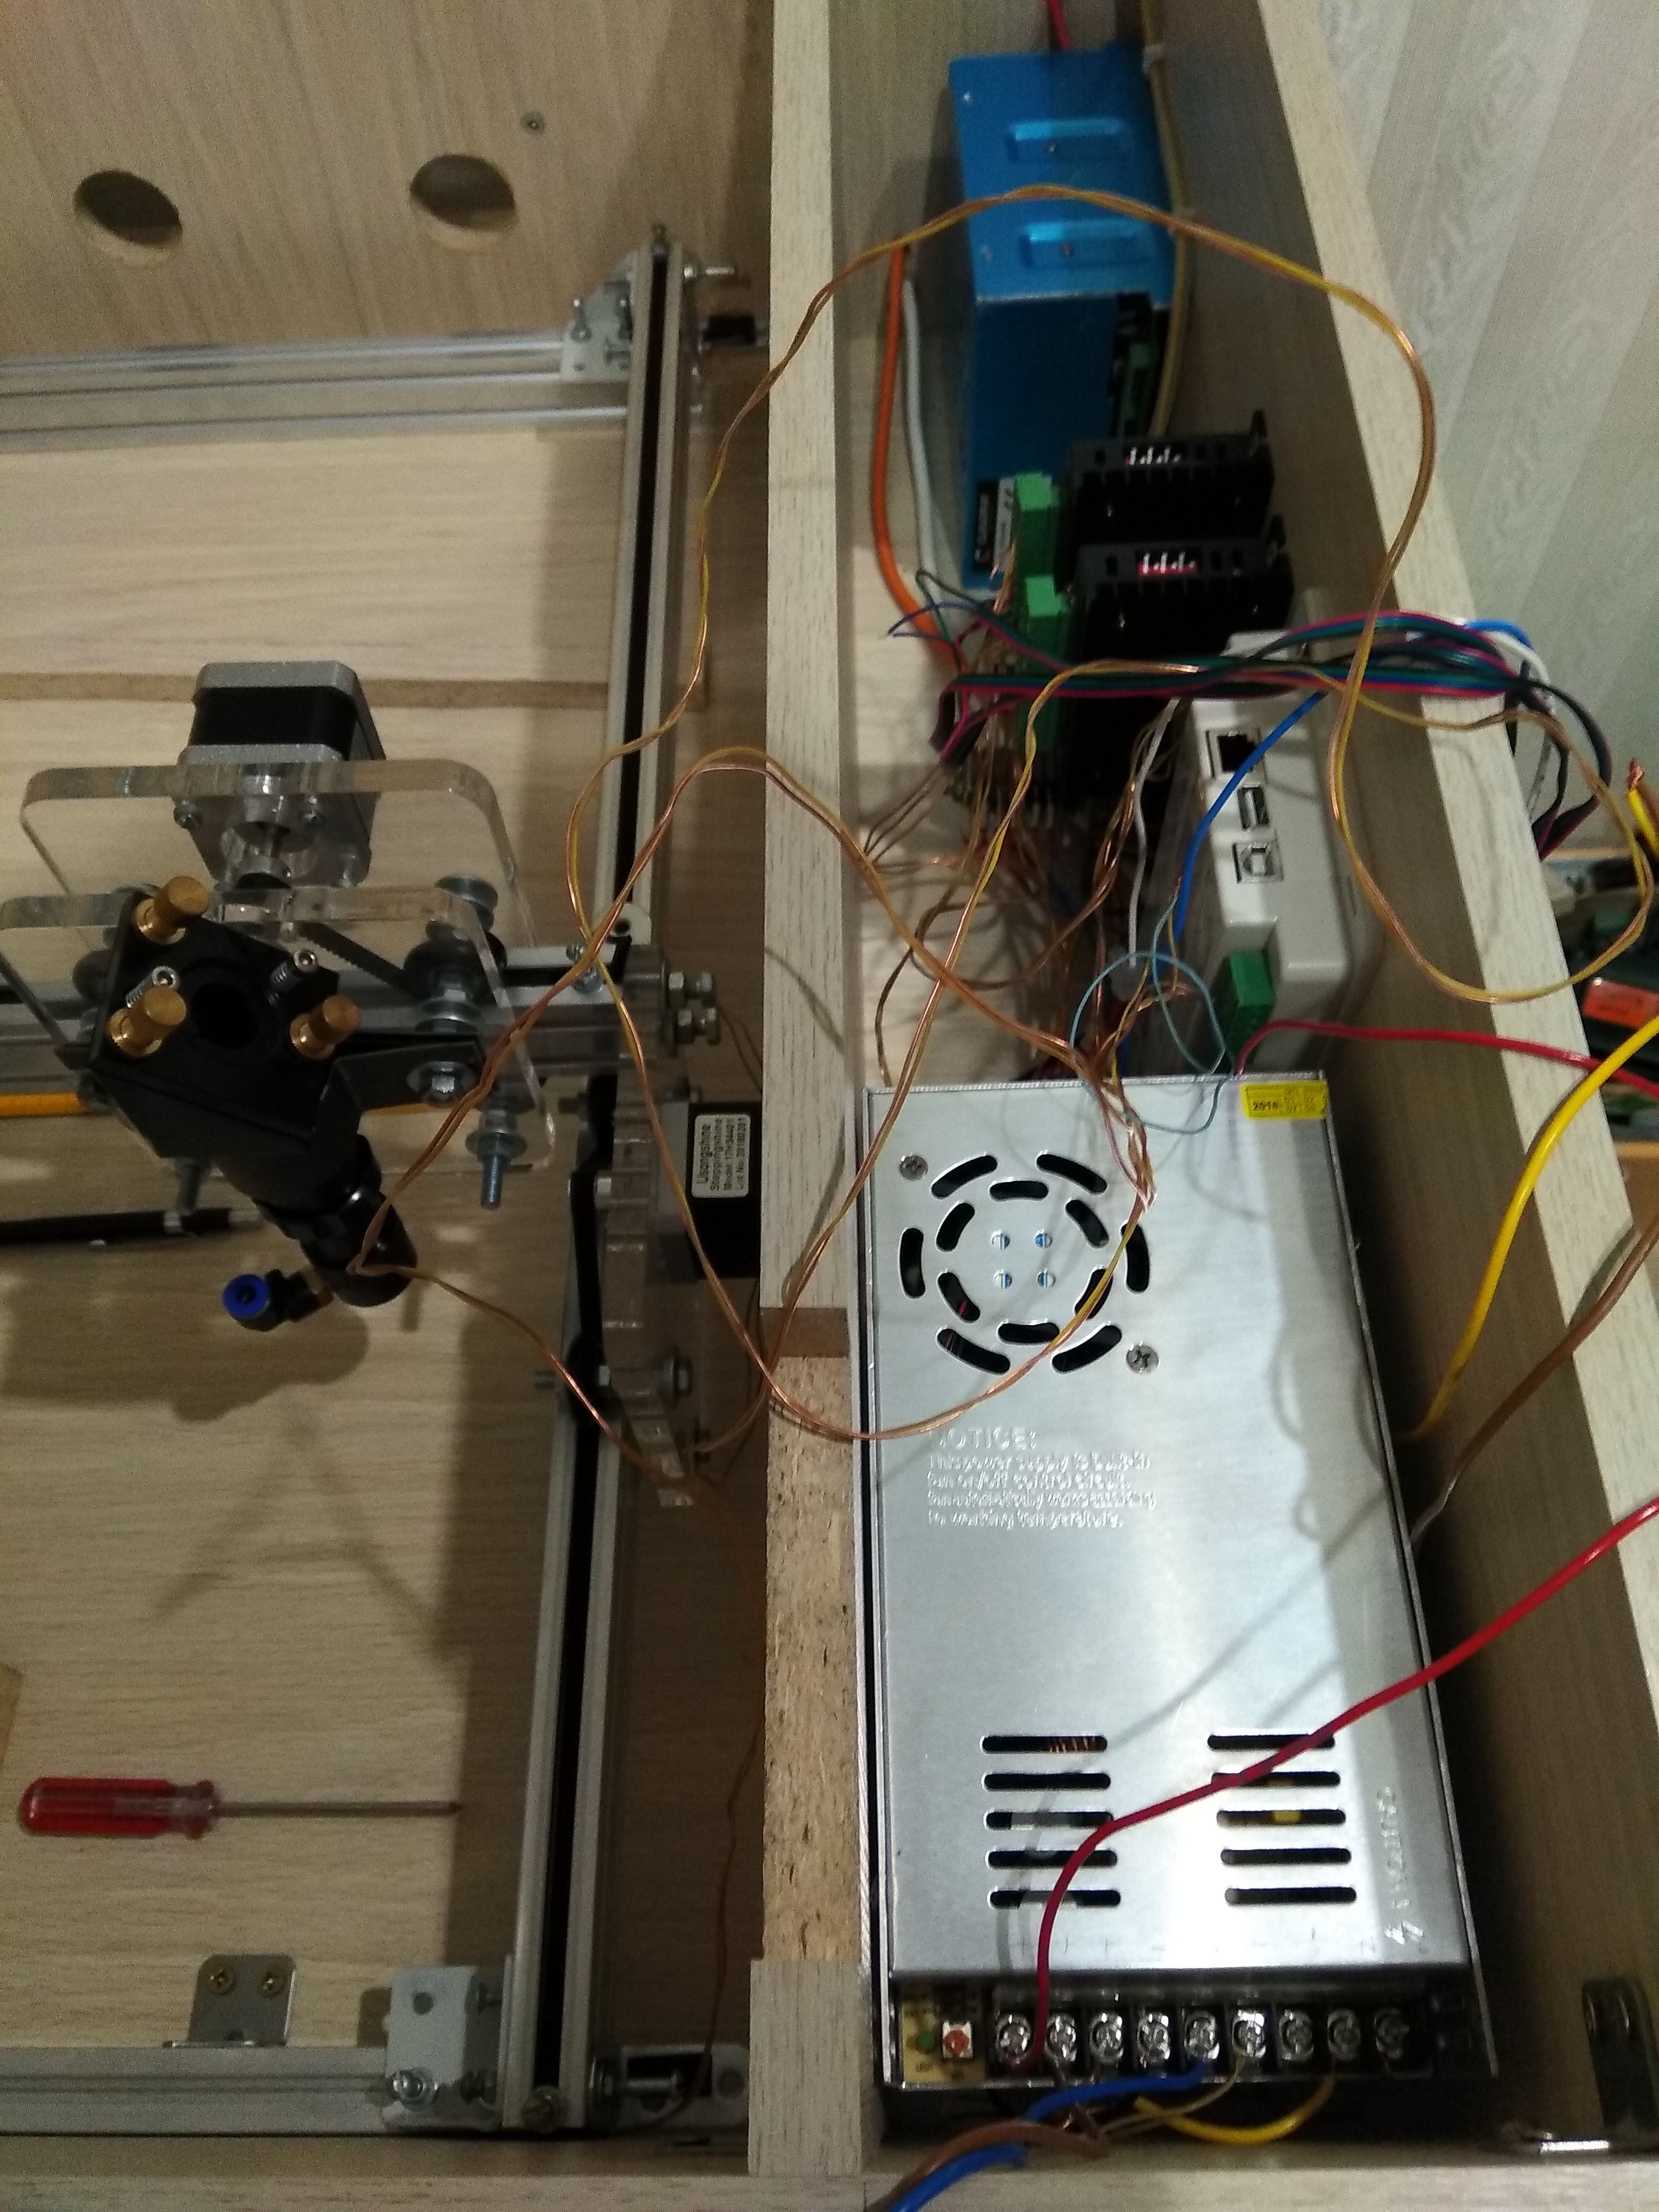
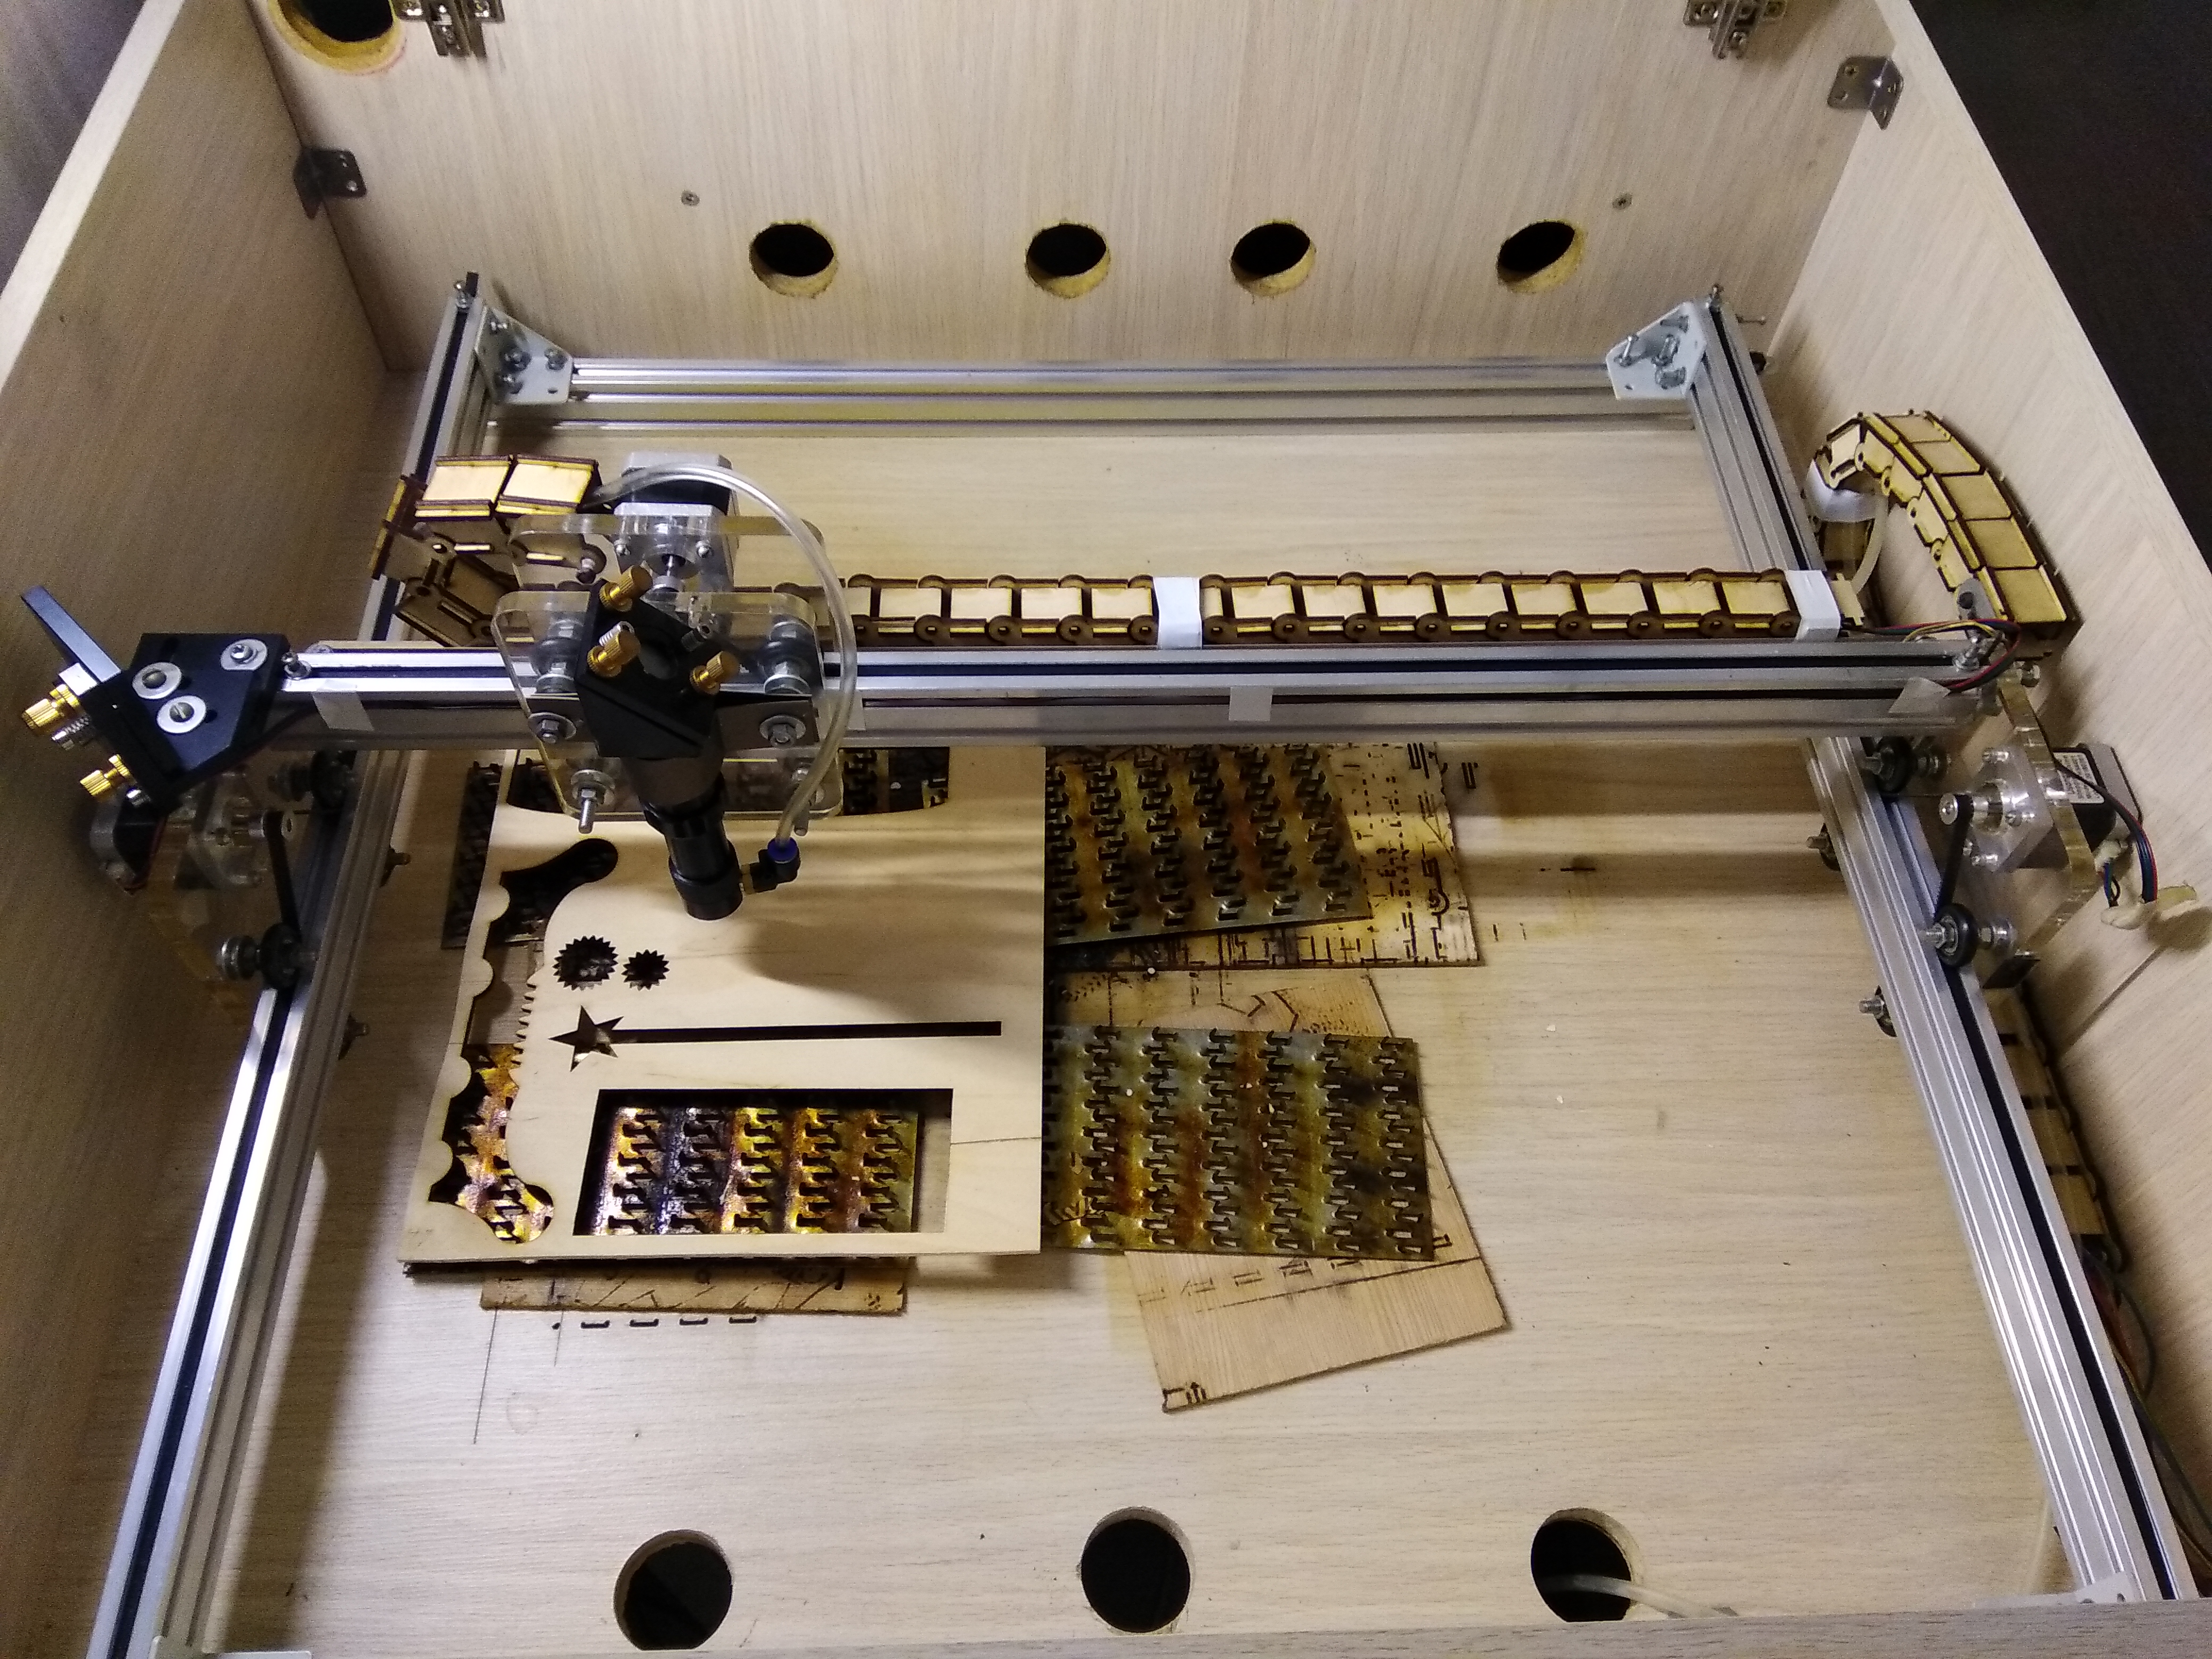
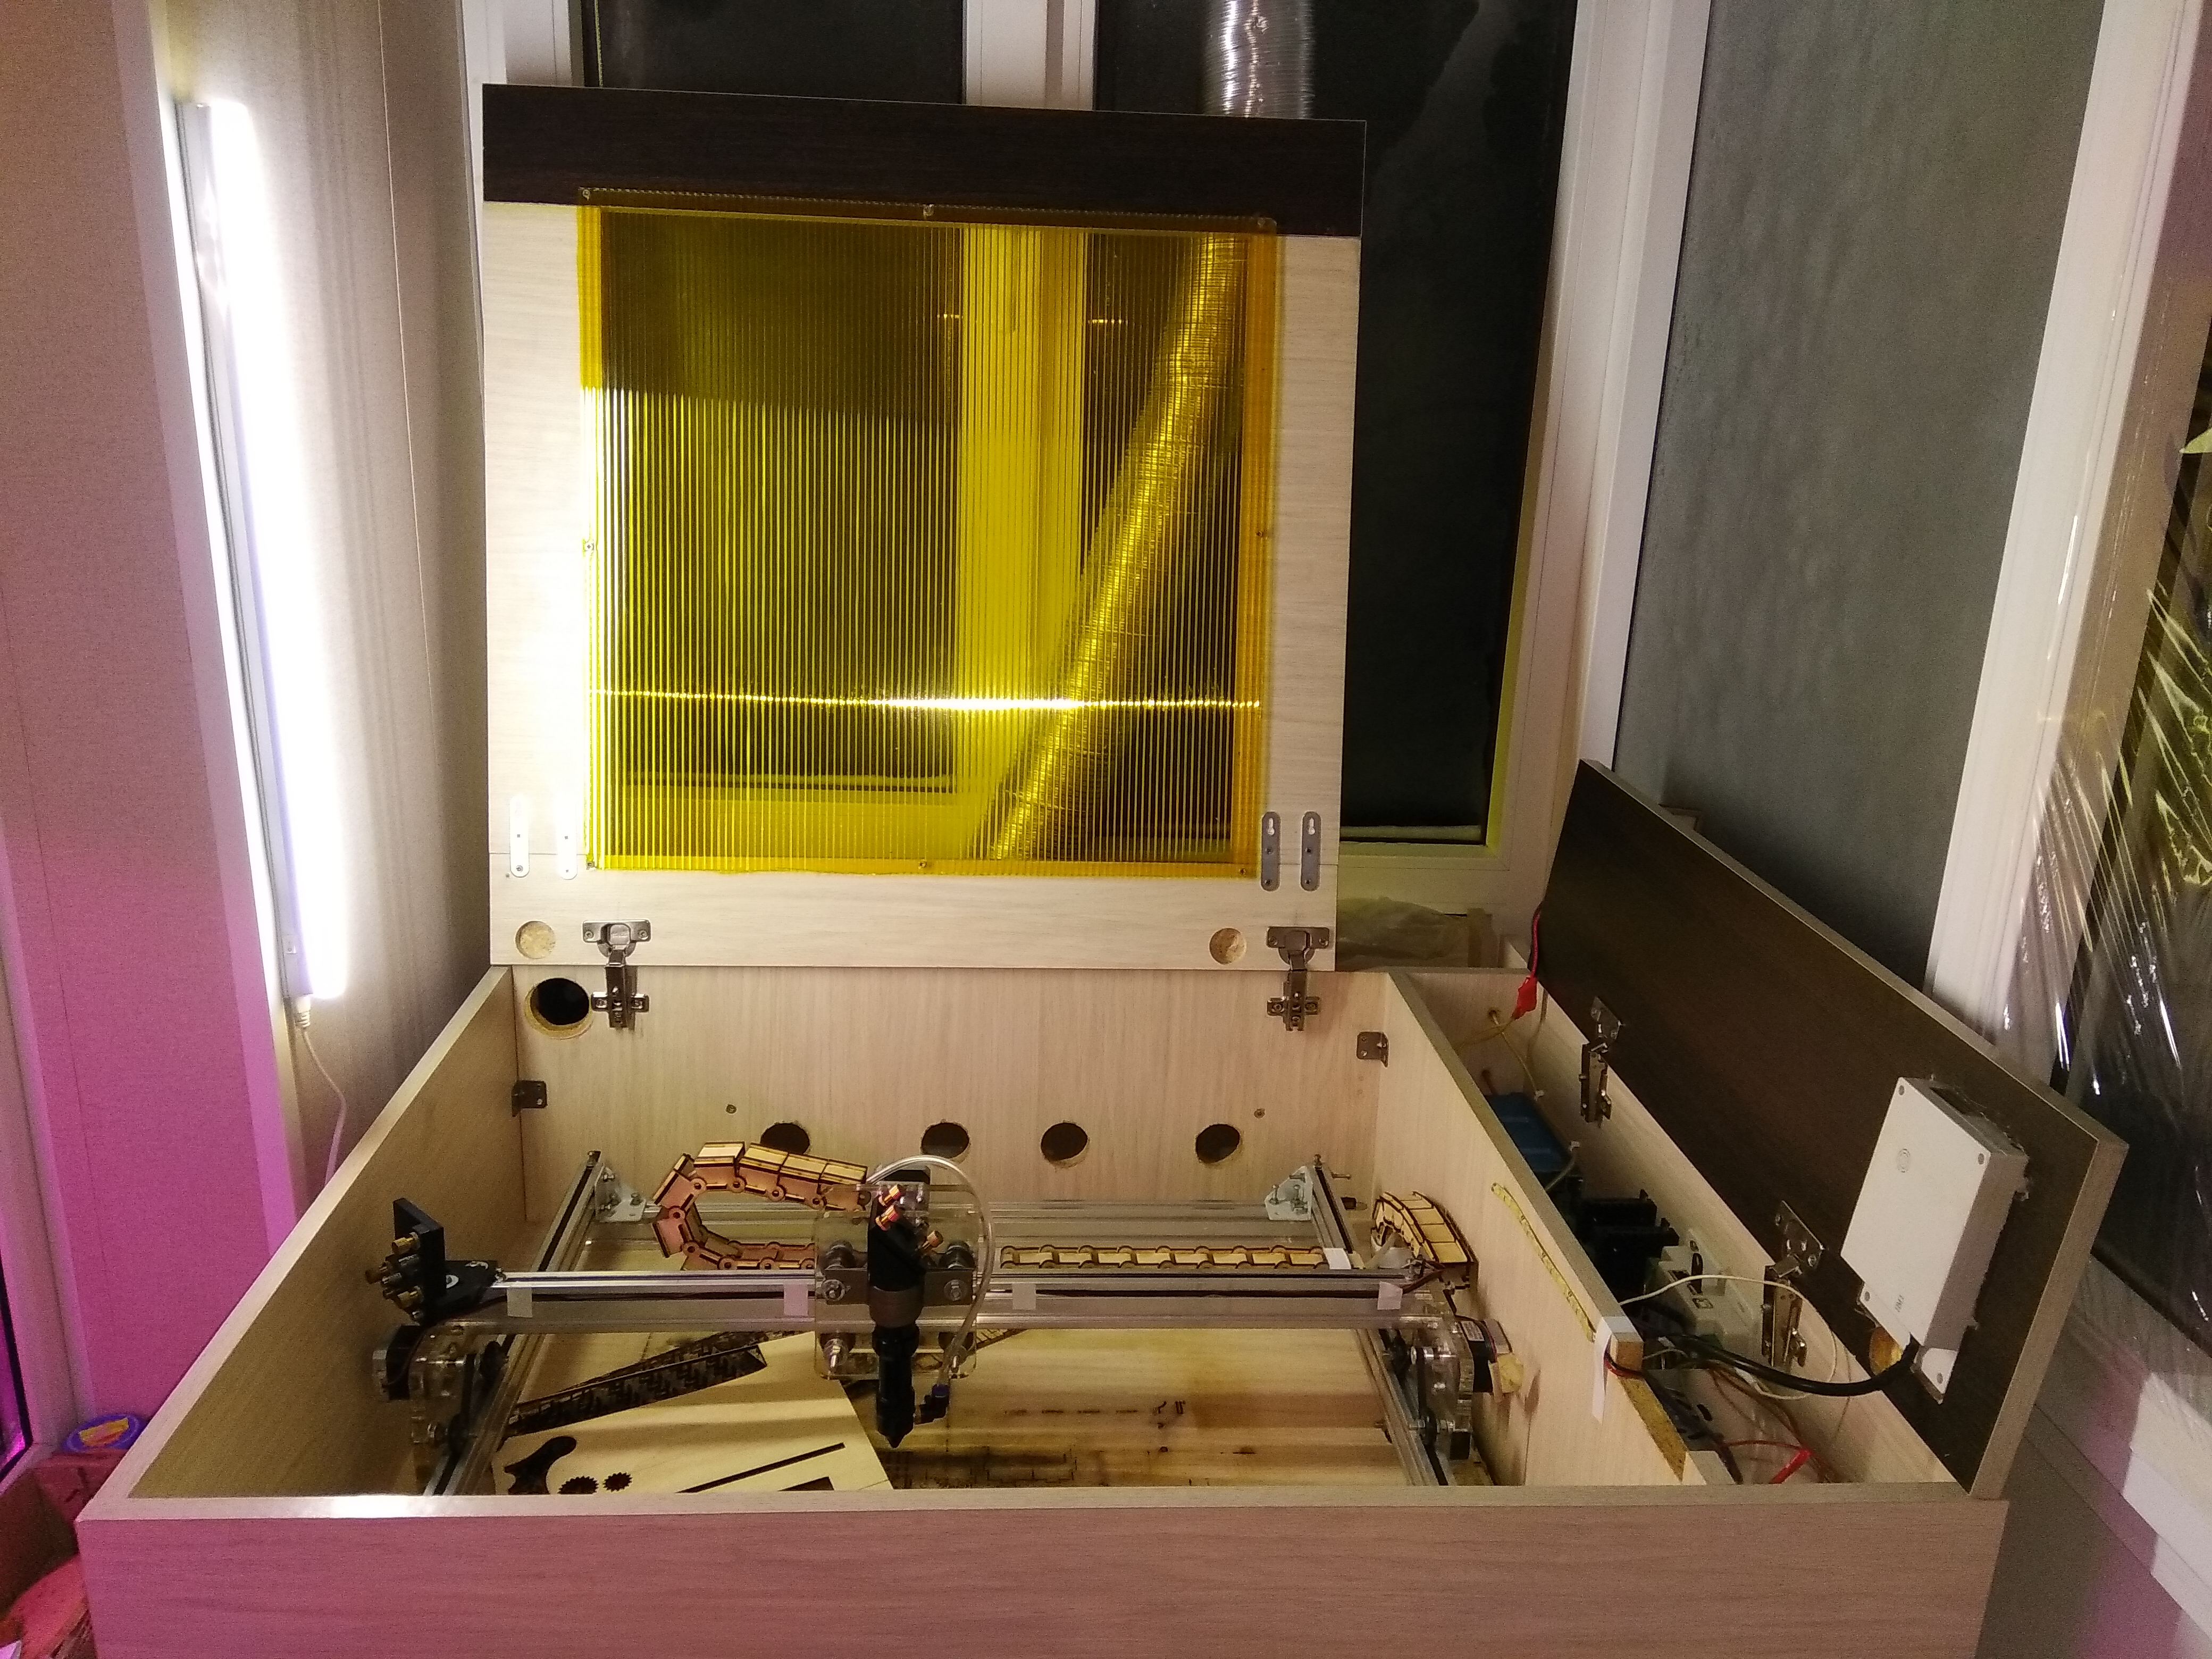 Inside:
 Connection diagram:
 A few photos of finished products:


 In the last photo there is a charger for a homemade electric bike , the charger body is made on this machine.List of components with prices and linksdocs.google.com/spreadsheets/d/1joKW8KuucEmBGf7lU36CTv3CdwDrqRRVp9NWxvvC1XU/edit?usp=sharingP.S. Special gratitude is expressed to my wife for worthily enduring all the hardships and deprivations of life with a technologist, while I used the apartment as a workshop and laboratory and even sometimes allowed myself to make trial cuts without an hood ... :-)
Source: https://habr.com/ru/post/undefined/
All Articles