نبدأ الأسبوع الجديد بتفسير آخر لوثائق Flutter الرسمية في شكل سؤال وجواب. يغطي الجزء 4 أسلوب Flutter المقارن لمطوري الويب. إنه مخصص تمامًا للتخطيط ولم يخرج بنفس الحجم الذي كان عليه في السابق. بشكل تقليدي ، أوصي جميع مطوري الويب المهتمين بـ Flutter بالنظر تحت القطة لمعرفة ما إذا كان الأمر يستحق تجربة هذا الإطار وكم من الجهد سيستغرق.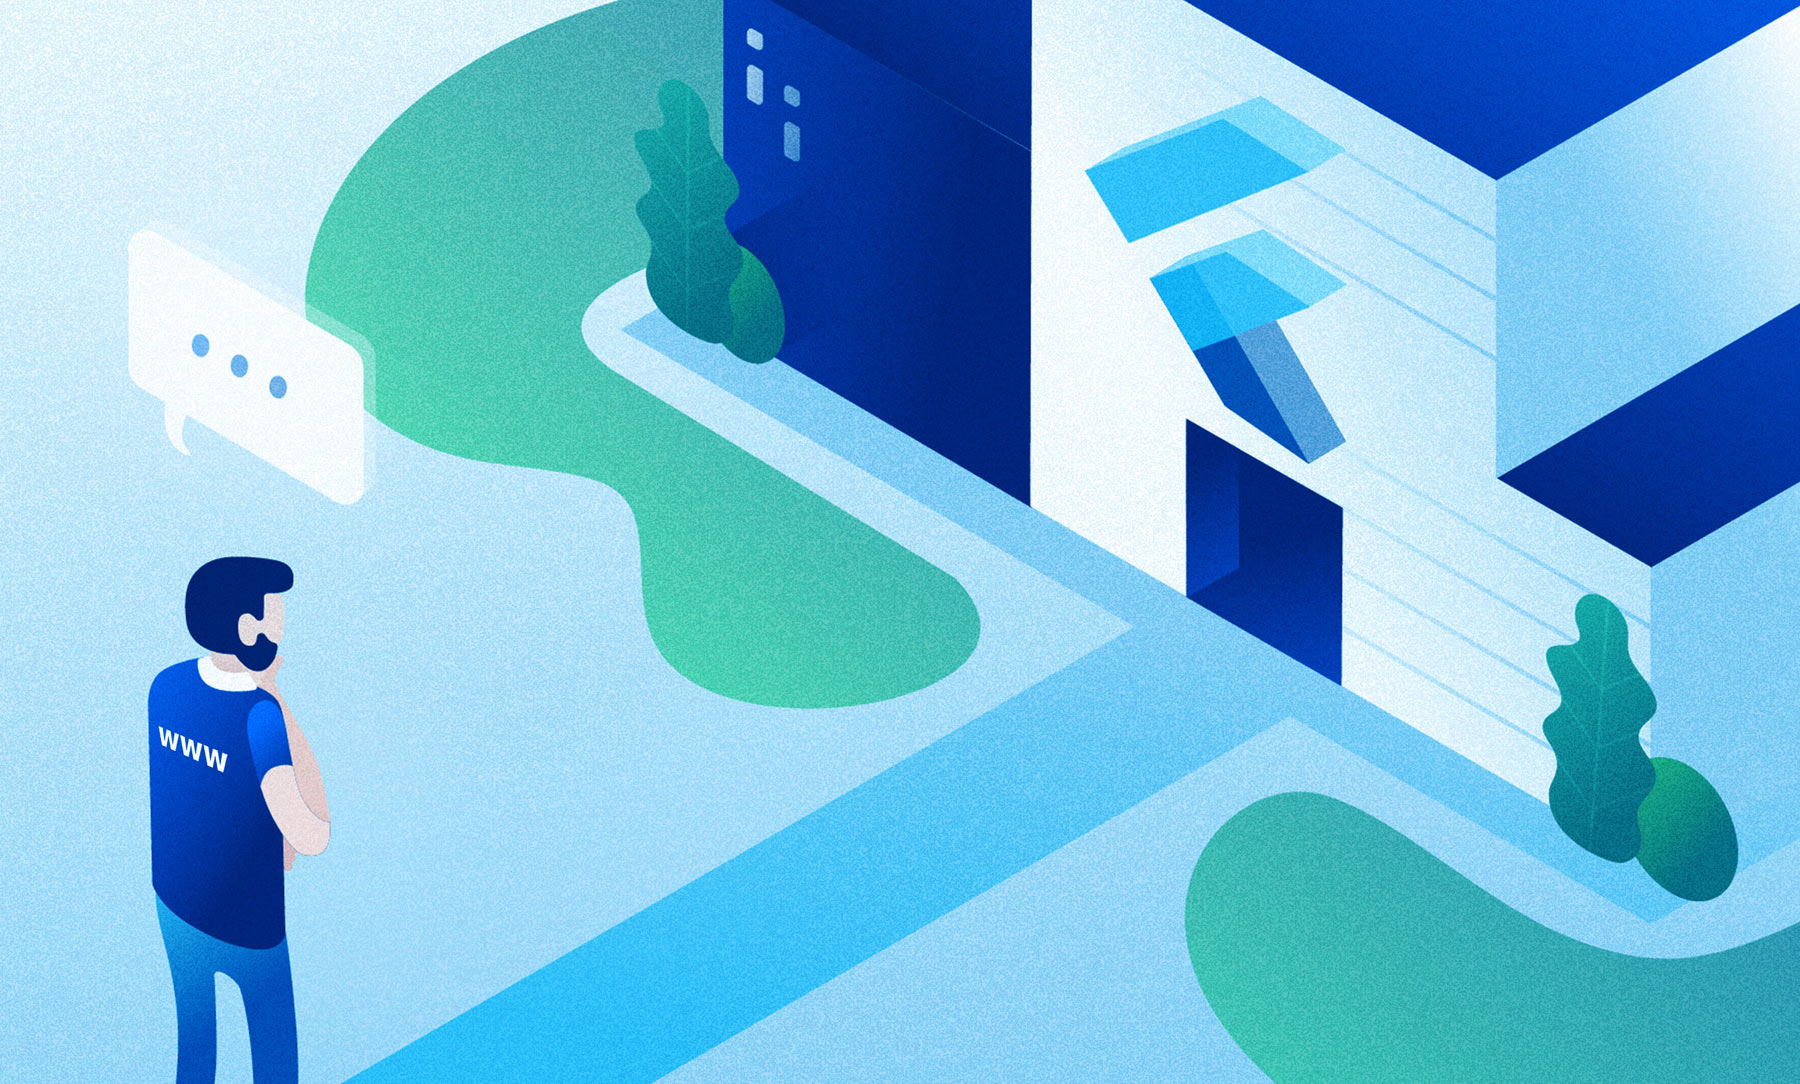 إذا لم تكن هناك معلومات كافية هنا أو إذا كانت لديك خبرة في التطوير الأصلي لمنصة معينة ، فأنا أوصي بالنظر في أجزاء أخرى:Flutter. الجزء 1. لمطوري أندرويدFlutter. الجزء 2. لمطوري iOSFlutter. الجزء 3. لمطوري رد فعل الأصليةرفرفة. الجزء 4. لمطوري الويبFlutter. الجزء 5. لمطوري Xamarin.Forms
المحتوى:
- التخطيط الأساسي
- المناصب والأحجام
- الاستمارة
- نص
التخطيط الأساسي
سؤال:
كيفية تصميم النص ومحاذاة؟إجابة:
باستخدام TextStyle .مثال:
HTML / CSS<div class="greybox">
Lorem ipsum
</div>
.greybox {
background-color: #e0e0e0;
width: 320px;
height: 240px;
font: 900 24px Georgia;
}
رفرفةvar container = Container(
child: Text(
"Lorem ipsum",
style: TextStyle(
fontSize: 24,
fontWeight: FontWeight.w900,
fontFamily: "Georgia",
),
),
width: 320,
height: 240,
color: Colors.grey[300],
);
سؤال:
كيف يتم تعيين لون الخلفية؟إجابة
باستخدام فئة BoxDecoration .اختلافات
خاصية background-colorفي CSS هي المسؤولة فقط عن لون الخلفية. BoxDecoration مسؤولة عن مجموعة واسعة من الخصائص ، مثل الزوايا الدائرية ، الحواف ، إلخ.مثال
HTML / CSS<div class="greybox">
Lorem ipsum
</div>
.greybox {
background-color: #e0e0e0;
width: 320px;
height: 240px;
font: 900 24px Roboto;
}
رفرفةvar container = Container(
child: Text(
"Lorem ipsum",
style: bold24Roboto,
),
width: 320,
height: 240,
decoration: BoxDecoration(
color: Colors.grey[300],
),
);
سؤال:
كيفية توسيط المكونات؟إجابة
استخدام مركز القطعة .مثال
HTML / CSS<div class="greybox">
Lorem ipsum
</div>
.greybox {
background-color: #e0e0e0;
width: 320px;
height: 240px;
font: 900 24px Roboto;
display: flex;
align-items: center;
justify-content: center;
}
رفرفةvar container = Container(
child: Center(
child: Text(
"Lorem ipsum",
style: bold24Roboto,
),
),
width: 320,
height: 240,
color: Colors.grey[300],
);
سؤال:
كيفية تعيين عرض الحاوية؟إجابة
باستخدام الملكية width.اختلافات
تحتوي أدوات Flutter على خاصية widthثابتة. لتكوين maxWidthأو minWidthاستخدم عنصر واجهة المستخدم BoxConstictions .مثال:
HTML / CSS<div class="greybox">
<div class="redbox">
Lorem ipsum
</div>
</div>
.greybox {
background-color: #e0e0e0;
width: 320px;
height: 240px;
font: 900 24px Roboto;
display: flex;
align-items: center;
justify-content: center;
}
.redbox {
background-color: #ef5350;
padding: 16px;
color: #ffffff;
width: 100%;
max-width: 240px;
}
رفرفةvar container = Container(
child: Center(
child: Container(
child: Text(
"Lorem ipsum",
style: bold24Roboto,
),
decoration: BoxDecoration(
color: Colors.red[400],
),
padding: EdgeInsets.all(16),
width: 240,
),
),
width: 320,
height: 240,
color: Colors.grey[300],
);
المناصب والأحجام
سؤال
كيفية إنشاء موقف مطلق؟إجابة
استخدام عنصر واجهة مستخدم الموضع داخل عنصر واجهة مستخدم المكدس .معلومة اضافية
بشكل افتراضي ، يتم وضع الحاجيات داخل الحاجيات الرئيسية.مثال
HTML / CSS<div class="greybox">
<div class="redbox">
Lorem ipsum
</div>
</div>
.greybox {
background-color: #e0e0e0;
width: 320px;
height: 240px;
font: 900 24px Roboto;
position: relative;
}
.redbox {
background-color: #ef5350;
padding: 16px;
color: #ffffff;
position: absolute;
top: 24px;
left: 24px;
}
رفرفةvar container = Container(
child: Stack(
children: [
Positioned(
child: Container(
child: Text(
"Lorem ipsum",
style: bold24Roboto,
),
decoration: BoxDecoration(
color: Colors.red[400],
),
padding: EdgeInsets.all(16),
),
left: 24,
top: 24,
),
],
),
width: 320,
height: 240,
color: Colors.grey[300],
);
سؤال
كيفية ضبط دوران المكونات؟إجابة
باستخدام القطعة تحويل .مثال
HTML / CSS<div class="greybox">
<div class="redbox">
Lorem ipsum
</div>
</div>
.greybox {
background-color: #e0e0e0;
width: 320px;
height: 240px;
font: 900 24px Roboto;
display: flex;
align-items: center;
justify-content: center;
}
.redbox {
background-color: #ef5350;
padding: 16px;
color: #ffffff;
transform: rotate(15deg);
}
رفرفةvar container = Container(
child: Center(
child: Transform(
child: Container(
child: Text(
"Lorem ipsum",
style: bold24Roboto,
textAlign: TextAlign.center,
),
decoration: BoxDecoration(
color: Colors.red[400],
),
padding: EdgeInsets.all(16),
),
alignment: Alignment.center,
transform: Matrix4.identity()
..rotateZ(15 * 3.1415927 / 180),
),
),
width: 320,
height: 240,
color: Colors.grey[300],
);
سؤال
كيفية قياس المكونات؟إجابة
باستخدام القطعة تحويل .مثال
HTML / CSS<div class="greybox">
<div class="redbox">
Lorem ipsum
</div>
</div>
.greybox {
background-color: #e0e0e0;
width: 320px;
height: 240px;
font: 900 24px Roboto;
display: flex;
align-items: center;
justify-content: center;
}
.redbox {
background-color: #ef5350;
padding: 16px;
color: #ffffff;
transform: scale(1.5);
}
رفرفةvar container = Container(
child: Center(
child: Transform(
child: Container(
child: Text(
"Lorem ipsum",
style: bold24Roboto,
textAlign: TextAlign.center,
),
decoration: BoxDecoration(
color: Colors.red[400],
),
padding: EdgeInsets.all(16),
),
alignment: Alignment.center,
transform: Matrix4.identity()
..scale(1.5),
),
width: 320,
height: 240,
color: Colors.grey[300],
);
سؤال
كيفية تطبيق التدرج؟إجابة
استخدام فئة BoxDecoration وخصائصه gradient.مثال
HTML / CSS التدرج الخطي العمودي<div class="greybox">
<div class="redbox">
Lorem ipsum
</div>
</div>
.greybox {
background-color: #e0e0e0;
width: 320px;
height: 240px;
font: 900 24px Roboto;
display: flex;
align-items: center;
justify-content: center;
}
.redbox {
padding: 16px;
color: #ffffff;
background: linear-gradient(180deg, #ef5350, rgba(0, 0, 0, 0) 80%);
}
رفرفةvar container = Container(
child: Center(
child: Container(
child: Text(
"Lorem ipsum",
style: bold24Roboto,
),
decoration: BoxDecoration(
gradient: LinearGradient(
begin: const Alignment(0.0, -1.0),
end: const Alignment(0.0, 0.6),
colors: <Color>[
const Color(0xffef5350),
const Color(0x00ef5350)
],
),
),
padding: EdgeInsets.all(16),
),
),
width: 320,
height: 240,
color: Colors.grey[300],
);
HTML / CSS تدرج خطي أفقي<div class="greybox">
<div class="redbox">
Lorem ipsum
</div>
</div>
.greybox {
background-color: #e0e0e0;
width: 320px;
height: 240px;
font: 900 24px Roboto;
display: flex;
align-items: center;
justify-content: center;
}
.redbox {
padding: 16px;
color: #ffffff;
background: linear-gradient(90deg, #ef5350, rgba(0, 0, 0, 0) 80%);
}
رفرفةvar container = Container(
child: Center(
child: Container(
child: Text(
"Lorem ipsum",
style: bold24Roboto,
),
decoration: BoxDecoration(
gradient: LinearGradient(
begin: const Alignment(-1.0, 0.0),
end: const Alignment(0.6, 0.0),
colors: <Color>[
const Color(0xffef5350),
const Color(0x00ef5350)
],
),
),
padding: EdgeInsets.all(16),
),
),
width: 320,
height: 240,
color: Colors.grey[300],
);
الاستمارة
سؤال
كيفية تقريب الزوايا؟إجابة
استخدام فئة BoxDecoration وخصائصه borderRadius.مثال
HTML / CSS<div class="greybox">
<div class="redbox">
Lorem ipsum
</div>
</div>
.greybox {
background-color: #e0e0e0;
width: 320px;
height: 240px;
font: 900 24px Roboto;
display: flex;
align-items: center;
justify-content: center;
}
.redbox {
background-color: #ef5350;
padding: 16px;
color: #ffffff;
border-radius: 8px;
}
رفرفةvar container = Container(
child: Center(
child: Container(
child: Text(
"Lorem ipsum",
style: bold24Roboto,
),
decoration: BoxDecoration(
color: Colors.red[400],
borderRadius: BorderRadius.all(
const Radius.circular(8),
),
),
padding: EdgeInsets.all(16),
),
),
width: 320,
height: 240,
color: Colors.grey[300],
);
سؤال
كيف تضيف ظل؟إجابة
باستخدام فئة BoxShadow .معلومة اضافية
يتم استخدام BoxShadow كجزء boxShadowمن خاصية فئة BoxDecoration .مثال
HTML / CSS<div class="greybox">
<div class="redbox">
Lorem ipsum
</div>
</div>
.greybox {
background-color: #e0e0e0;
width: 320px;
height: 240px;
font: 900 24px Roboto;
display: flex;
align-items: center;
justify-content: center;
}
.redbox {
background-color: #ef5350;
padding: 16px;
color: #ffffff;
box-shadow: 0 2px 4px rgba(0, 0, 0, 0.8),
0 6px 20px rgba(0, 0, 0, 0.5);
}
رفرفةvar container = Container(
child: Center(
child: Container(
child: Text(
"Lorem ipsum",
style: bold24Roboto,
),
decoration: BoxDecoration(
color: Colors.red[400],
boxShadow: [
BoxShadow (
color: const Color(0xcc000000),
offset: Offset(0, 2),
blurRadius: 4,
),
BoxShadow (
color: const Color(0x80000000),
offset: Offset(0, 6),
blurRadius: 20,
),
],
),
padding: EdgeInsets.all(16),
),
),
width: 320,
height: 240,
decoration: BoxDecoration(
color: Colors.grey[300],
),
margin: EdgeInsets.only(bottom: 16),
);
سؤال
كيفية عمل أشكال مستديرة وبيضاوية الشكل؟إجابة
باستخدام enumفئة BoxShape .معلومة اضافية
يتم استخدام BoxShape كجزء من خاصية الشكل لفئة BoxDecoration .مثال
HTML / CSS<div class="greybox">
<div class="redcircle">
Lorem ipsum
</div>
</div>
.greybox {
background-color: #e0e0e0;
width: 320px;
height: 240px;
font: 900 24px Roboto;
display: flex;
align-items: center;
justify-content: center;
}
.redcircle {
background-color: #ef5350;
padding: 16px;
color: #ffffff;
text-align: center;
width: 160px;
height: 160px;
border-radius: 50%;
}
رفرفةvar container = Container(
child: Center(
child: Container(
child: Text(
"Lorem ipsum",
style: bold24Roboto,
textAlign: TextAlign.center,
),
decoration: BoxDecoration(
color: Colors.red[400],
shape: BoxShape.circle,
),
padding: EdgeInsets.all(16),
width: 160,
height: 160,
),
),
width: 320,
height: 240,
color: Colors.grey[300],
);
نص
سؤال
كيفية ضبط المسافة بين النص؟إجابة
باستخدام فئة TextStyle وخصائصها letterSpacingو wordSpacing.مثال
HTML / CSS<div class="greybox">
<div class="redbox">
Lorem ipsum
</div>
</div>
.greybox {
background-color: #e0e0e0;
width: 320px;
height: 240px;
font: 900 24px Roboto;
display: flex;
align-items: center;
justify-content: center;
}
.redbox {
background-color: #ef5350;
padding: 16px;
color: #ffffff;
letter-spacing: 4px;
}
رفرفةvar container = Container(
child: Center(
child: Container(
child: Text(
"Lorem ipsum",
style: TextStyle(
color: Colors.white,
fontSize: 24,
fontWeight: FontWeight.w900,
letterSpacing: 4,
),
),
decoration: BoxDecoration(
color: Colors.red[400],
),
padding: EdgeInsets.all(16),
),
),
width: 320,
height: 240,
color: Colors.grey[300],
);
سؤال
كيفية تنسيق جزء من النص؟إجابة
باستخدام عنصر واجهة مستخدم RichText وفئة TextSpan .مثال
HTML / CSS<div class="greybox">
<div class="redbox">
Lorem <em>ipsum</em>
</div>
</div>
.greybox {
background-color: #e0e0e0;
width: 320px;
height: 240px;
font: 900 24px Roboto;
display: flex;
align-items: center;
justify-content: center;
}
.redbox {
background-color: #ef5350;
padding: 16px;
color: #ffffff;
}
.redbox em {
font: 300 48px Roboto;
font-style: italic;
}
رفرفةvar container = Container(
child: Center(
child: Container(
child: RichText(
text: TextSpan(
style: bold24Roboto,
children: <TextSpan>[
TextSpan(text: "Lorem "),
TextSpan(
text: "ipsum",
style: TextStyle(
fontWeight: FontWeight.w300,
fontStyle: FontStyle.italic,
fontSize: 48,
),
),
],
),
),
decoration: BoxDecoration(
color: Colors.red[400],
),
padding: EdgeInsets.all(16),
),
),
width: 320,
height: 240,
color: Colors.grey[300],
);
سؤال
كيف تحد من عرض النص الطويل؟إجابة
مع مساعدة من الحاجيات maxLinesو نصoverflow القطعة .مثال
HTML / CSS<div class="greybox">
<div class="redbox">
Lorem ipsum dolor sit amet, consec etur
</div>
</div>
.greybox {
background-color: #e0e0e0;
width: 320px;
height: 240px;
font: 900 24px Roboto;
display: flex;
align-items: center;
justify-content: center;
}
.redbox {
background-color: #ef5350;
padding: 16px;
color: #ffffff;
overflow: hidden;
text-overflow: ellipsis;
white-space: nowrap;
}
رفرفةvar container = Container(
child: Center(
child: Container(
child: Text(
"Lorem ipsum dolor sit amet, consec etur",
style: bold24Roboto,
overflow: TextOverflow.ellipsis,
maxLines: 1,
),
decoration: BoxDecoration(
color: Colors.red[400],
),
padding: EdgeInsets.all(16),
),
),
width: 320,
height: 240,
color: Colors.grey[300],
);
في نهاية ديسمبر 2019 ، مع إصدار Flutter 1.12 ، بدأ دعم الويب في الإصدار التجريبي! وهذه أخبار رائعة ، مما يعني أننا سنرى في المستقبل القريب بشكل متزايد مواقع مكتوبة بلغة Flutter. لذلك ، إذا كنت لا تزال في التفكير ، أوصي بتجربة هذا الإطار وآمل أن تكون مقالتي مفيدة. وهذا كل شيء لهذا اليوم. لا يجوز لـ Google كسر Chrome!